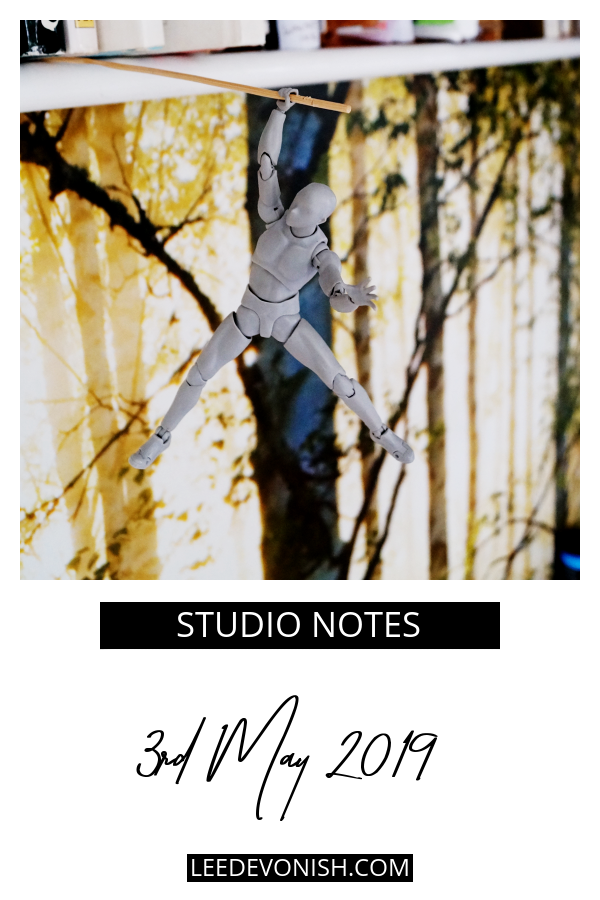
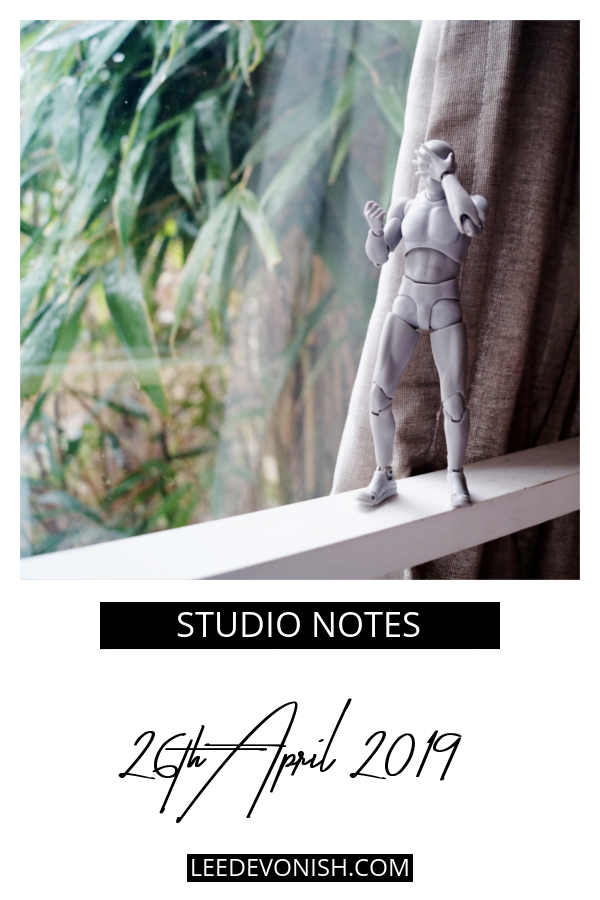
Having a light-filled space entirely to yourself to create whatever work you want to is a real privilege, and I really appreciate my studio room – it would have been impossible to do some of my recent work without it, like all of the casting prep and grinding for my pewter coin.
This week we had some friends around, and the studio doubled up as a garden room, so of course it was appropriately sanitised and stripped down. I’m fairly sure that we’re going to pull up the carpet and put down something more splash-friendly like lino… but I will admit that fake grass crossed my mind for that surreal feel.
Seeing my room in “display mode” impressed on me just how important it is to edit.
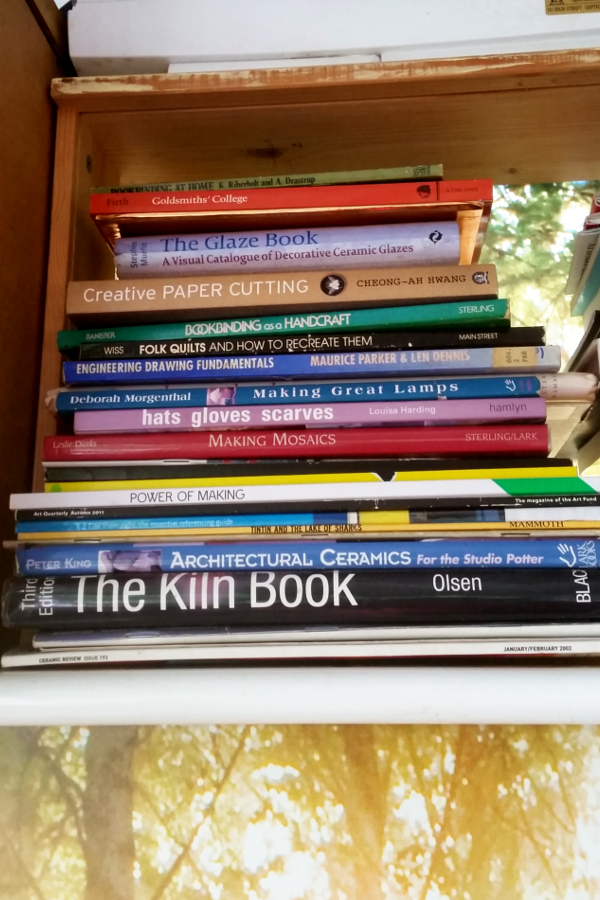
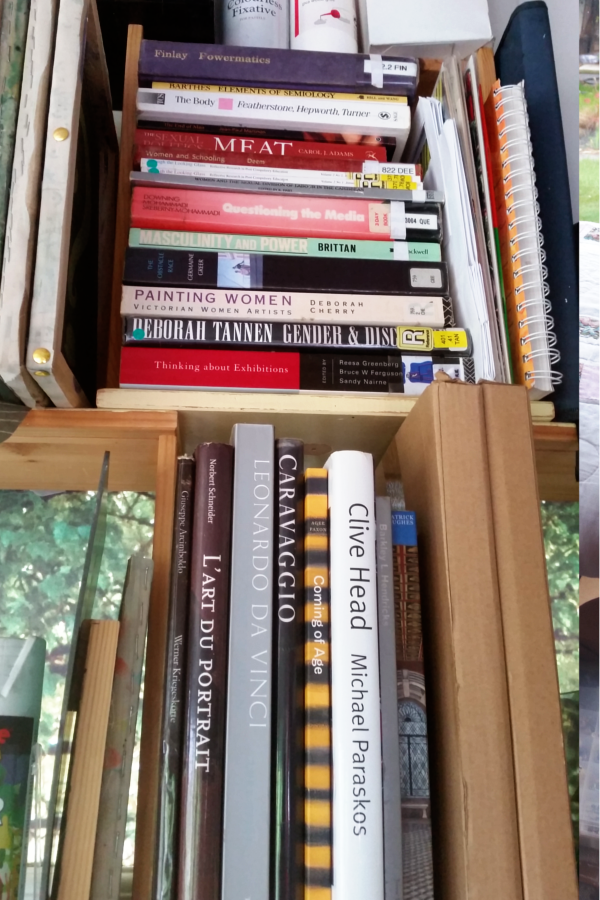
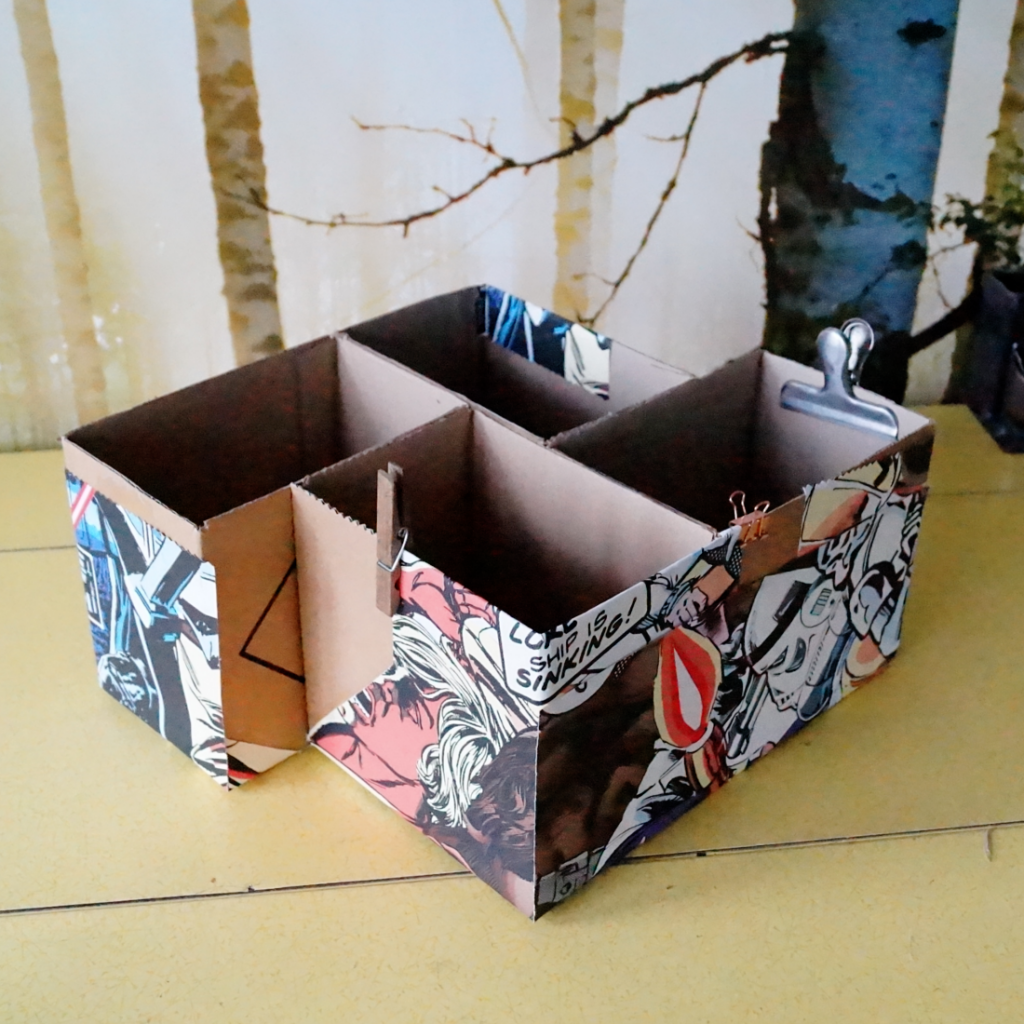
I love having all of my supplies, books and tools on hand, but now that I’ve let go of some of my older supplies, I feel even better. The clearout continued when I gave a few books away as well (only a few).
The best part of the clearout was saying no to a pointless task that I felt I had to do.

Pruning projects
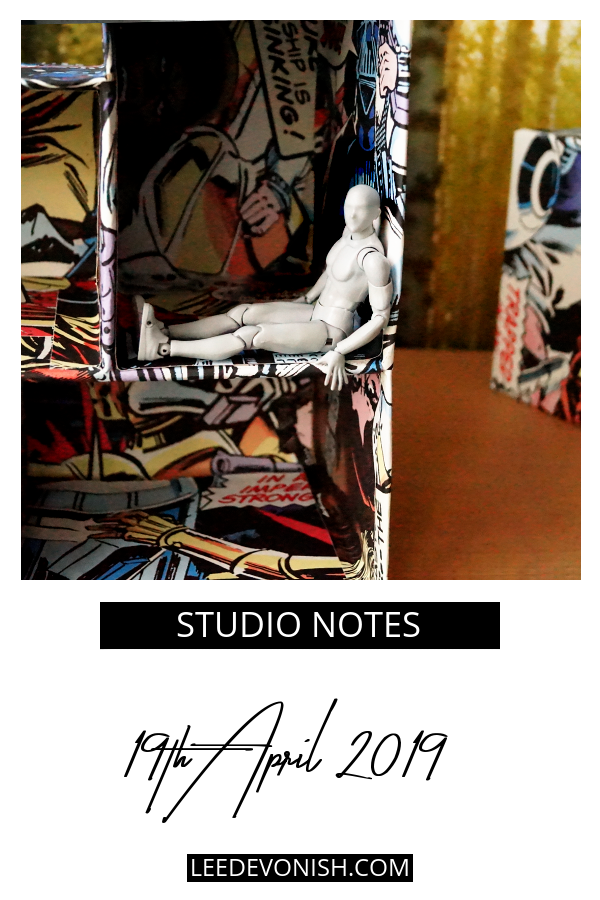
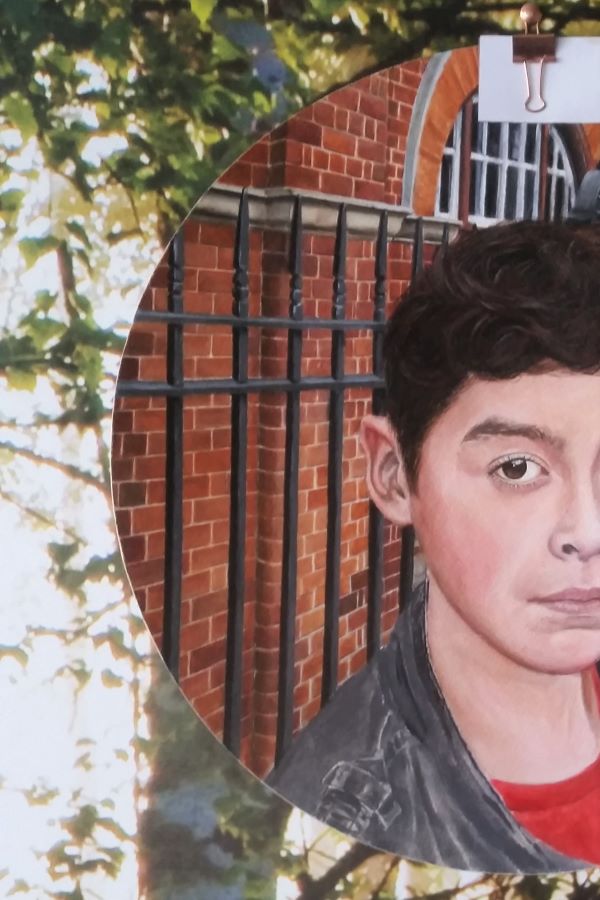
I was on the edge of committing to finishing an abandoned painting – because I hate feeling as though I’ve wasted my time and effort, and because maybe doing something different for a bit is helpful (maybe?) – but the truth is that it isn’t doing anything for me right now, and it wouldn’t help me to take the money project further, or make more bodybuilder prints.
Everything I’ve done with the money project up until now has been fun and very interesting, but it can be so much more, and it can incorporate so many more mediums. It’s great that the series I’ve already started is the thing that’s sparking my creativity right now, and this is what I’m going to run with before anything else.
Still waiting for sunshine…
I have a plan to restretch some aluminium screens at home – but I need to do it outdoors. The glue is evil, and there’s no way I can get away with doing it indoors. I’ve got a good ventilator mask, but no extraction, so there’s no way I want to risk the fumes building up inside.
Once the screens are done, I’ll start working on the drawings for a new denomination!
Stuff I’ve written…
As I was writing my post on branding yourself as an artist, I started to think about typography and the role it plays in branding, and how hard it can be to pick a typeface that works with your visual style and doesn’t take over.
So I started work on a series on typefaces for artists, and I’ve got the first one on fonts for painters ready to go. Look out for that soon.