This week has been more of the same, like I thought it would be. Watching lots of YouTube has shown me that my screen printing setup is less than rudimentary, but I’ll be rocking the extreme DIY version for a while yet.
It also gave me an idea for a niche video channel that I’ll never get around to starting though, so at least my brain’s been sufficiently agitated.
Distracted by typography
This actually happens at least a handful of times every year. This time it started because I’ve been designing a typeface to print onto a t-shirt for my son – but I only need some punctuation marks, so maybe “designing a typeface” is hyping that up a bit.
Still, it was enough to give me the bug again and this time I’ve actually been playing around with FontStruct and Calligraphr, which do let you design your own typeface. I’ve got a few on the go, but in the middle of working on one I realised it would be a lot more work than I can spare right now.
Maybe they’ll appear as prints later in the year. I dunno.
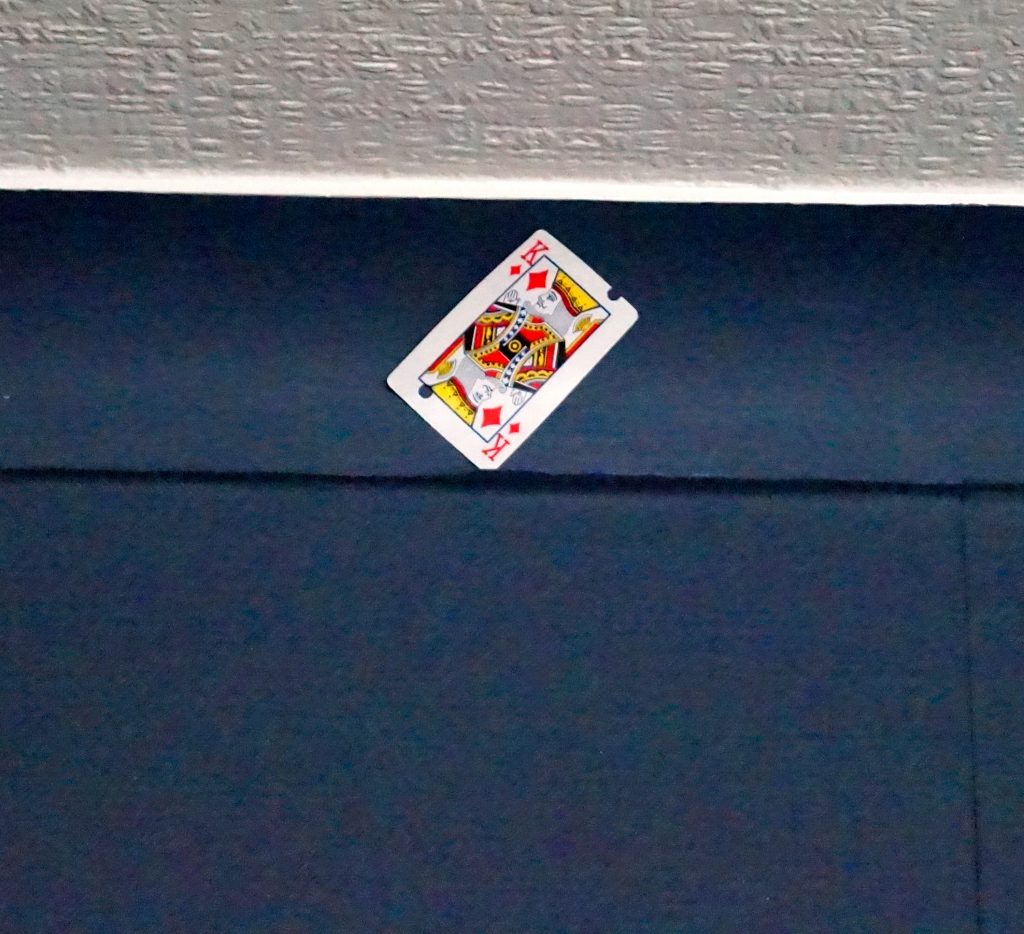
Yes, that’s a card wedged in the living room coving.
The world of playing cards
This is entirely new to me, but thanks to my son I’ve truly been enlightened. He’s into throwing cards at the moment so he’s after a few different decks, but I’ve been bowled over by the absolutely beautifully designed decks out there. Even the boxes are sometimes marvels of product design.
The other side of this interest is finding cards everywhere. Everywhere.
I was going to share a few of the wackier ones I came up with but I haven’t decided whether I’m actually ready to let them go! Well, that is kinda the point of hoarding, but I don’t know if I’m prepared to spend my money on odd domains instead of art supplies.
I was thinking about justifying it by setting up a new site for some of my wonky design efforts and random finds, but I have so many sites on the go even now that I backed down from that precipice pretty quickly.
Next week?
I’m a lot more mobile than I was even two days ago, so I’m hopeful to have more studio developments to share, with more photographs.
I’ve also decided that I really should come up with a name for my little studio mate. Egbert maybe? Any thoughts?
For the first full week of 2019, I’ve been sitting still. It’s been boring.
Thanks to a minor operation in the last week of 2018 I’ve had to basically do nothing but rest, cutting my latest project in half. Up until the last minute I had been developing and testing my first banknote (part of the money project), a double sided, three-colour screen print.
For most of December I worked on the design, created my home screen exposure setup, bought equipment, mixed inks and then made a few colour test runs.
Whilst I’ve been unable to work on my printmaking, I’ve decided to look at the positives: there are still creative, useful things I can do whilst sitting down. I’ve been doing a few different things:
learning how to use GIMP properly
creating half-tone images for a group portrait
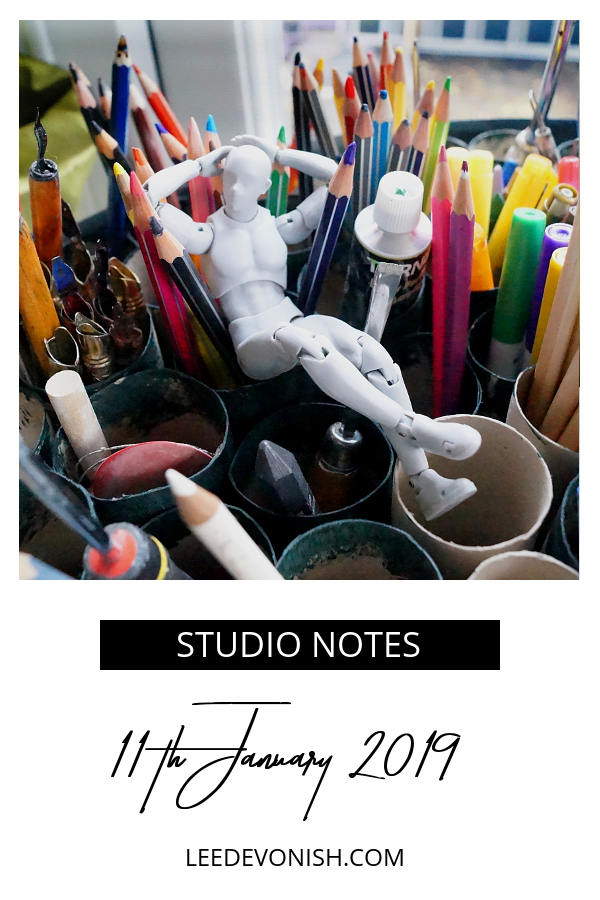
redesigning and producing cover images for my blogs
taking stock photos in the studio
watching all of the screenprinting videos on YouTube
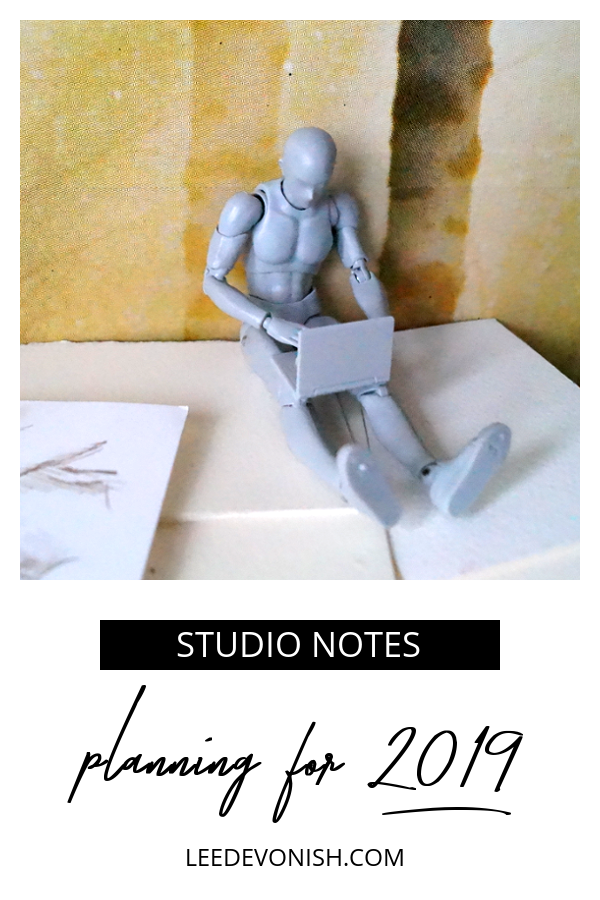
brainstorming business ideas I won’t have time for
general plotting
Granted, coming up with new business ideas (screen printing can send you on tangents) is not exactly useful but it helps to keep your brain humming. I’ve got quite a few t-shirt ideas now!
Most of my screen print artwork (well, probably all of it) comes from hand-drawn elements, not computer graphics, but the fact is that some things would be better done using computer programs.
Over the last few days I’ve been able to get my head around GIMP at last – just enough to make it less intimidating and more of a help than a potential hindrance.
Next week?
Hopefully week 2 will see me more mobile but I think it’ll be more of the same: looking on the bright side and getting all the preparation in.
Although I haven’t posted any news in a long time, it’s not for lack of news to share; in fact, I’ve been busier than ever in the studio. This project has been fascinating me and making me want to share, but at the same time making me want to hide away until it’s all done and perfect.
Unfortunately, perfection is still quite far off and I’m trying hard to embrace that. So here’s the story of casting a giant pewter coin when you’ve never done any pewter casting before.
Moving from aluminium to pewter
My initial idea was to make an aluminium coin using the lost foam process, as we’d been casting aluminium with our newly made bucket furnace. The problem was getting the foam coin ready in time for when we decided to fire up the foundry… firing it up was time-consuming and required more than one person as well as decent weather, which was definitely a problem.
In short, I got a suggestion from a friend to try pewter instead, and that freed me up to do lots more experiments and work in my kitchen instead of outside.
Making the wax positives
Foam was nowhere near good enough for the level of detail I wanted, and anyway, I was moving to a lower-melt metal, so I started to work with wax to make the initial prototypes that I would then make casts from.
Beeswax was so foreign and fiddly that I just couldn’t stand it. I started experimenting with adding hot melt glue sticks to the mixture, which gave me a more plastic, flexible material. The problem with this was that it was harder to join pieces together.
It feels like a serious injustice to condense it so much here, because I feel as though I spent so much of my life over the last few months fiddling with wax, trying to sculpt the perfect coin.
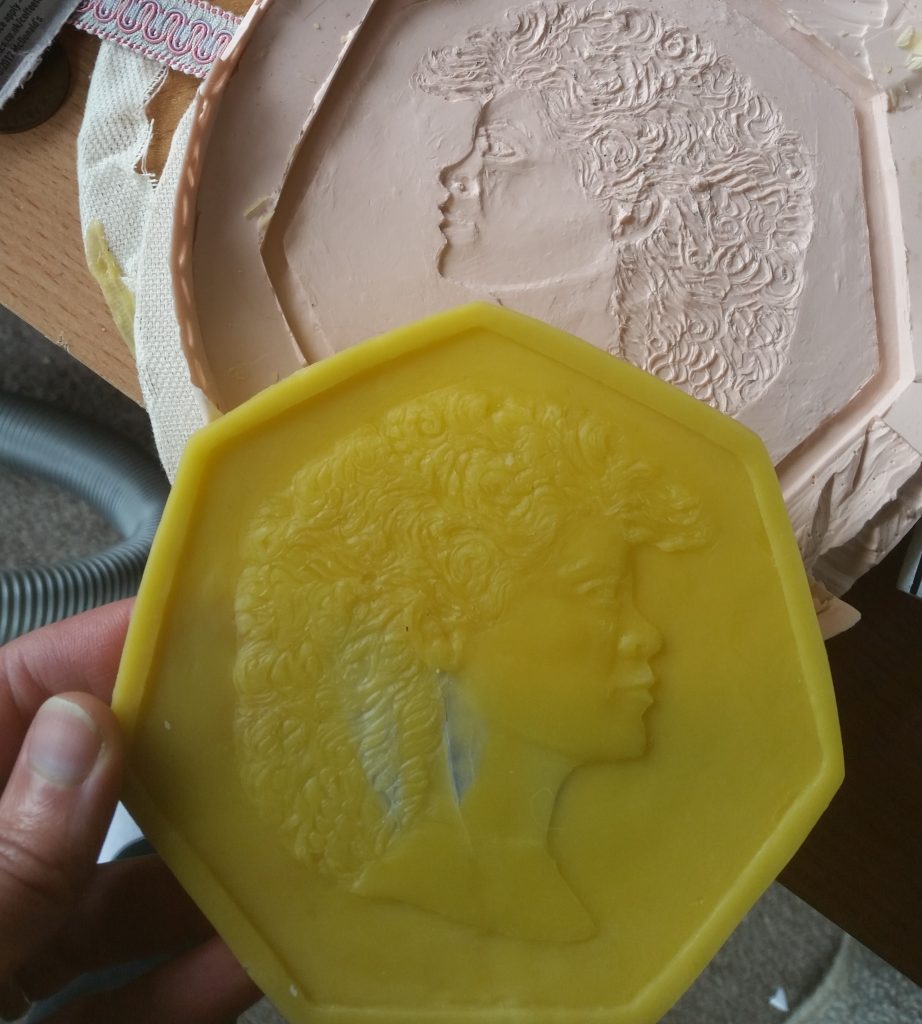
Silicone casting
One thing I knew I had to do before going all-in with lost wax casting was to get some silicone to make a master mould of my coin. My first problem was that I knew next to nothing about silicone casting.
Cheapo, diy silicone casting – yes, I knew about that – but as I proved in some kitchen experiments, silicone sealant moulds don’t hold up against pewter. On top of that, I broke my first wax coin by pressing the silicone sealant mould onto it.
I had to get a reliable silicone that could be poured, not pressed. After a bit of research I bought a 1.1kg kit of M4512 RTV shore A 20 condensation cure silicone. And… I had no idea what any of that actually meant.
That silicone was fine for creating the wax versions of my coin, but it was so soft (hence shore A20, the lower number on a hardness scale ending at 100) that it was tough to cast it without the wax deforming the mould. I had to build a case to hold it and stop it bulging in the middle.
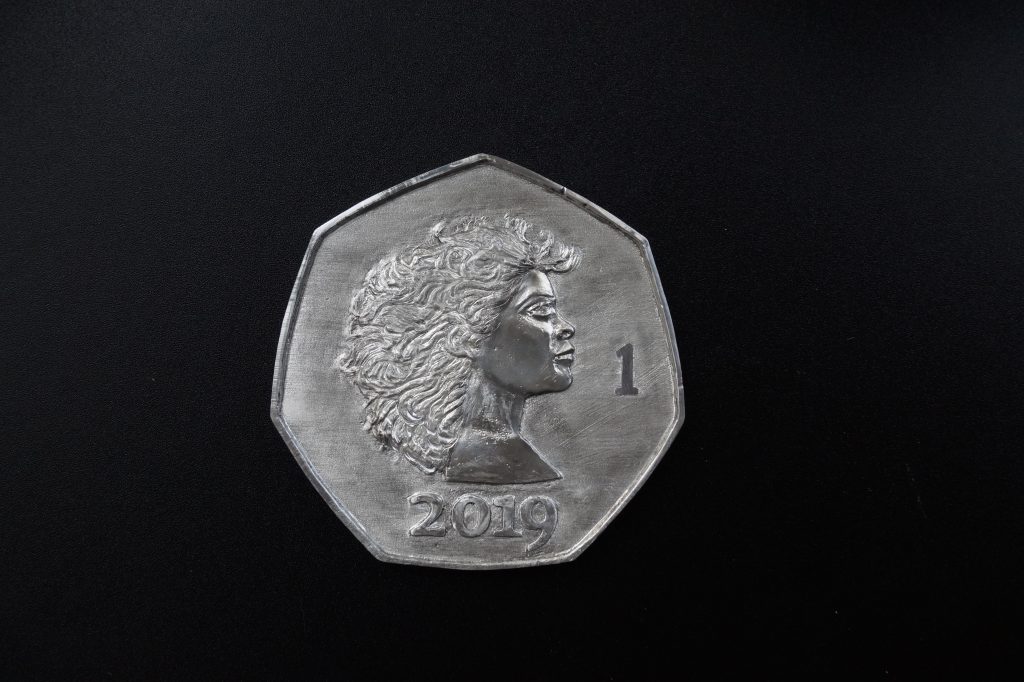
The portrait on this was terrible! But the silicone was so soft that it could easily be pressed in, making the wax too thin.
Lost wax failures
My first attempts were with lost wax casting using plaster of paris as an investment material. This was ok to a certain extent, but I got loads of bubbling and pitting. Whilst it was definitely recognisable as a coin, it wasn’t exactly good enough.
This was why I didn’t want to start the process without having a way to replicate my wax coin. I had to start over with more sprues in my plaster and more ways for my pewter to vent steam without pitting, but it had taken so much time to cast the investment blocks and dry them that I decided I needed to get some high-temperature silicone that I could just cast the metal directly into.
One advantage of not getting a perfect result at this point was that it made me stop and go back to the drawing board and redesign the coin and the way I made the positive. Instead of just using wax, I made my positive up from foamboard for the base and rim and wax for sculpted elements.
This stage – redesigning – did take more time than I wanted it to, but the result was a much better looking coin than I’d started with. If I hadn’t failed at first then I’d have come out with an uglier version, so some comfort there.
High temperature silicone casting
Figuring that I knew a fair bit more about condensation cure silicones and all that, I was a bit more confident about making my second purchase. Unfortunately I couldn’t find MoldMax 60 in the UK and nothing else that I liked at a decent price, but I did find an alternative on eBay – a 1kg kit that mixed at a 50:50 ratio and cost only £26.
1kg sounds like a lot, but… well… it’s not. Fortunately this stuff does the job and copes well with the high temperatures, so I was happy with that.
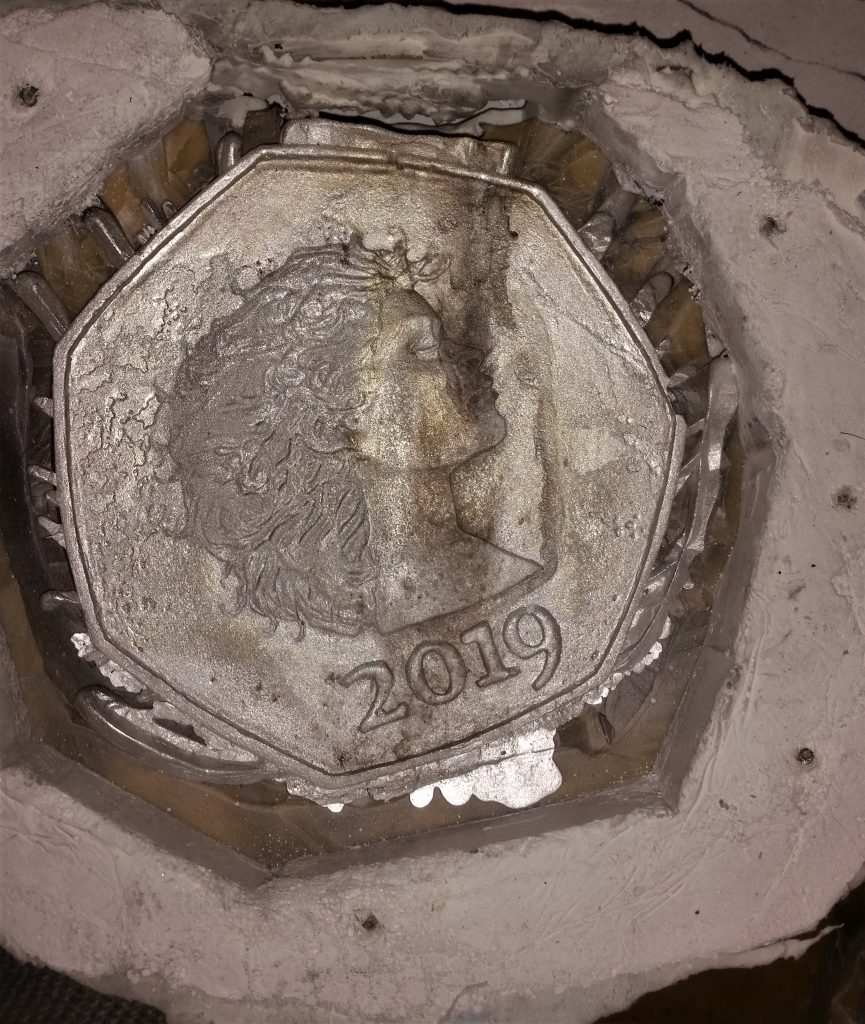
Although I was on the home straight I still had problems. I was pouring the pewter directly down into my mould, and I was constantly finding surface pitting and burn marks where the pewter had poured in.
Enlarging the pour spout helped with getting rid of bubbles at the very top, and lots of new, large vents along the sides did help somewhat, but nothing got me the perfect copy of my wax coin. I still had a sculpture that needed lots of grinding, sanding and scraping.
Finishing the sculpture
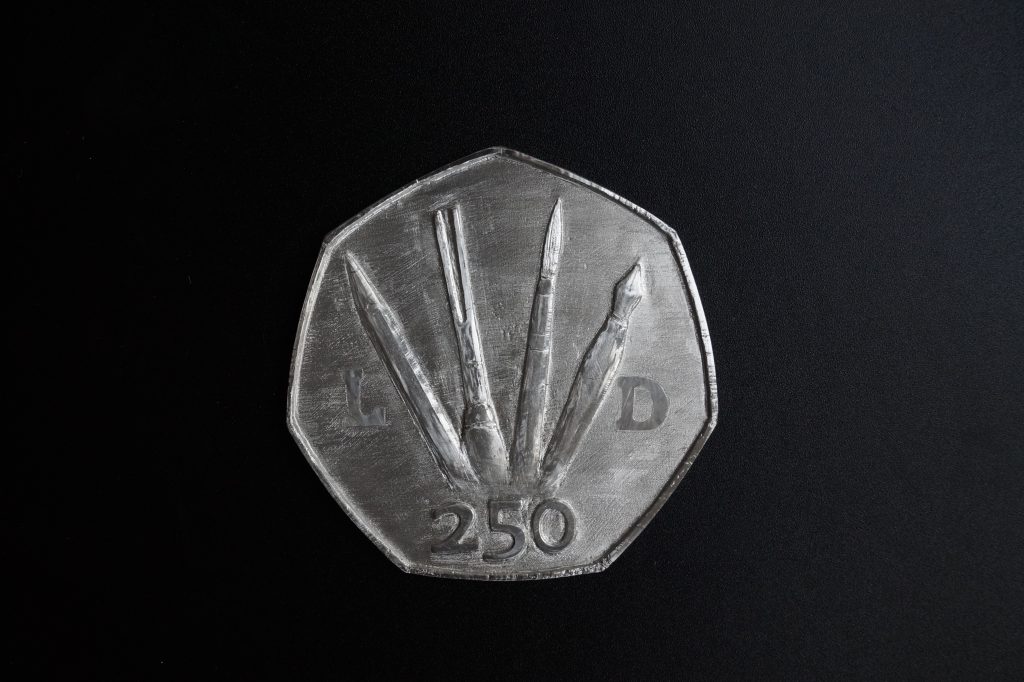
At this point, a couple of months in, I decided to get some more high temperature silicone and redesign the gate system to minimise burning and pitting when I poured the metal. Before that, though, I wanted to finish the coin as much as I could, and yet again rework the initial wax sculpture to refine elements that still didn’t work.
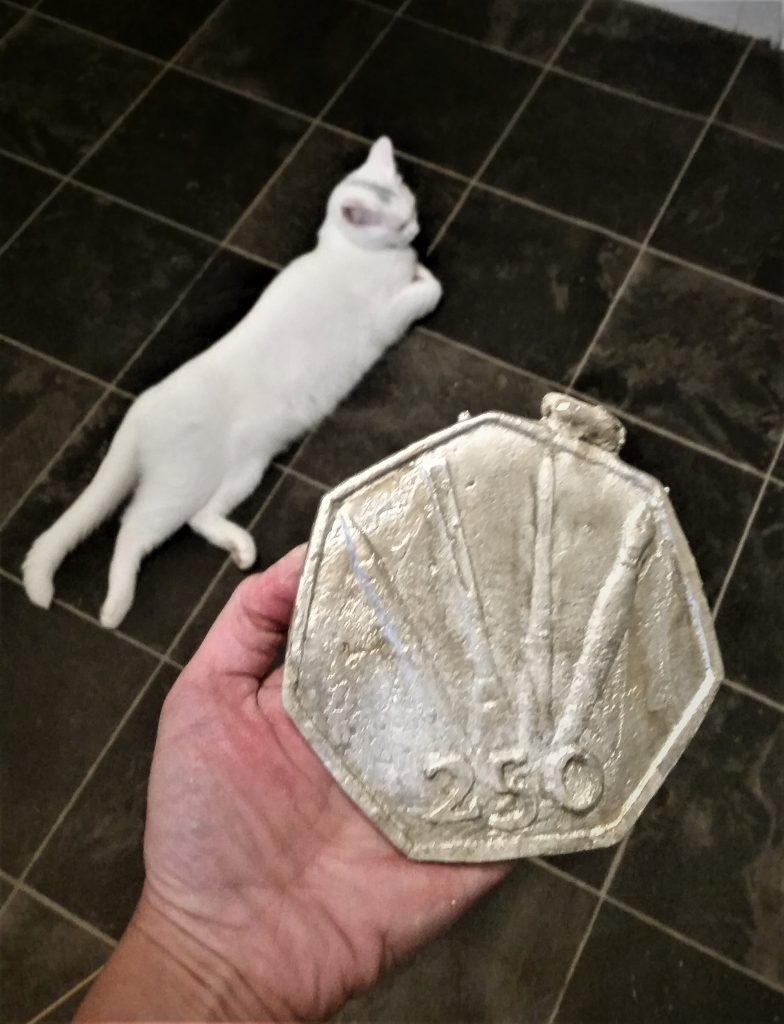
So here’s the prototype, which features a few elements that weren’t included in the original design, but will be integrated into the final run.
Casting a giant pewter coin was definitely more of a challenge than a smaller coin, but because of this project, smaller coins are currently in production as well.
This is a story of experiment and of failure. Oh well!
I don’t paint on canvas. I haven’t done in a long time. The texture of the weave just gets in my way and interrupts the fine detail that I’m trying to achieve. I prefer my surfaces to be smooth and to have texture develop only where I place it, unless I’m painting on a minimally textured watercolour paper – it’s usually the kind of surface that contributes to the feel of the work without sticking its nose in where it isn’t wanted.
Another material I don’t use much is acrylic paint – it’s never tempted me across from oils or watercolour. However, I have used it in sculpture recently, because of its quick-drying nature and the chance to use it as a 3d material.
Experimenting and letting go
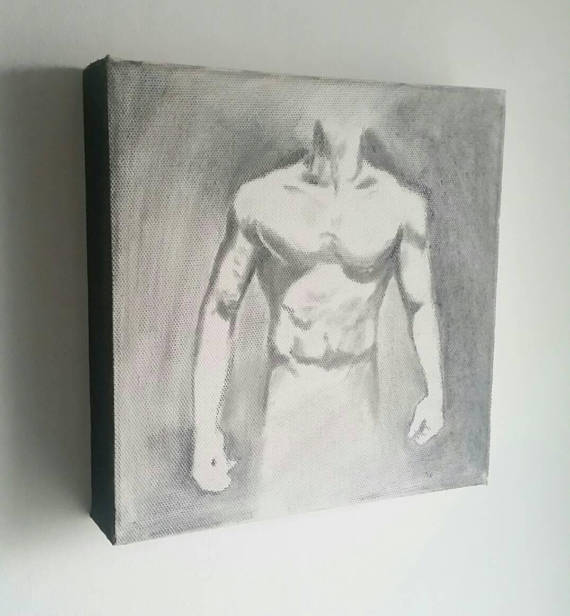
As I had a few pre-stretched canvases that had been given to me years ago, I thought I might as well have a go at using them for experimenting with different media as well as for filling space on my own walls at home.
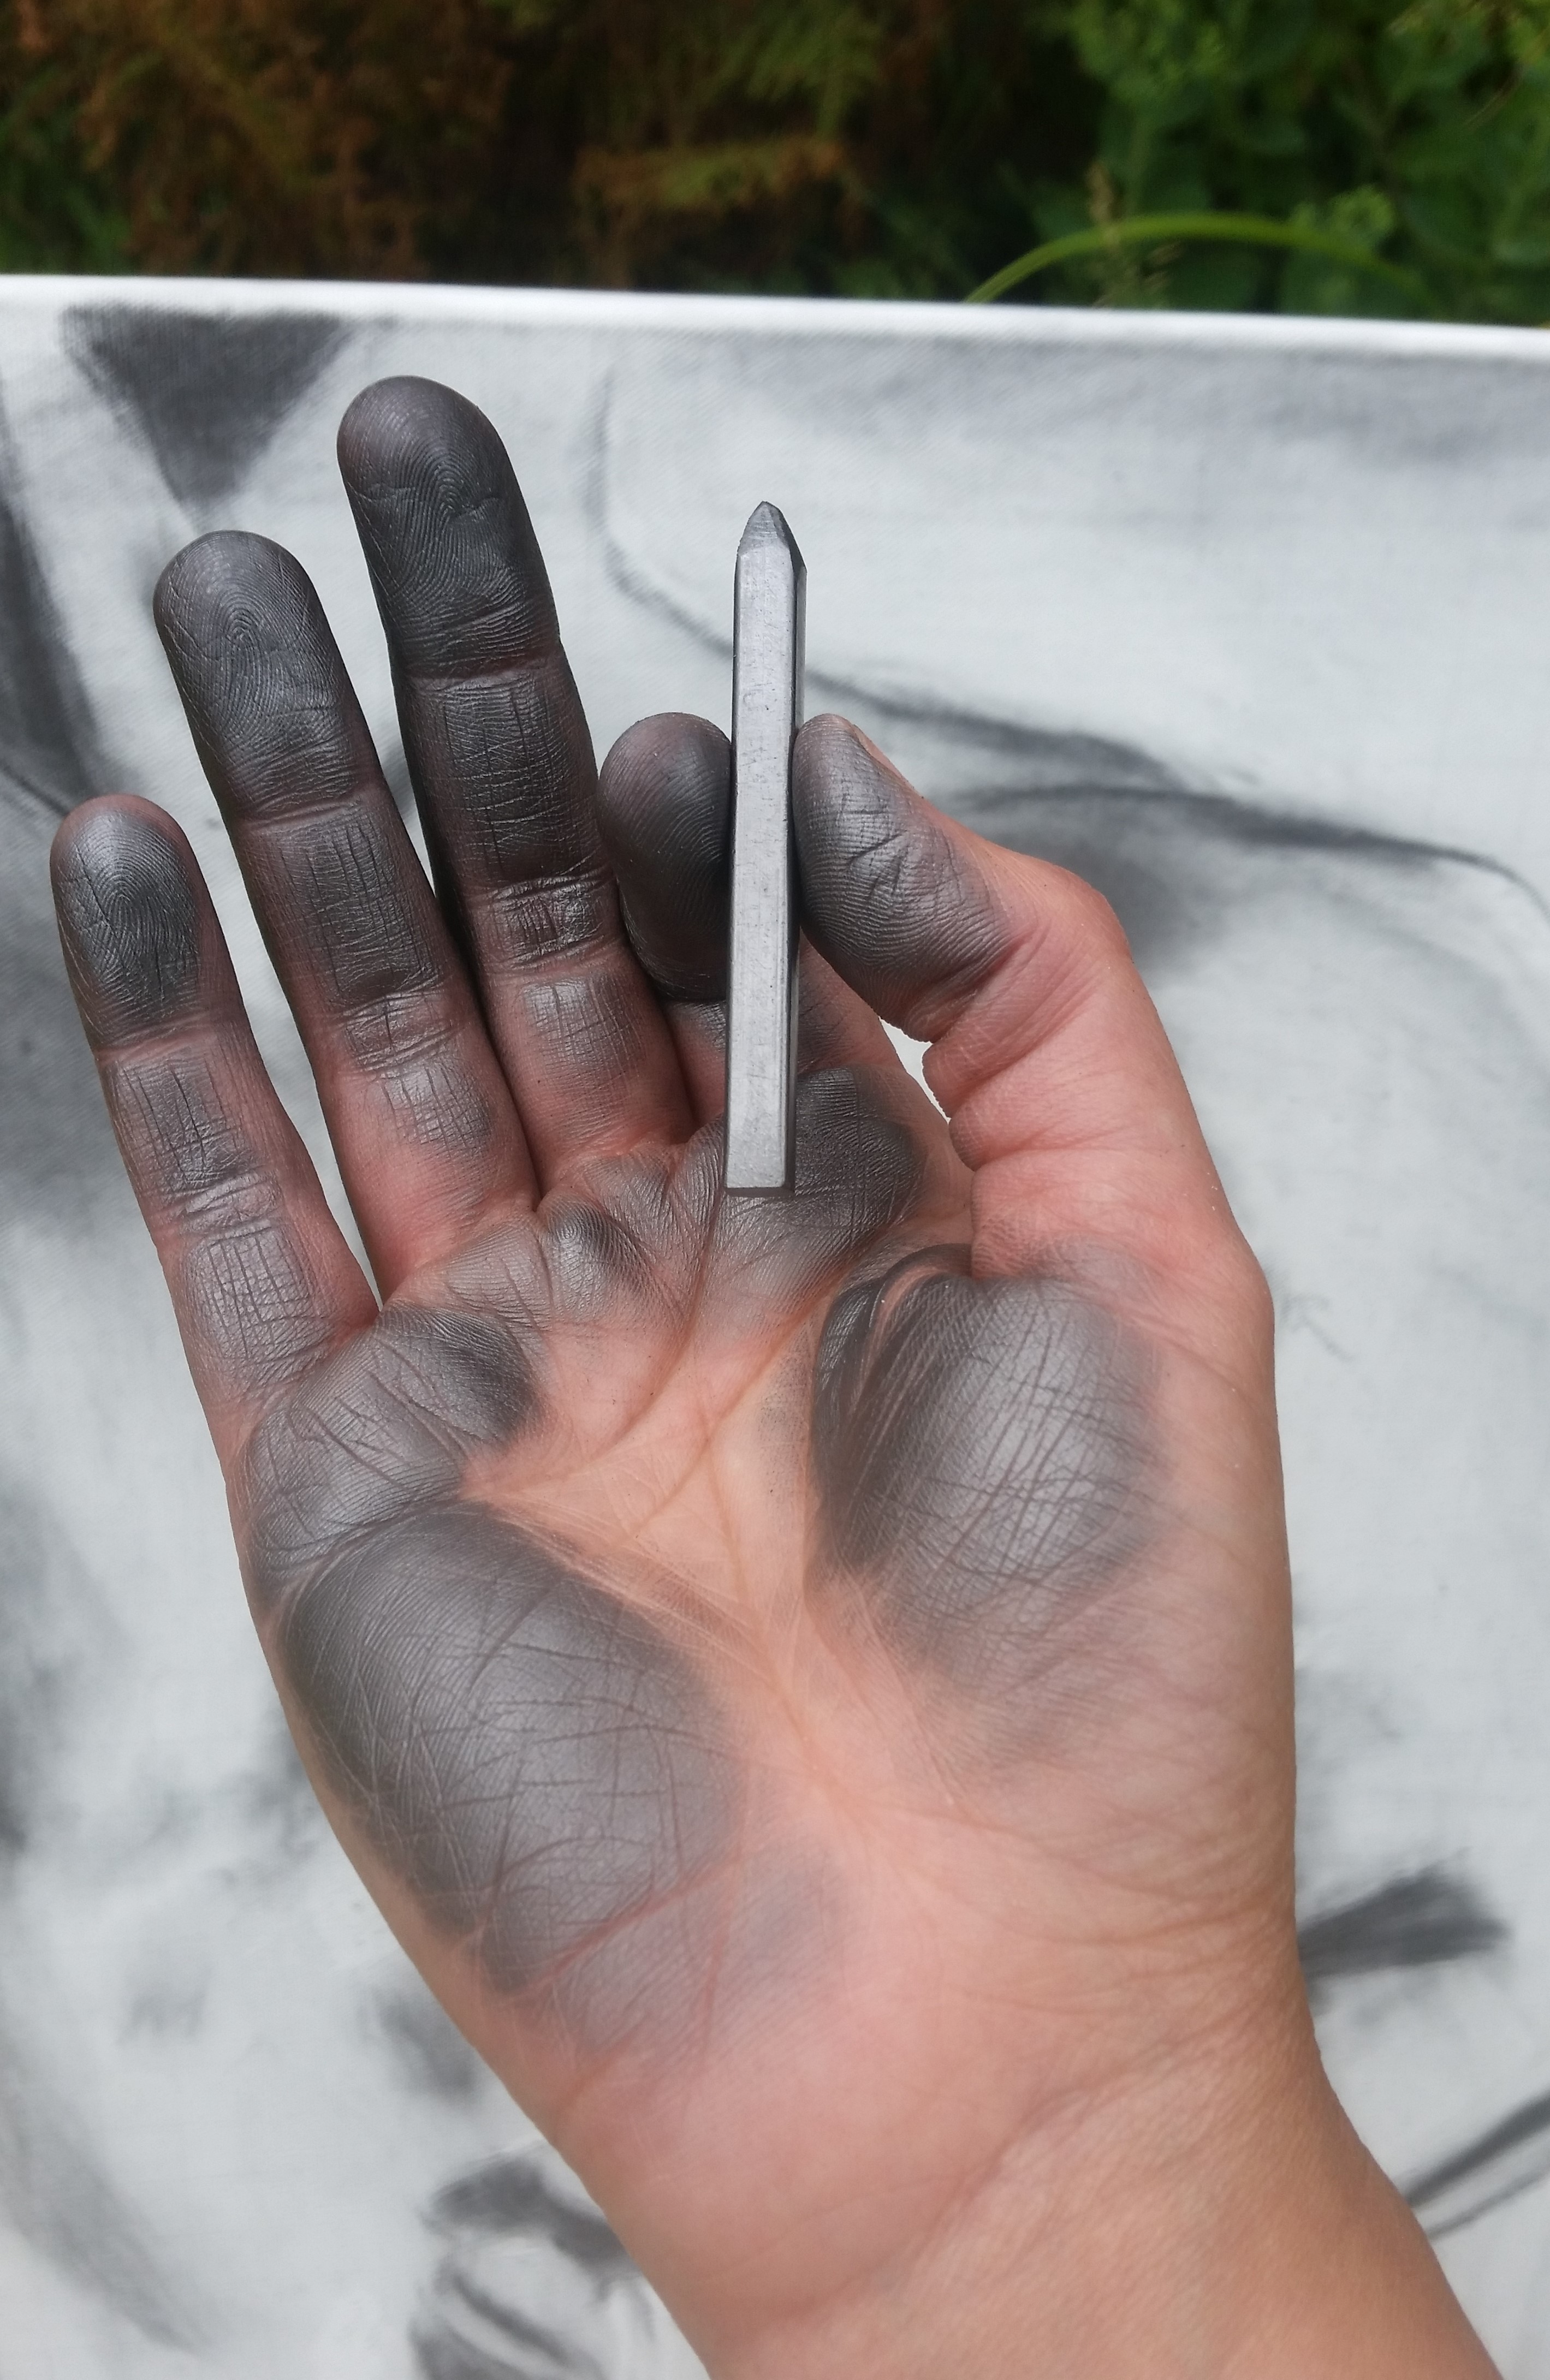
Drawing with charcoal on canvas came to mind as progression towards some monochrome paintings I’m thinking of doing.
It’s not the first time I’ve used primed canvas as a ground for drawing, as I’d already done a graphite piece.
The weave of the canvas seemed to be an inviting surface for charcoal drawing, so I started by scaling up a smaller sketch by gridding, and then losing patience and jumping straight in. Pushing charcoal and graphite around the canvas with my hands was fun enough, but I just wasn’t feeling happy with the resulting image.
The problem was, once my family had seen it, they loved it. Fair enough – we’re allowed to like different things and different kinds of art; they enjoy stuff that looks like stuff, and that’s mostly what I do, but I need a few more layers that this piece just didn’t have. There just wasn’t enough tonal variety and not enough subtlety.
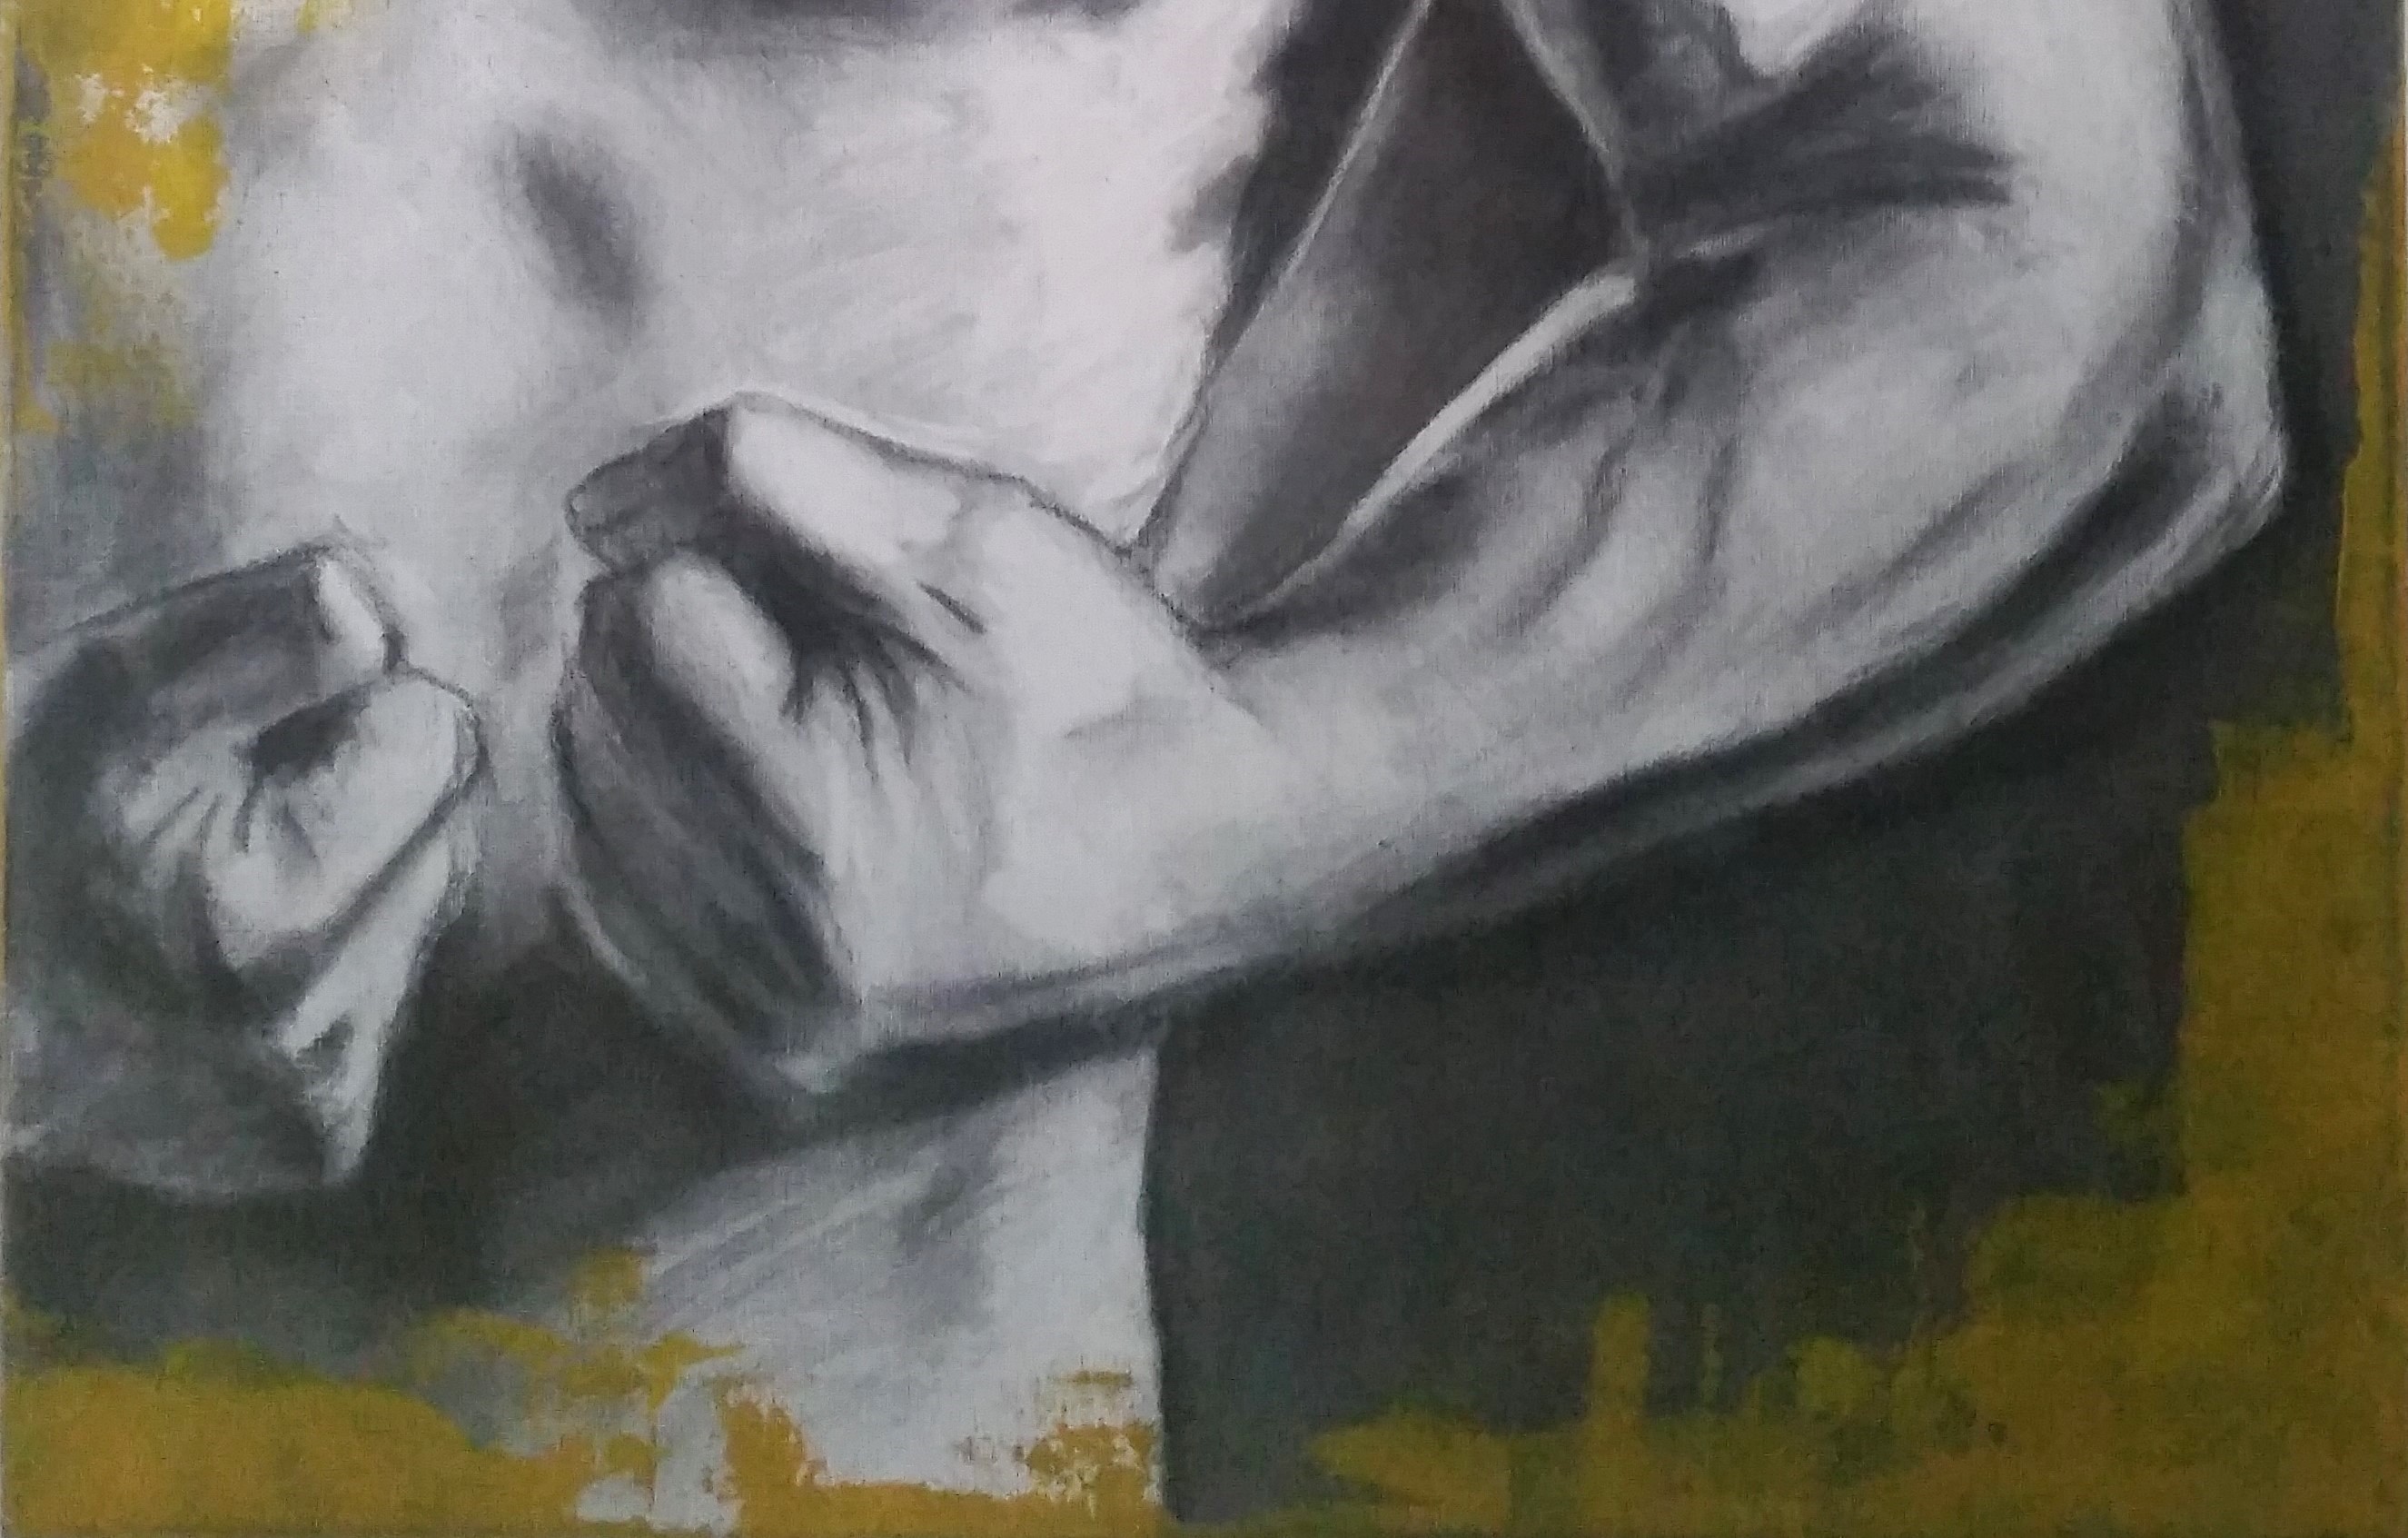
Just to see what would happen, I worked in some golden-yellow acrylic paint to frame my subject. It was better, but not convincing me that it was good. It had gone towards those ubiquitous superhero canvas pictures – a really dangerous spot to end up in.
Still, it ended up on the wall in our living room, gnawing at my insides.
I left it for a month and eventually tried to bring it back around, but couldn’t. I just didn’t like it, and I had to start negotiating with the family to replace it with something else.
What was wrong with it?
The drawing was off.
The composition was poor.
The subject’s pose was wrong – not engaging enough.
The rendition of the form was too flat.
Basically, it was a rushed experiment and no more.
What it’s taught me is that it’s great to play around and do different things, and it can be very enlightening, but you don’t have to commit to everything you produce. If the work isn’t up to scratch, it’s not up to scratch, and it can exist as an opportunity to learn. I think that I will keep some things in mind, like drawing on canvas and incorporating controlled bursts of colour, but there will also have to be more of my usual, more careful process to make me happy enough to release something into the world.
The experience won’t go to waste – I’ve learned that I love these colours together as well as the nature of the marks.
I’ll keep this canvas and rework it to give back as a finished piece, with the slight trace of the original drawing adding to the story. Once I’m happy with it then I’ll share it here.
A friend of mine was getting rid of a desk, so I pinched it to give me a separate surface that would be perfect for cracking on with the printing. It was great, but I still covered all of the available surface and ran out of room. I just can’t work any smaller…
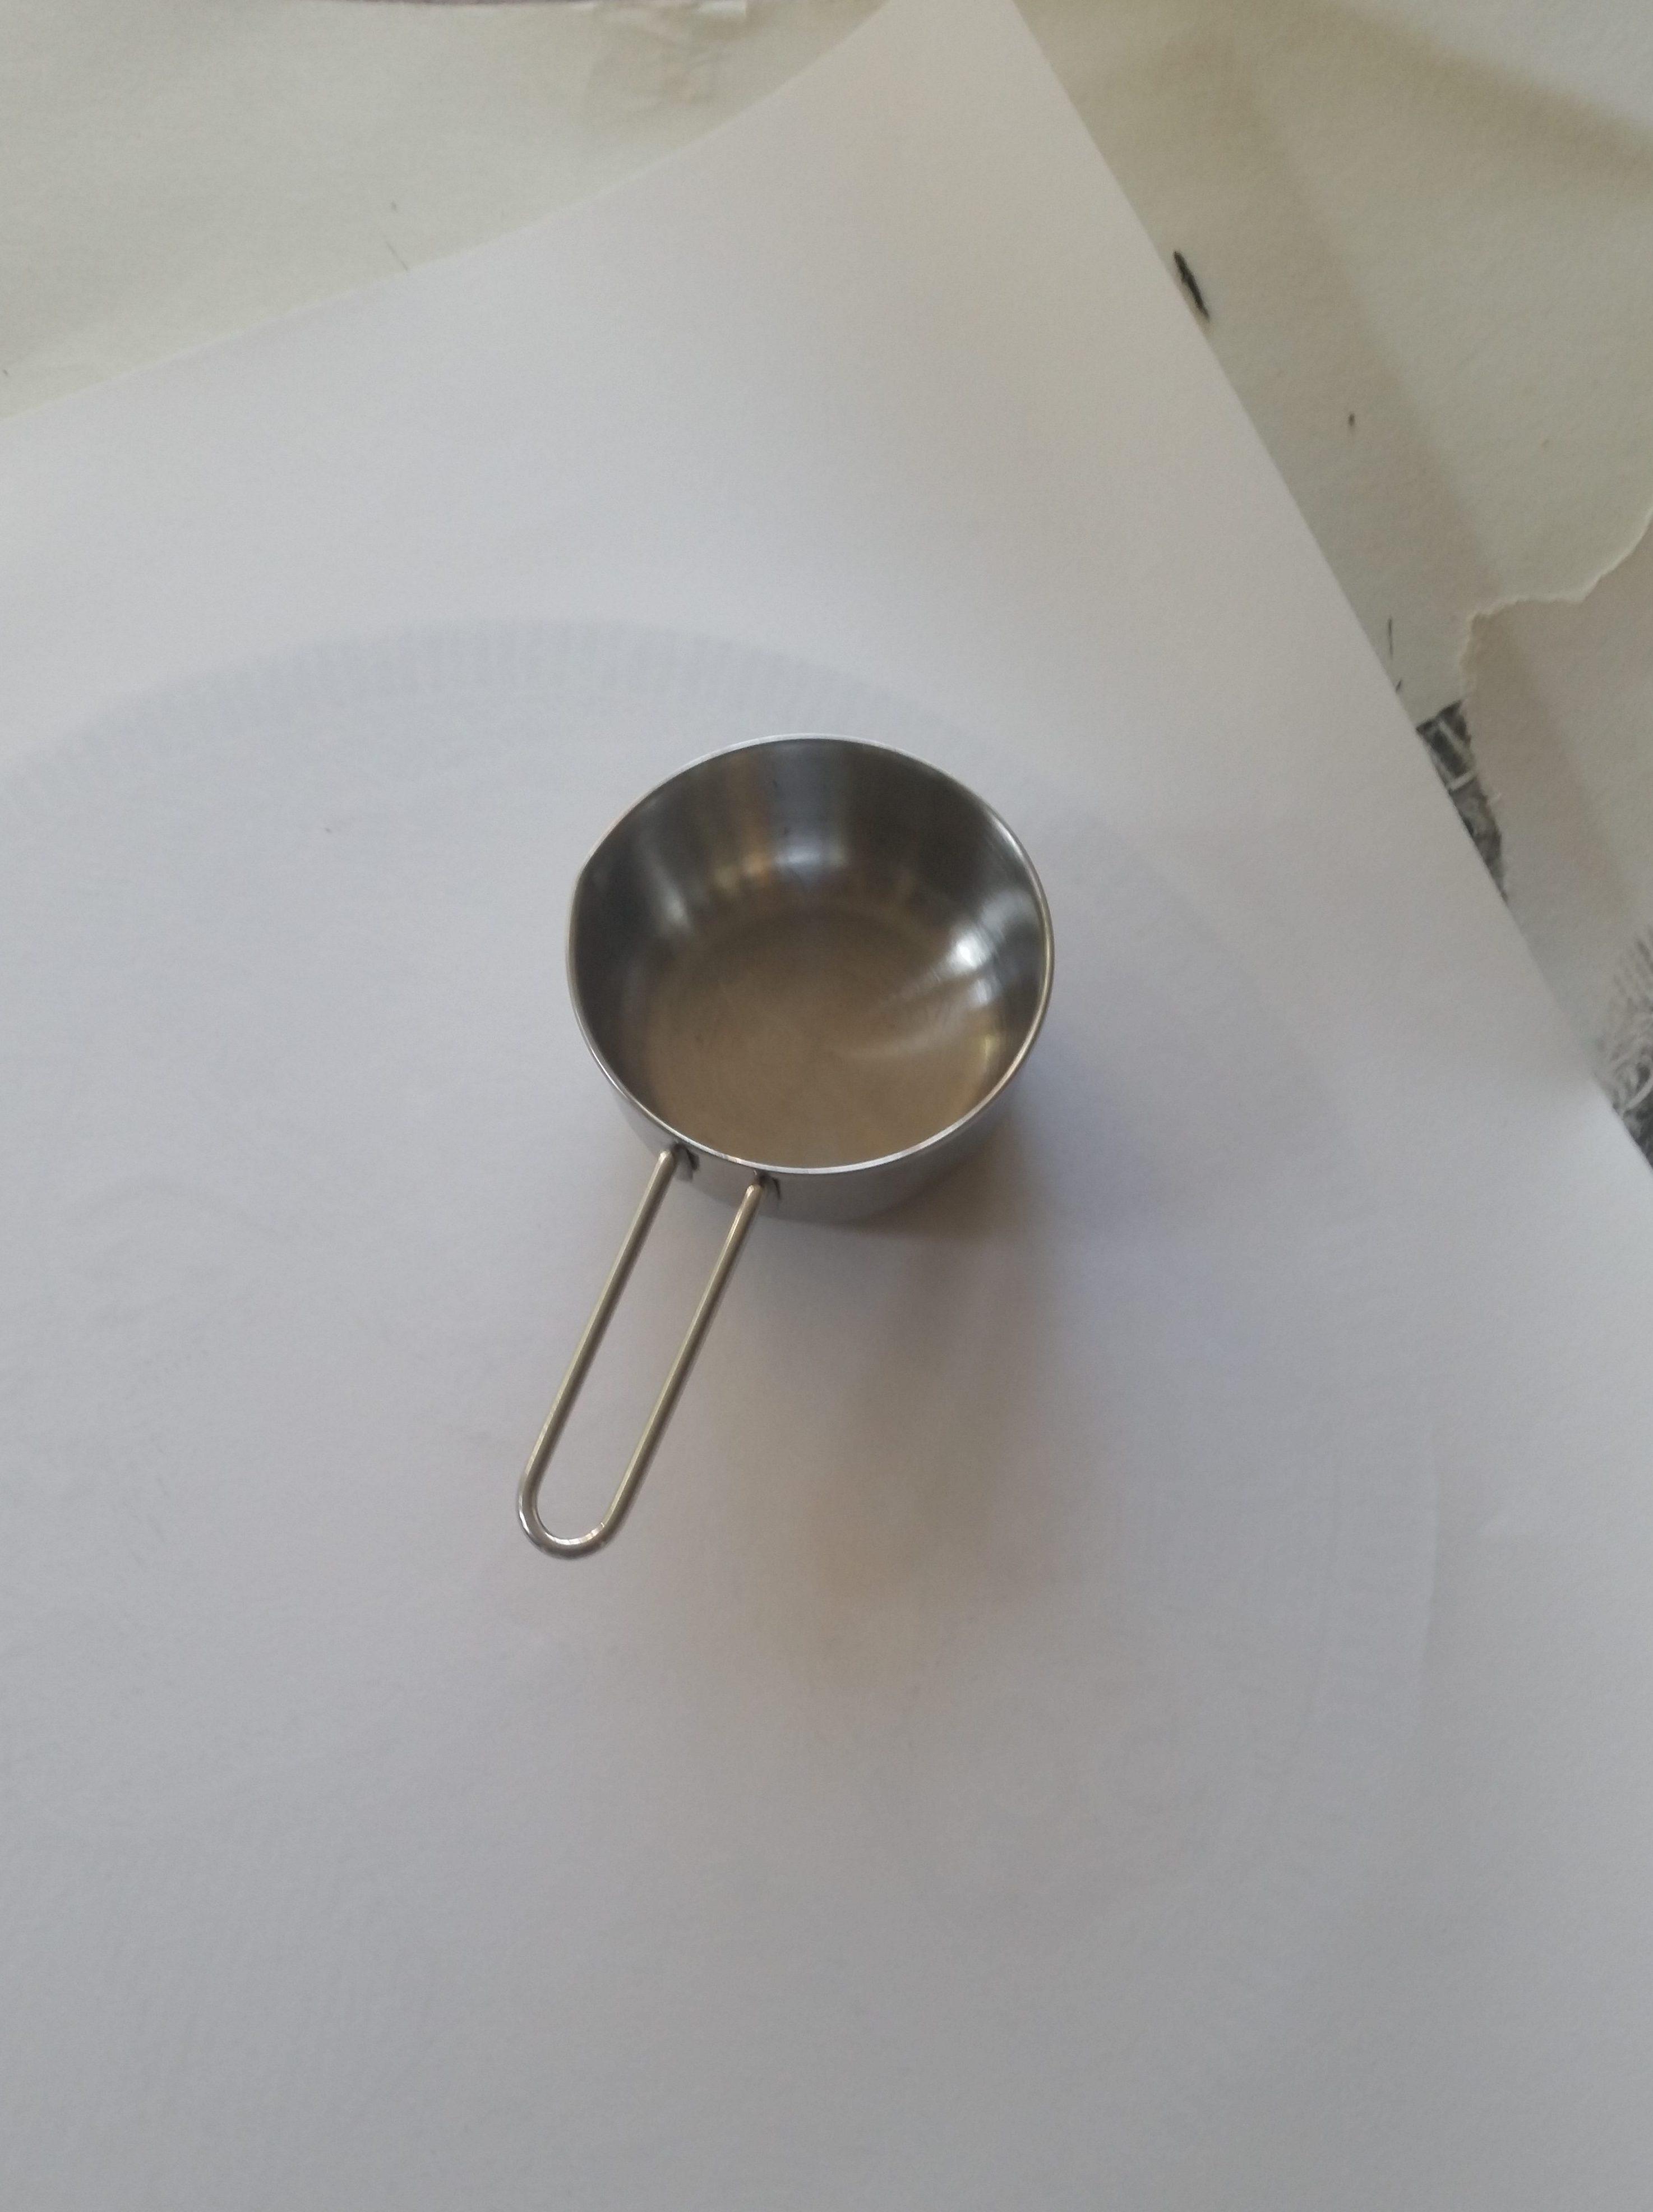
Hand rubbing with a baren
At first I really struggled to get a satisfactory print with my plastic baren, so I substituted the back of a stainless steel measuring cup. It worked fine, but what I didn’t expect was getting hot fingers from holding the inside of the cup as I rubbed it over the block!
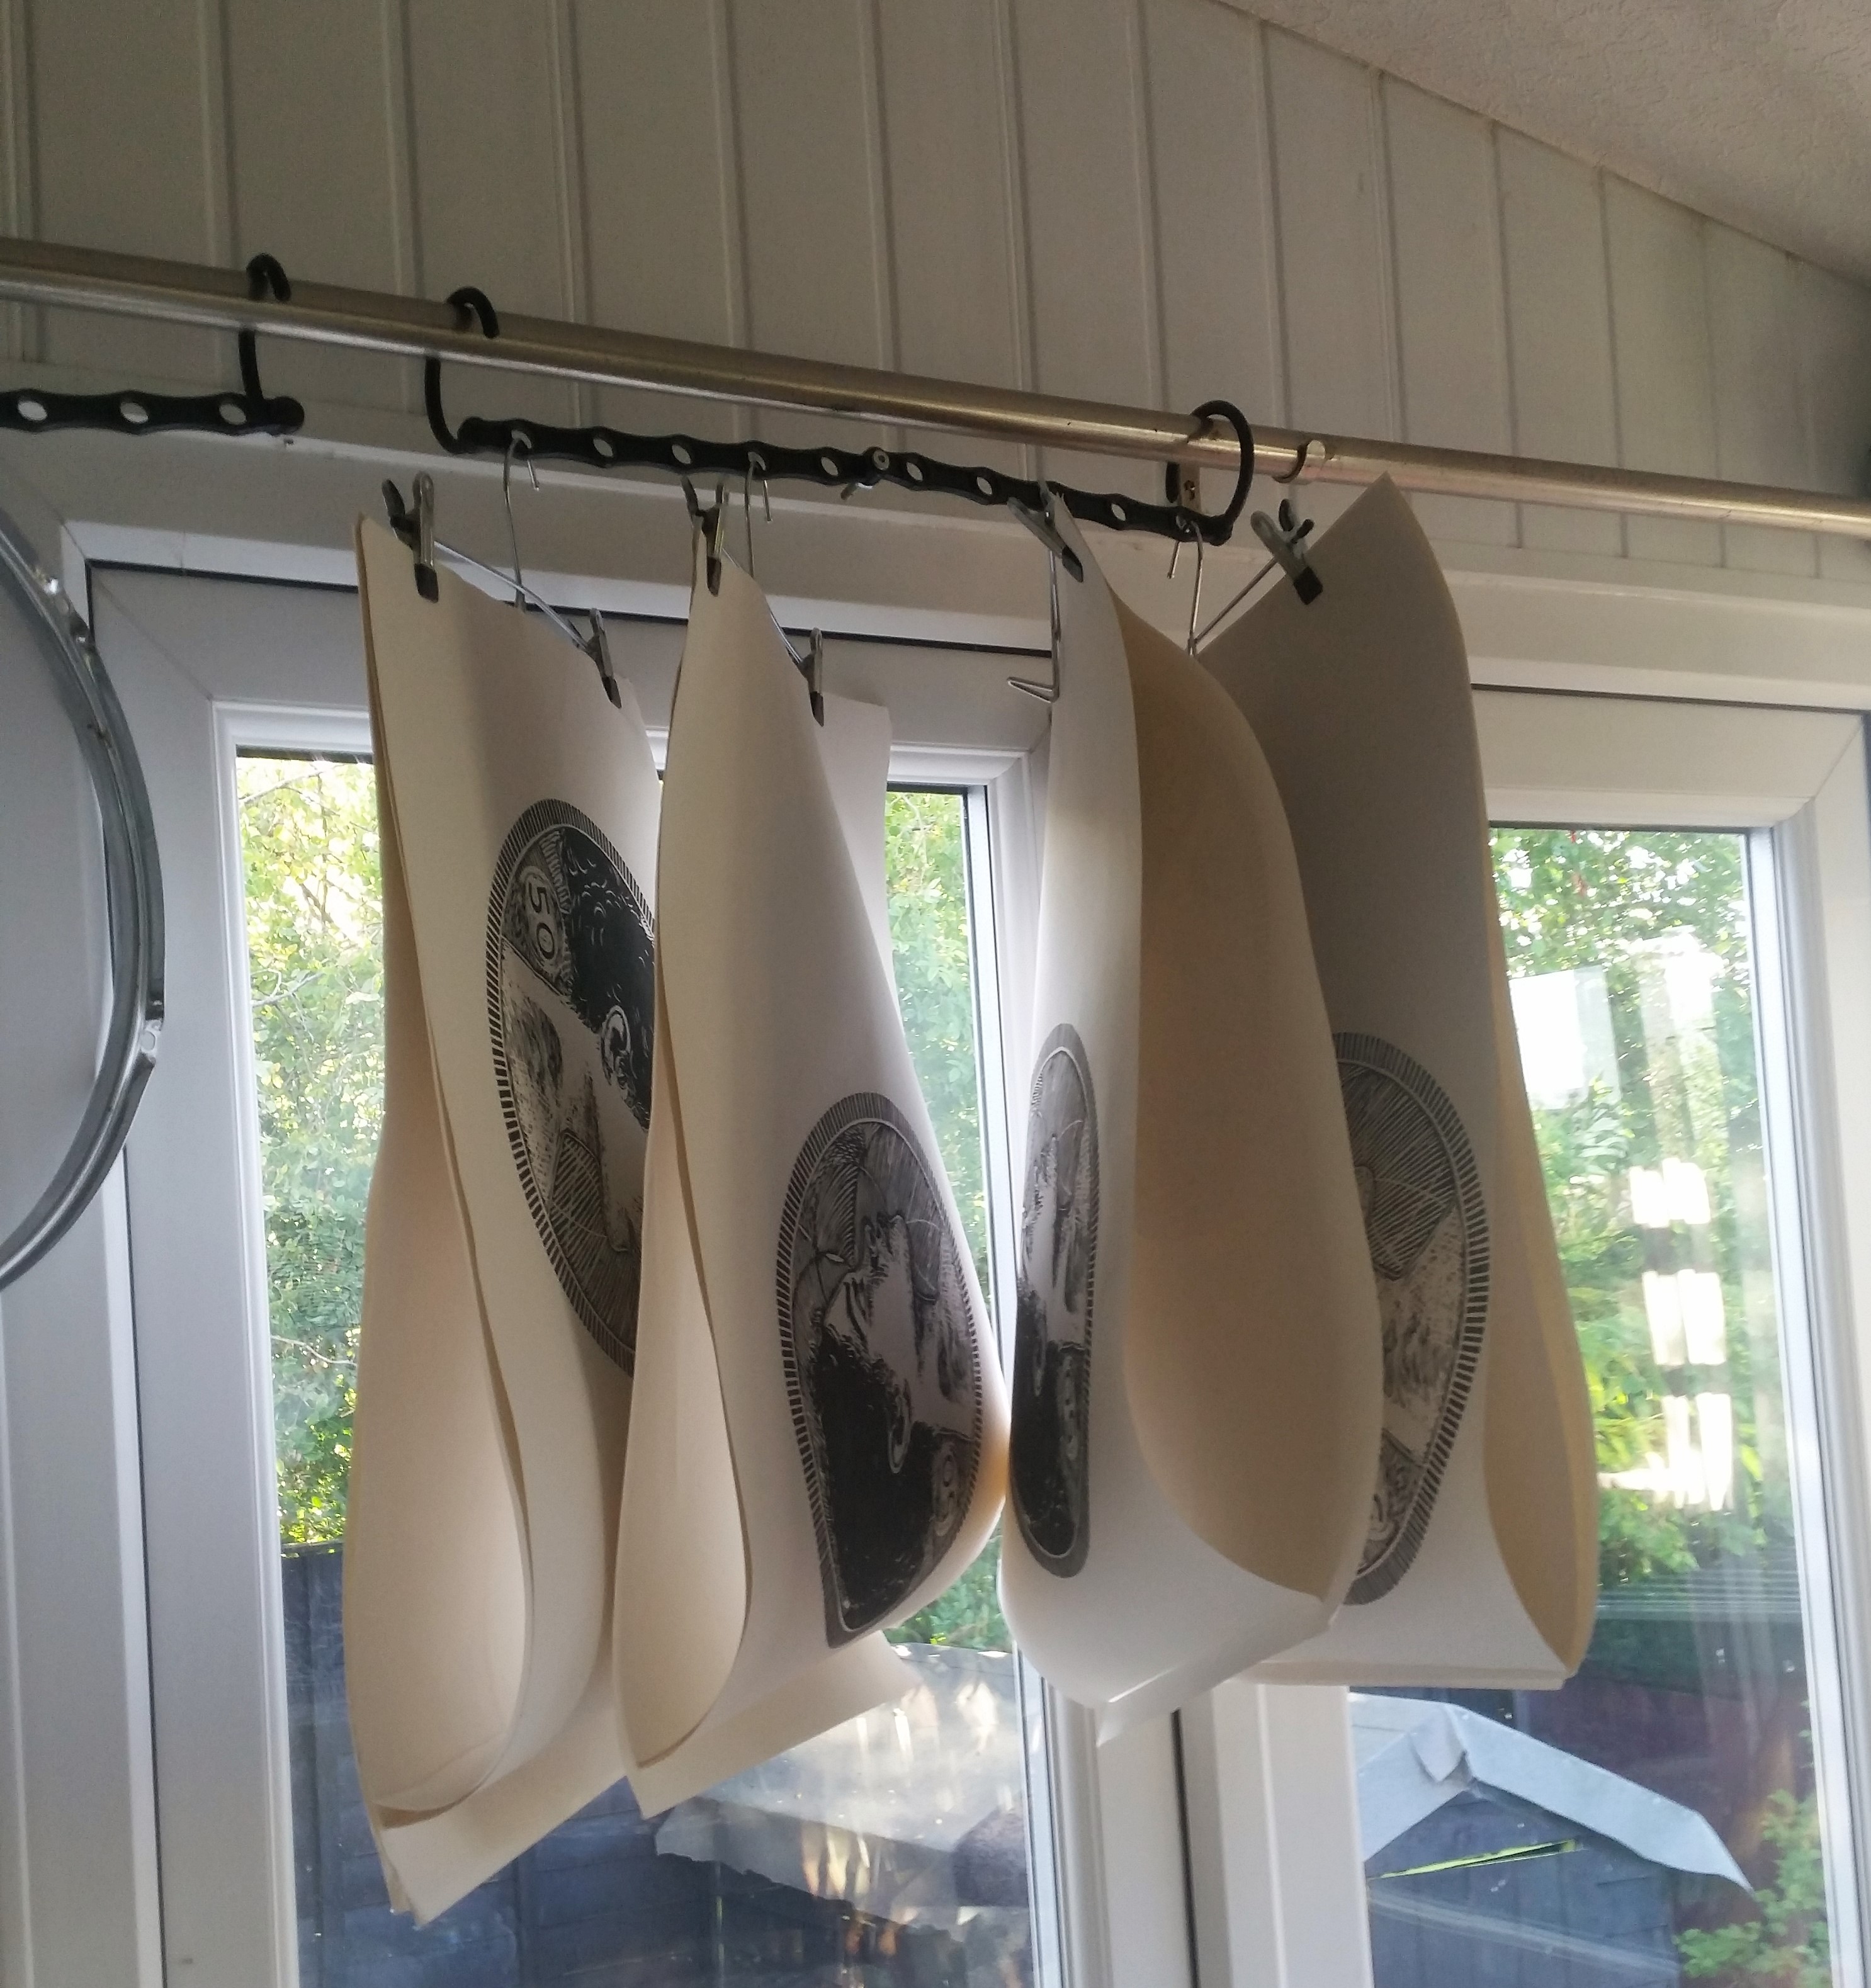
As there was no room for stacking wet prints, I used some old skirt hangers that I’d been saving just for this purpose, along with some doubled-up space-saving hanger thingies.
My version of a space-saving print drying rack.
Casting aluminium ingots
We got the furnace fired up again to melt more cans and make more ingots in readiness for casting our finished projects.
In all honesty, it was a bit of a pain not jumping straight into casting the end products, but I didn’t even have a finished prototype of my coin sculpture, so there was no point in rushing it.
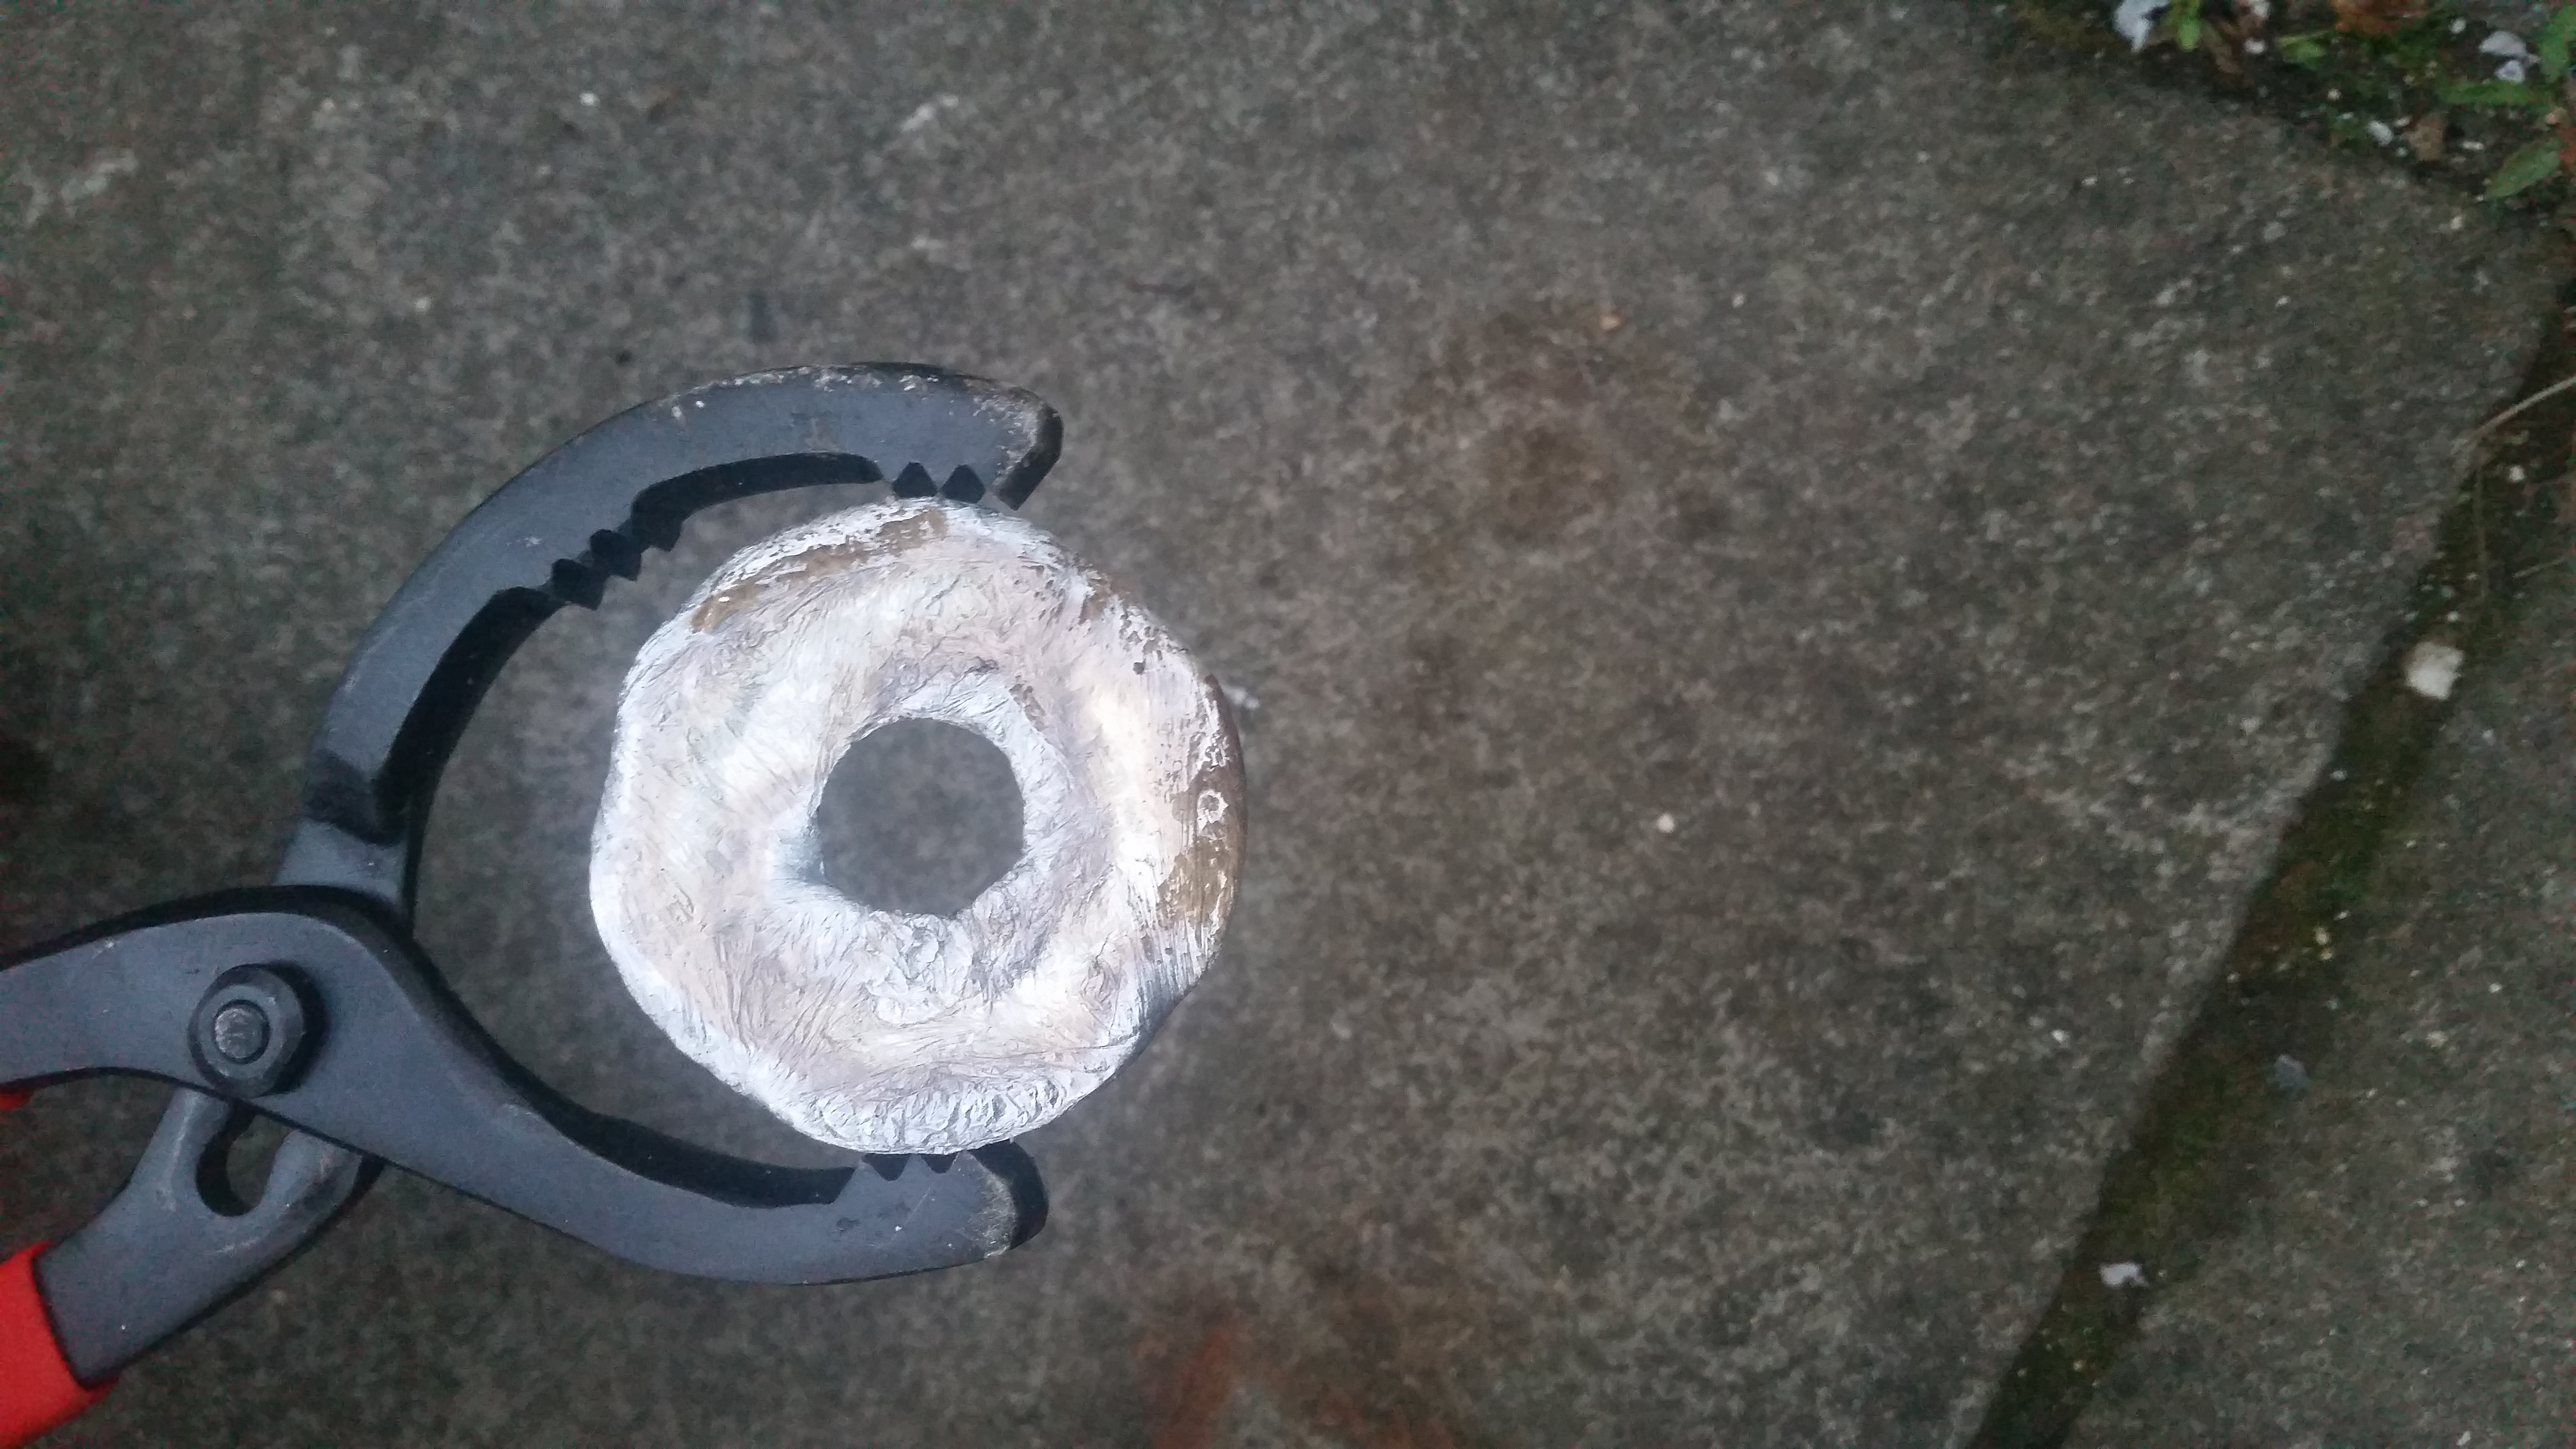
Our first aluminium ingot – we cast 5 during the second melt.
I sacrificed a donut-shaped muffin tin for the cause. It was worth it as I never seemed to get anything out of there in one piece anyway, and the ingots come out as cute mini metal rings!