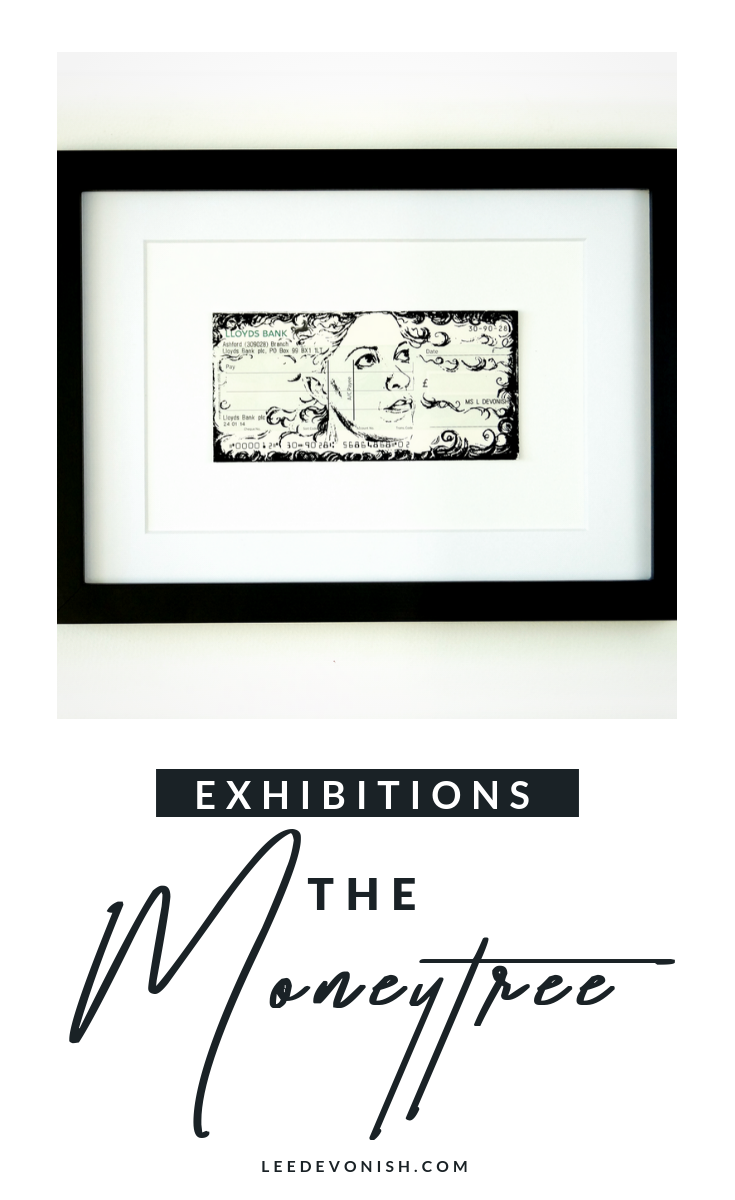
The Moneytree Exhibition
I’ve been so pleased to have been included in The Moneytree exhibition at Hamilton House Gallery in Bristol.
The exhibition was brought together by Lara Luna Bartley in collaboration with the CoResist Collective, and features artwork about the financial and banking system.
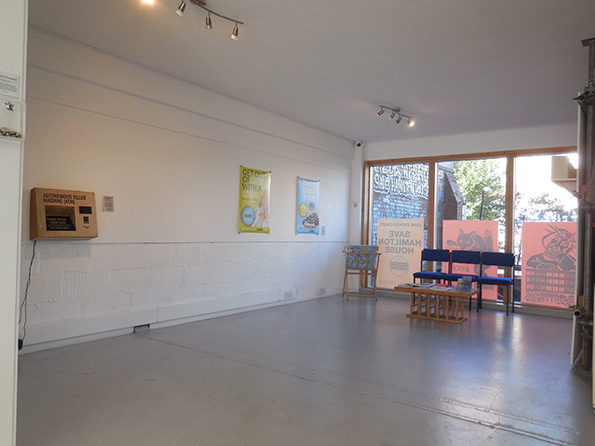
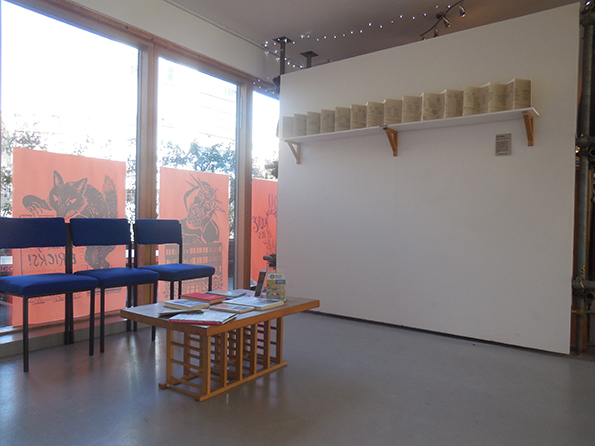
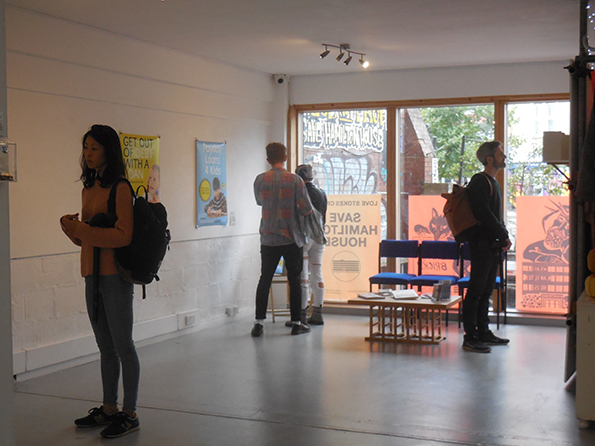
Lara was kind enough to share some pictures of the exhibition space. Other artists featured are Jane Lawson, Darren Cullen & Mary Millner.
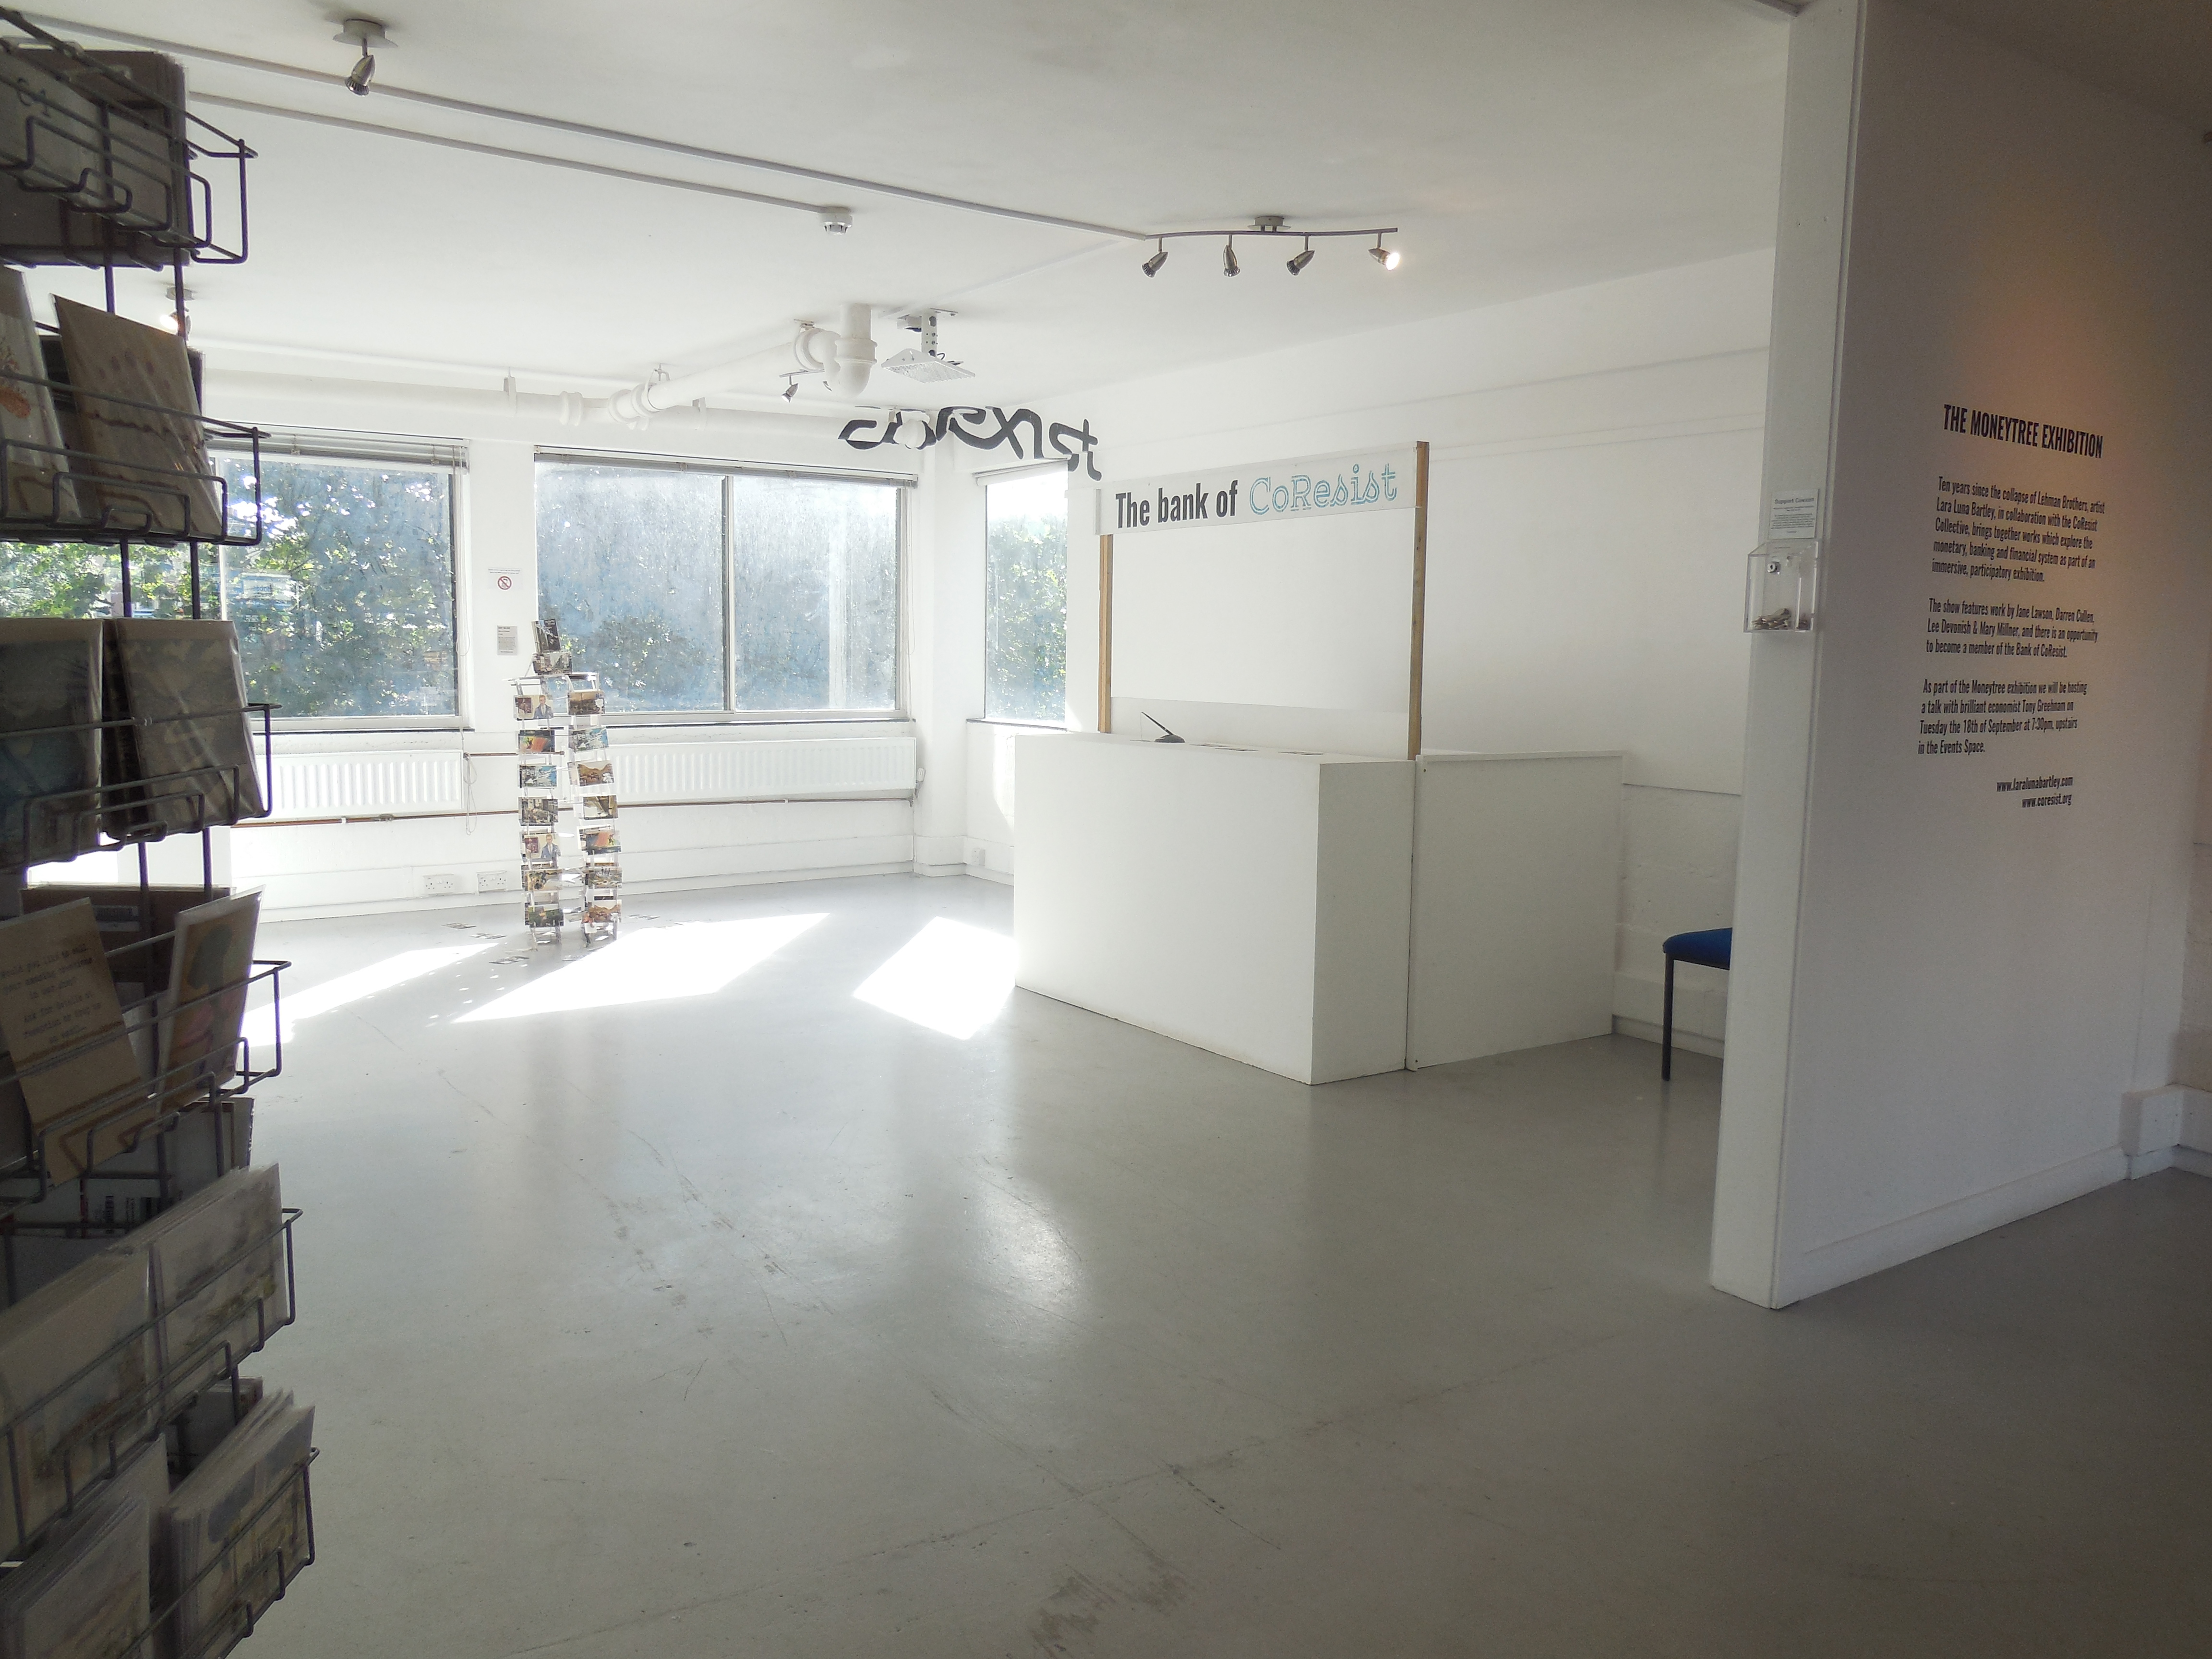
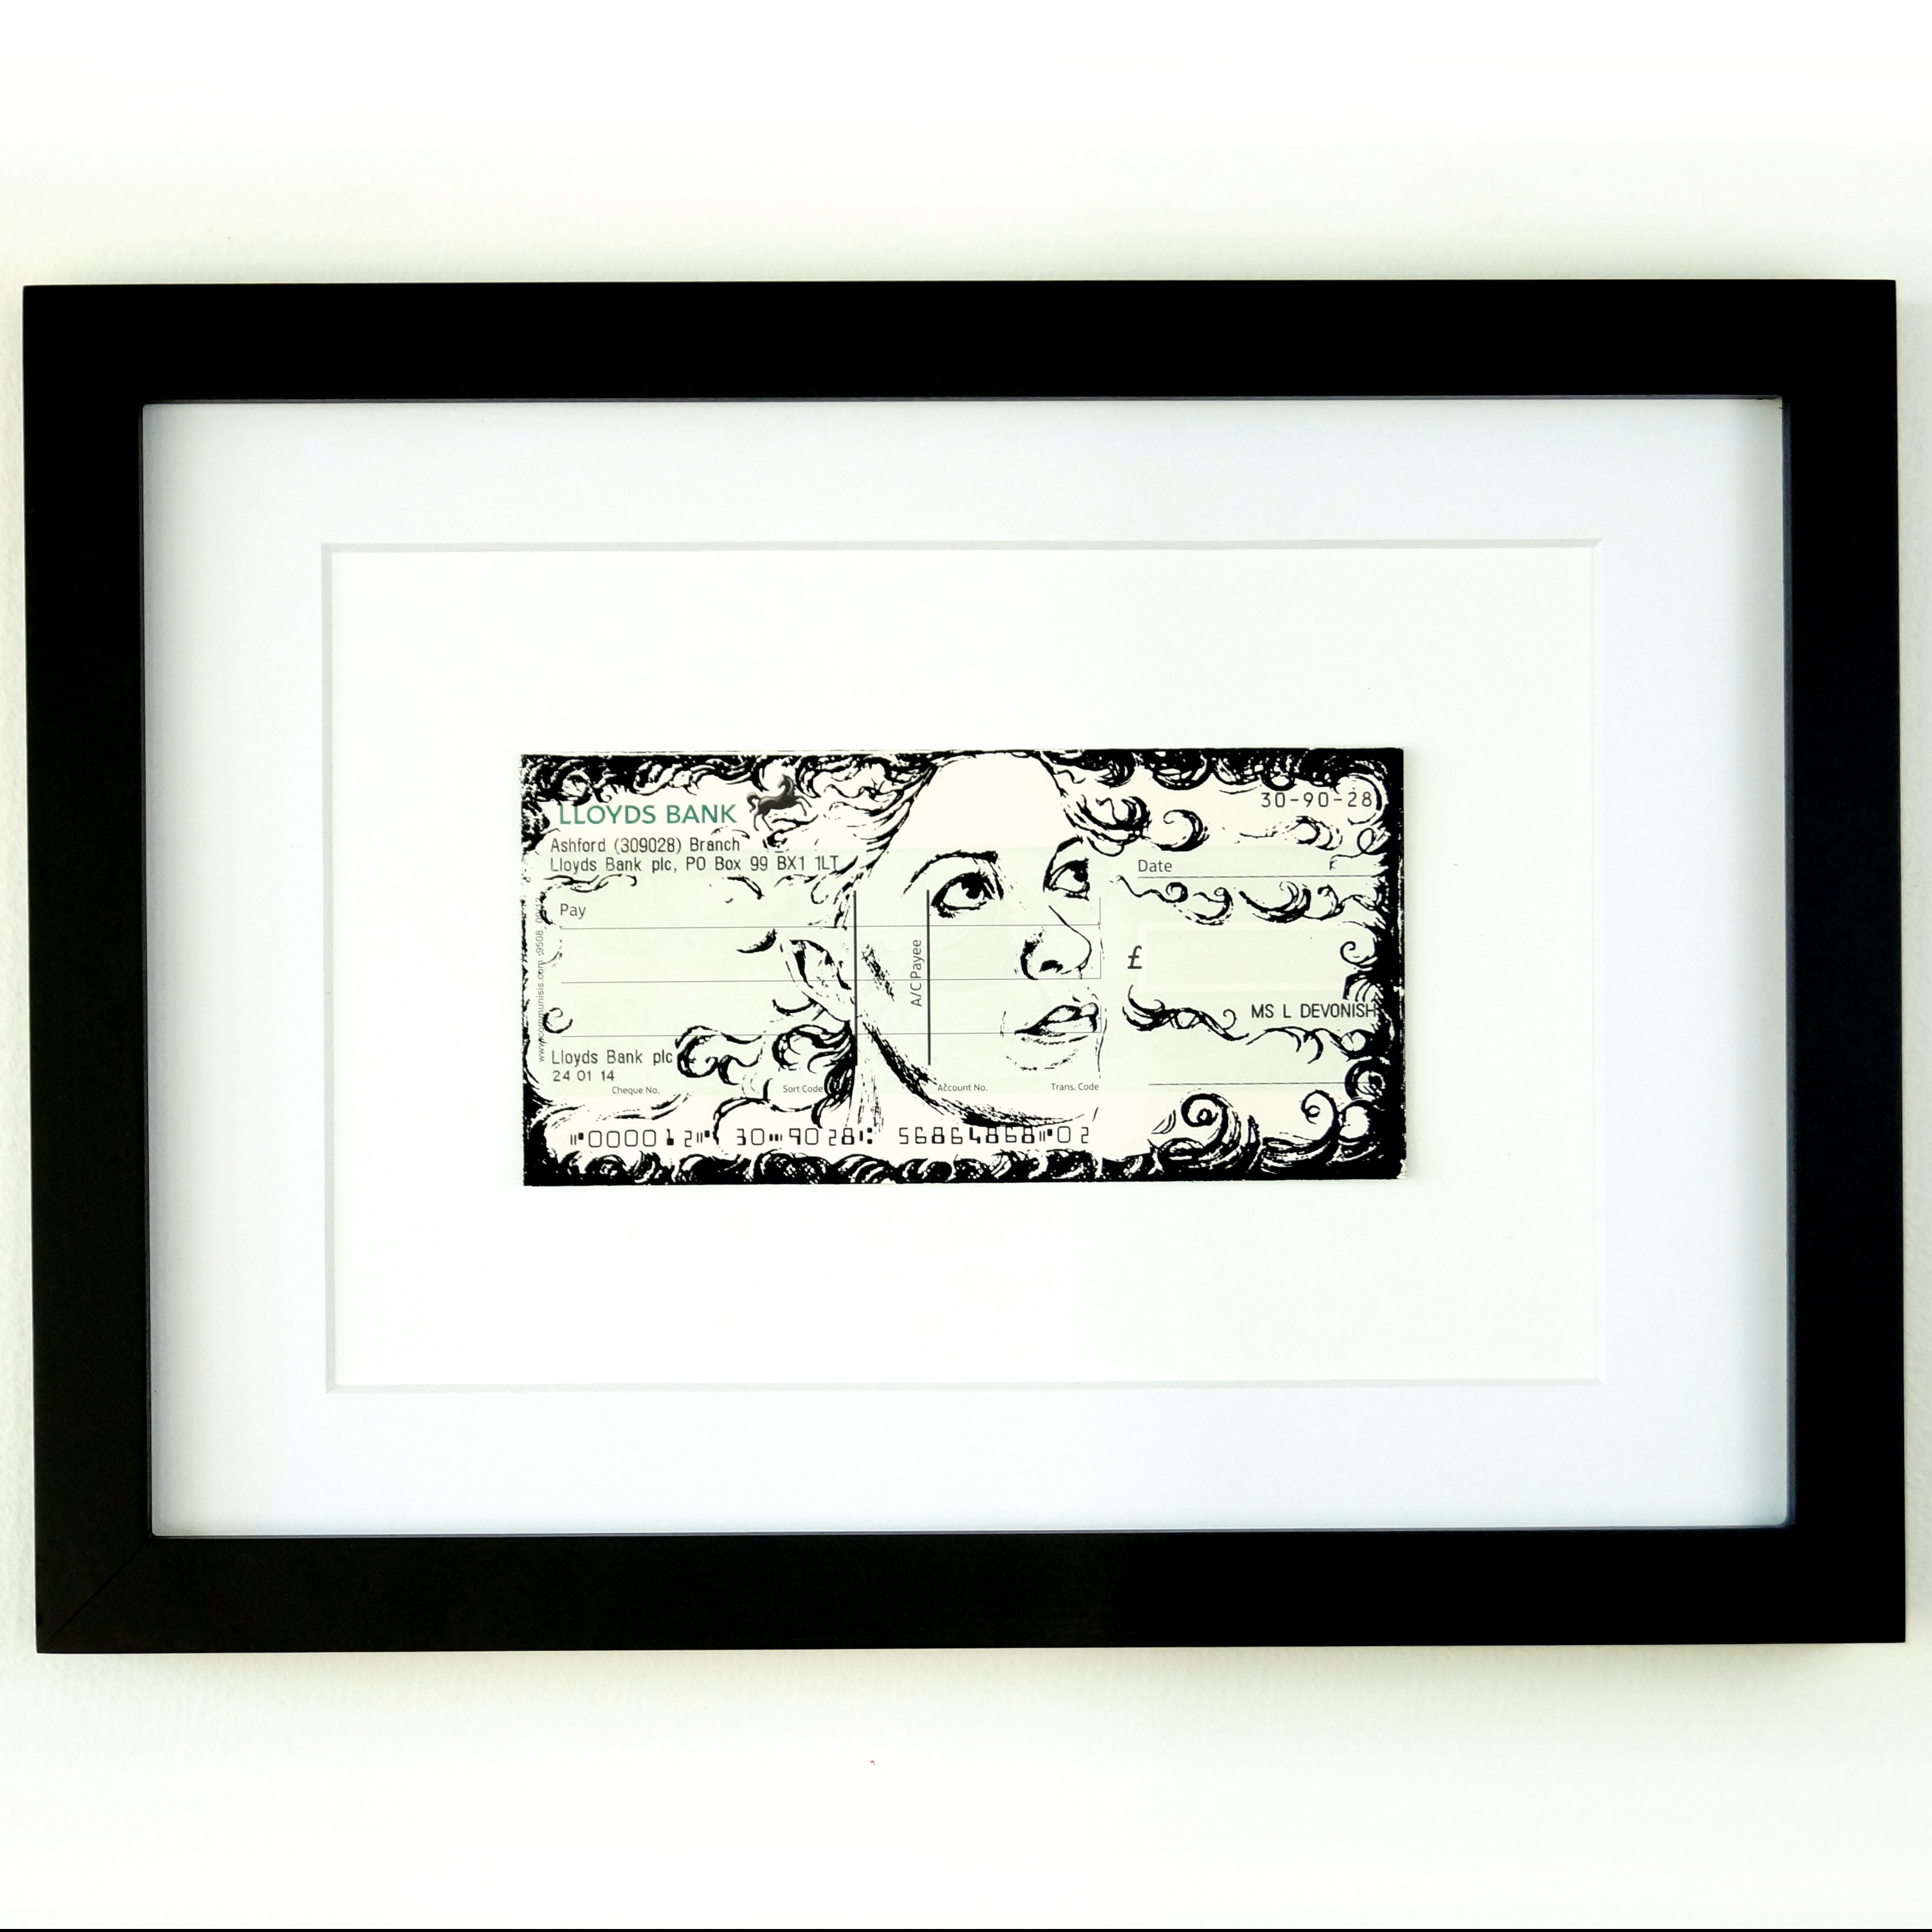
Lara Luna Bartley was the teller at the ‘Bank of CoResist’, printing banknotes which audiences could ‘borrow’ at 0% on a very long term basis, provided they would become a member of the bank for a small fee.
This concept resonates strongly with me, as I consider my money works to be ‘lent’ on a (very) long term basis as well, with the option to exchange.
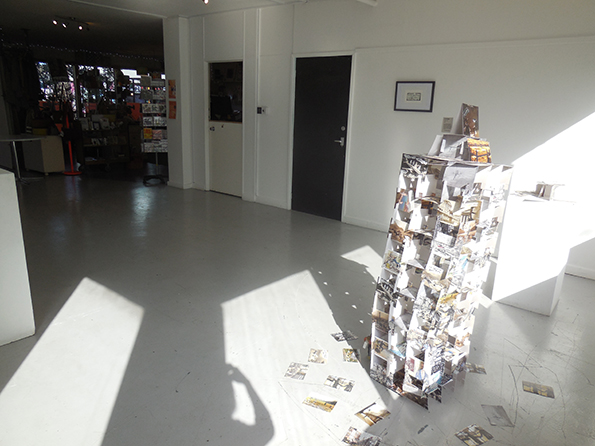
Mary Millner’s House of (Post)Cards featured postcards of the Shard and other centres of financial power balanced like a house of cards.
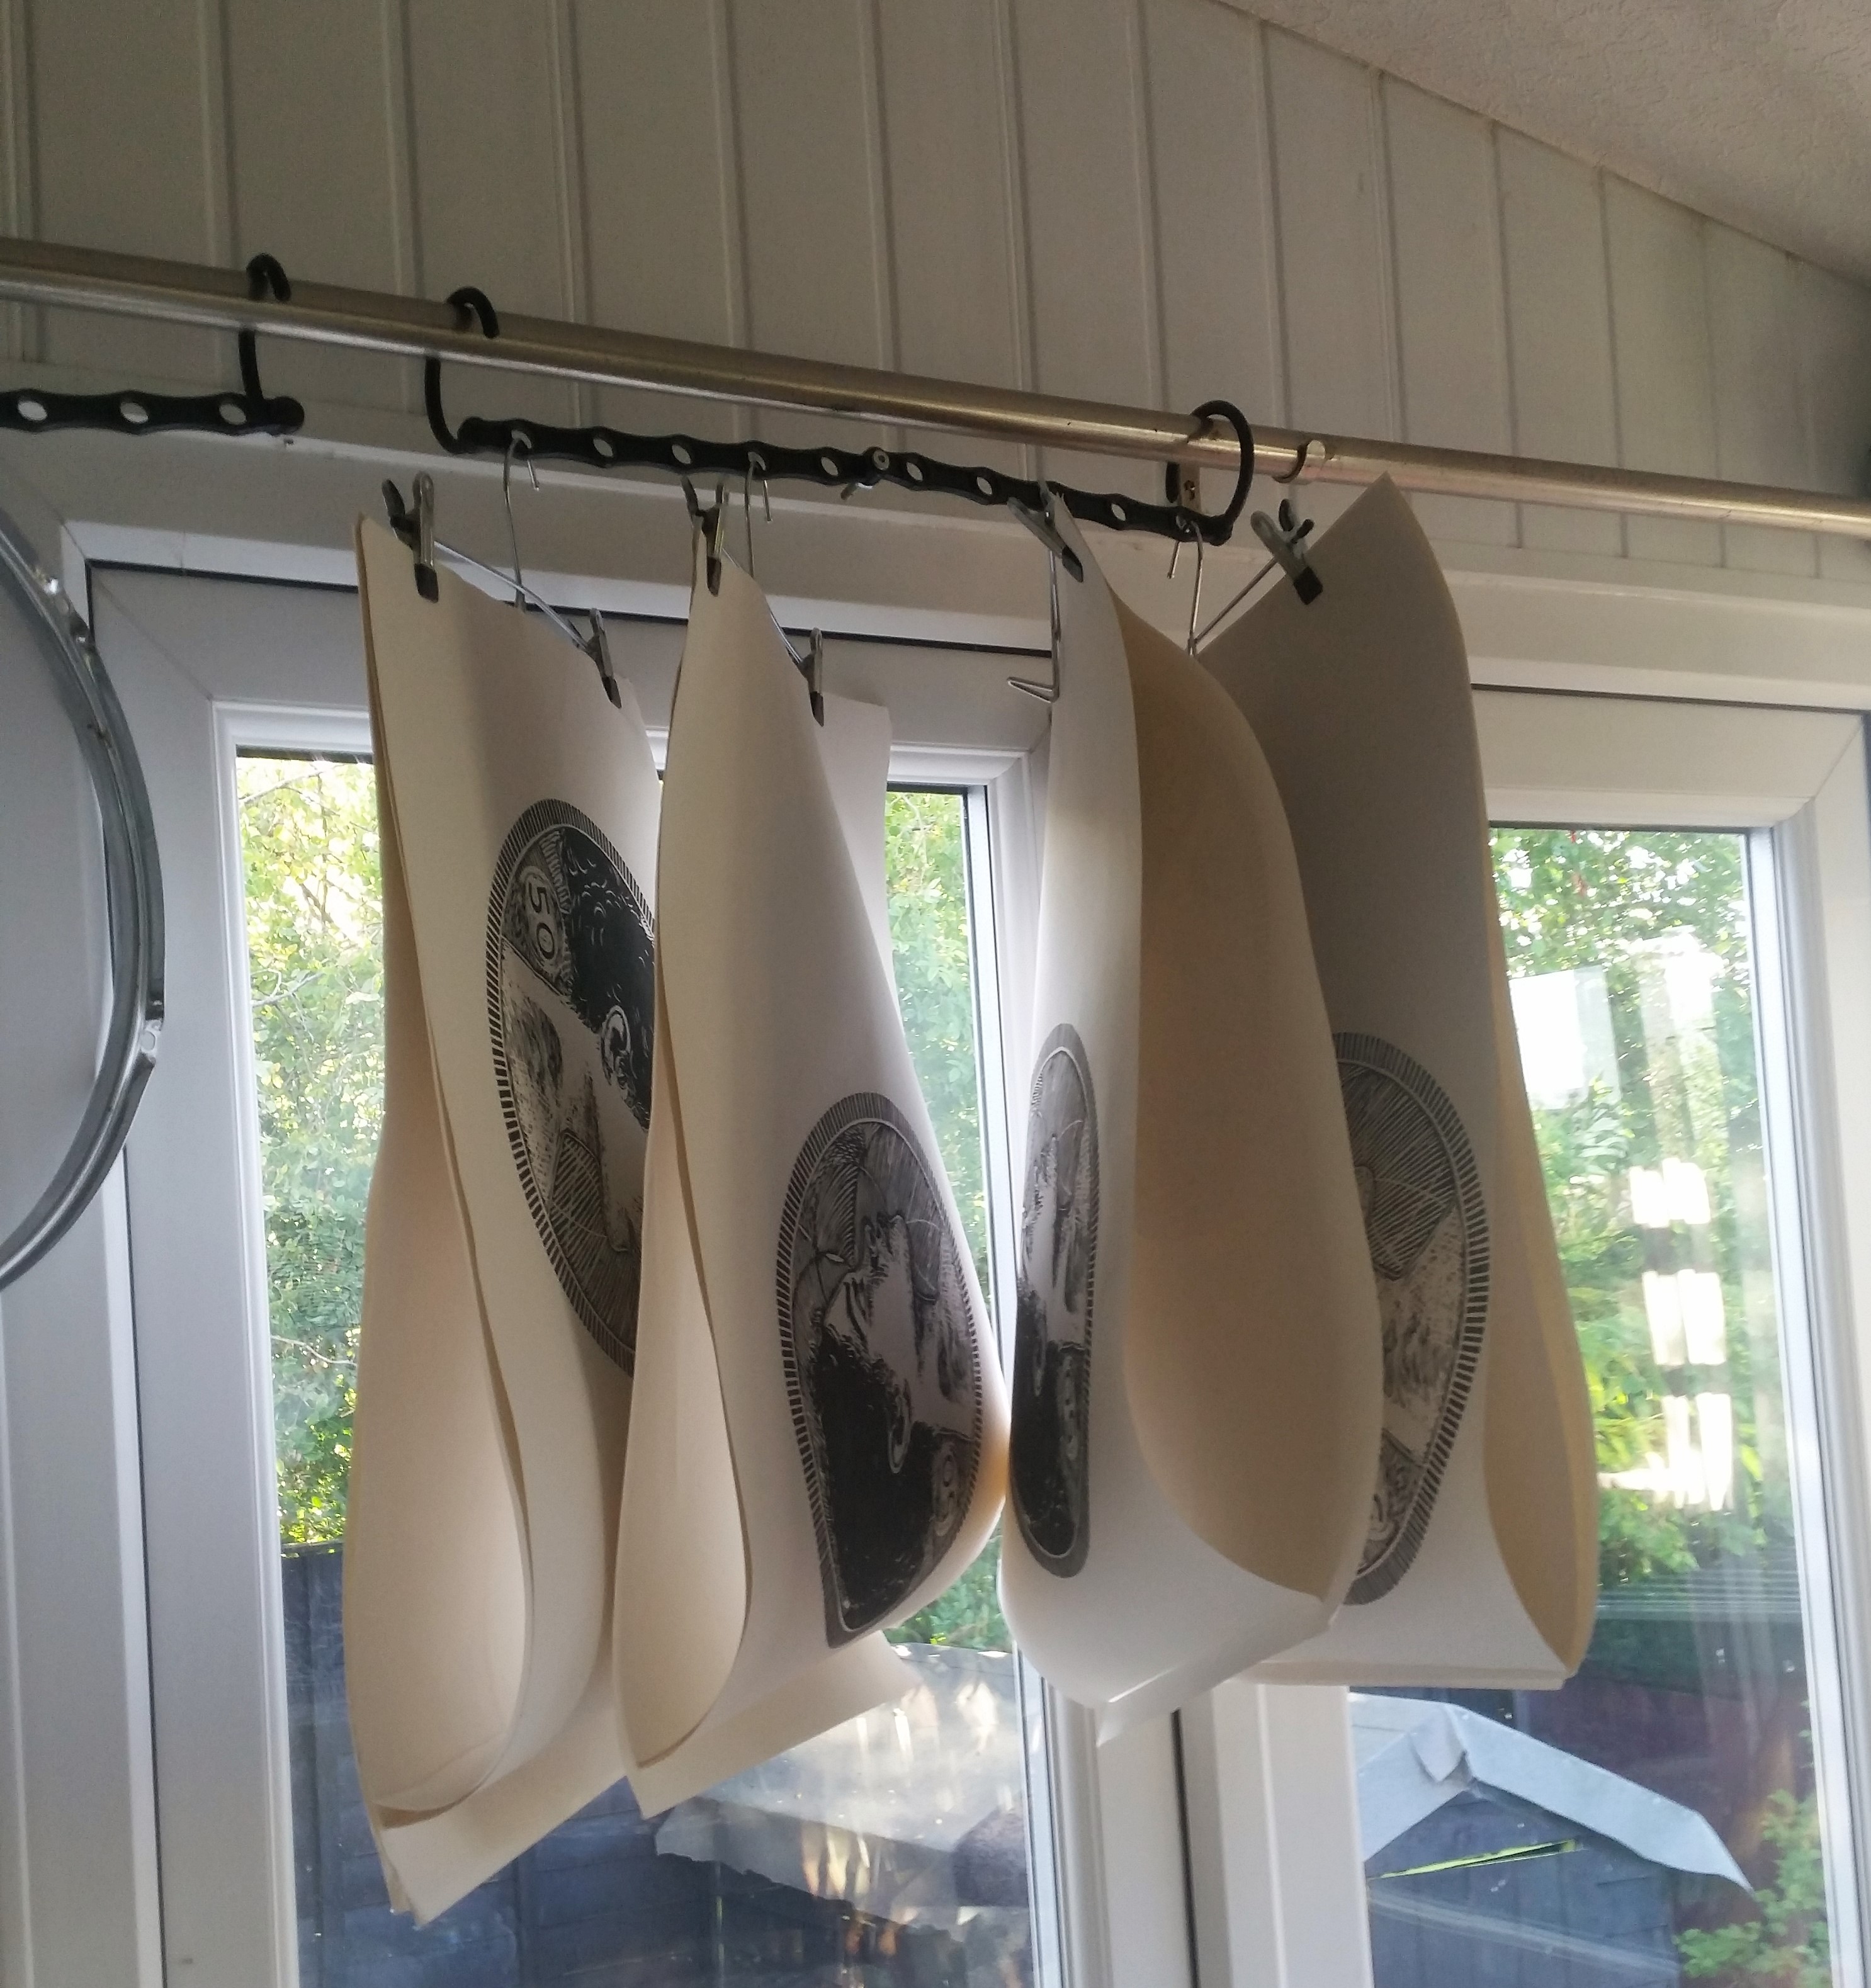
Jane Lawson’s 4 metre long digital print How We Got To Where We Are shows the timeline of the global financial system.
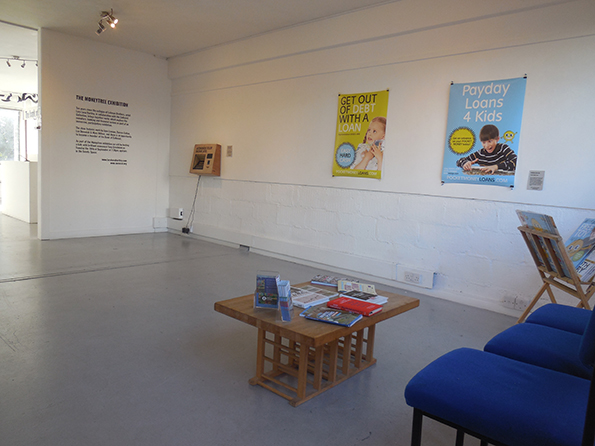
Darren Cullen’s Pocket Money Loan Posters are spot on… prompting that uneasy double-take. The state of dysfunction that we’re in when it comes to our use and abuse of credit means that we’re never quite sure what next, new low is possible.
The exhibition marks 10 years since the collapse of Lehman Brothers, and featured a discussion with economist Tony Greenham entitled “Money, Trust and the Art of Local Banking”.
For money to exist, there must first be trust.
Money requires relationships, because since money is a measure of exchange, there must be someone else to exchange with. When we hand over money in exchange for something else, we don’t necessarily have to trust the person we’re buying from; instead, the trust lies in the institution behind the money. The more of us who put faith in the institution, the more value the money has.
What if we were to ask others to put their trust directly in us instead? As human beings, our trustworthiness only runs so far… but maybe being honest about that makes us more reliable than banks and governments, that present themselves as being strong and permanent, but still regularly let us down.
My currency art isn’t offered for sale as much as for exchange, if you trust me.