Posted in Life

Studio Notes 16/08/19

This post contains affiliate links, marked with an *

After a long weekend travelling back and forth to Liverpool – and not going to the Tate – I had a shedload of catching up to do.

Unfortunately most of the catching up had to do with housework, DIY, writing new articles, updating old articles and creating new graphics for them.

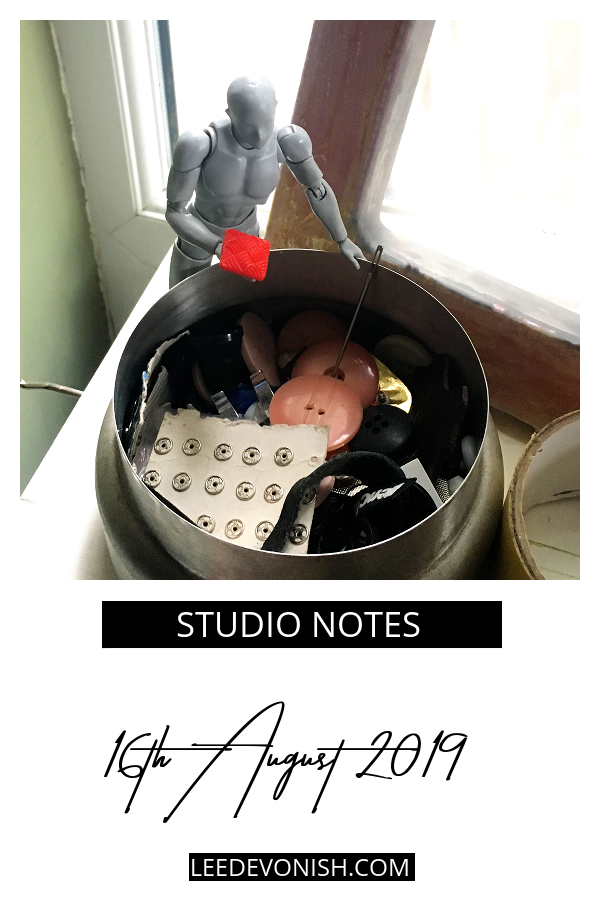
Before all that I did manage to find some buttons in my vintage stash to update a 1930s top that I’ve been meaning to fix for something like ten years. I do get around to things eventually.

Feeling a little frustrated with myself for having another week go by without much happening in the way of artwork, I tried out a bit of an experiment to see if I could get the next week off on a speedy start.

Re-tacking a cutting mat

When you get a home cutter-plotter machine, you’ll need a cutting mat, which is essentially a square bit of laminated card, onto which your material to be cut will be stuck.

You’ll need to stick it onto this cutting mat (or carrier mat) to be able to cut shapes out without the entire thing falling apart, so really it’s an essential.

The problem comes when the stickiness wears off and you haven’t got anything to use to renew the adhesive! Basically that’s where I am right now, so before I order this sticky mat adhesive* I tried using watered-down PVA applied with a foam brush to see if I could recreate the low-tack effect without spending any money.

It worked, after beefing up the ratio of glue to water, but the problem was, it was a little too tacky, and some of the kraft paper stuck.

Still, as I understand it, that’s just what happens with these cutting mats – working out the right level of adhesion is part of the process. I’m still going to get the proper glue though.

Designing a smaller coin

I’ve got a very different design in mind for a smaller coin; I had thought of it as being much smaller, but having just cut several basic shapes out of kraft paper for my experiment, I might just keep it at the size I produced. Maybe next week I’ll be able to show some more of that.

Oh, and the copper leaf on my shoes survived! Although it’s flaking off terribly now… at least it did the job for the day.
Last week

Next week

Studio Notes 16/08/19

Studio Notes 09/08/19

This post contains affiliate links, marked with an *

When I think about writing up my creative activities for this blog, it’s always focused on the visual art side, because that’s how I mainly see myself.

When I talk about my writing here, it’s always focused on the creative writing or maybe critical essays, and even when I mention the journals I’ve published so far I don’t link to them because they belong in a non-art genre.

But this week my other writing career got a major shot in the arm, and took me off on the crest of a wave that’ll probably last for at least another week and pay off hugely for a long time to come. So far this week I have:

  • Switched email newsletter providers
  • Created email autoresponders and new embedded forms and pop-ups
  • Designed several new pin templates in GIMP
  • Signed up for Tailwind*
  • Bought a Socialbee lifetime subscription through AppSumo*
  • Joined several new affiliate programs
  • Refreshed and re-published several older articles

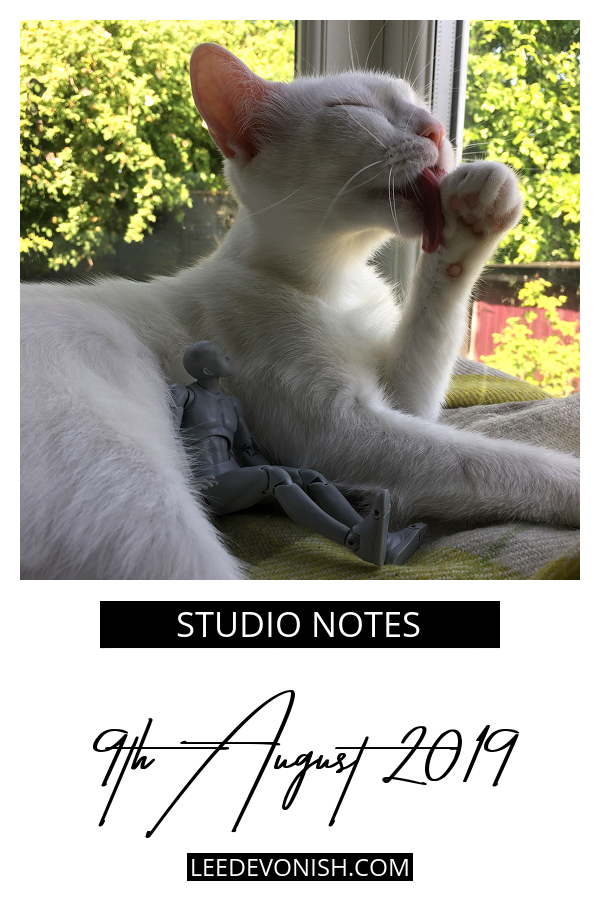
Often whilst balancing a cat on my lap. Oh, and I’ve experimented with copper-leafing a pair of shoes. Seriously.

What kicked it off?

Not entirely sure. Something started it – my guess would be finally committing to pay for Tailwind and accepting that I’d have to make some better images to make that investment worthwhile – and then I realised how very out-of-date a lot of my articles were, and how much better my entire publishing business could be if I just woke up and pulled my finger out.

Sometimes you just get into a rut with a creative business, and there’s nothing like parting with some money to create enough pain to snap you back into action!

So my big blog will get the benefit first, and then I’ll overhaul this one once that’s ticking over.

Copper leaf on shoes?

Well, it doesn’t hurt to try. I have a cat who particularly likes new shoes… he specifically likes to scratch them to bits.

I thought I might as well have a go at rescuing a pair that fell victim to his claws. Of course, being an art materials hoarder, I had one single sheet of metal leaf left from a sculpture I made in 2003, and the little bottle of leaf size to go with it.

Will it look good? That’s subjective, and high fashion doesn’t usually mind looking dreadful, if we’re telling the truth.

Will it stick? Now that’s something I’ll have to answer after the weekend.

Last week

Next week

Studio Notes 09/08/19

Studio Notes 02/08/19

The rasps I bought back in May have finally seen the light of day, but after a lot of activity at the start of the week I’ve had to give it a break to get on with some other vital jobs.

MCM ComicCon

One absolutely vital job was going to MCM ComicCon in Manchester! Of course since then I’ve been thinking about turning the intersection of cosplay and “playing mas” into a PhD. Never gonna get around to that but if you know of anyone that has, I’d read that thesis.

I got another great independently published comic though.

The videos that changed my art practice

This week we heard about the untimely death of Grant Thompson, founder of the King Of Random YouTube channel.

I couldn’t help but remark at the impact one person could have on so many thousands – if not millions – including people like me. It was my son who watched his videos years ago and got my husband on board with the idea of building a bucket furnace. Then they both badgered me until I watched the videos and signed up for it. Then we finally built the thing and I got hooked on melting metal.

Now I’m spending most of my creative energy on casting pewter instead of aluminium, and there are other great YouTubers that I’ve subscribed to since then, but I wouldn’t be doing any of it without first having seen Grant Thompson’s remarkable backyard adventures.

Last week

Next week

Studio Notes 02/08/19
Pin for later.

Studio Notes 26/07/19

I spent a fair amount of time creating moulds for other people this week, and now I can say I have a much better handle on mixing good DIY silicone moulds. so the entire process is a lot cleaner and less chaotic than it was when I started.

As for high-temperature silicone moulds, I sure have learned some valuable lessons over the last few weeks. I need to buy some more to make more moulds, but that might just have to wait a bit longer while I tie up loose ends on my current job.

The final pour… and what’s next

Of course I’d find myself melting metal in my kitchen in the middle of a heatwave. I just had to have another go to perfect my cast – or get as close to perfecting as I could.

Thing is, it’s actually not perfect, and it eats me up inside. I have a major problem with perfectionism that I’m constantly trying to tackle, and sometimes I think it’s a miracle I put anything on display in the first place.

But logical Lee knows it’s not helpful; sometimes you need to accept what you’ve got and work with it. It’s miles better than my prototype, and when I look at the finish I achieved with that, it makes me think that this one will be great when I’ve finished with the engraving.

So yeah, time to move this thing on already.

Cutting the thing off the sprue with a hacksaw was bad enough, but here comes the dirty, noisy bit – getting the engraving tools out and grinding/carving/polishing the metal until it’s just right.

I think I need a hazmat suit to cover me from head to toe this time, because I’m not showering myself in pewter particles again. Nope.

To copper electroplate or not?

Copper electroplating – another layer of faff or something I need to do?

When I first conceived of this coin sculpture, I wanted it to be in copper. I liked the idea that copper coins are usually those of lowest value, whilst copper itself is quite expensive nowadays. Plus, copper is just so pretty…

So now I have to make up my mind as to whether or not I’ll invest in a copper electroplating kit to enhance this coin (and others to follow). I’ve got more supplies on my list that I need to buy, and last month’s purchasing kinda wiped my budget out, so I think I need to get on with making more of the coin collection before I commit to their final finish.

Last week

Next week

Studio Notes 26/07/19

Studio Notes 19/07/19

This has to be a bit hurried, as I’m so, so tired…

After a week of experiments, I’ve produced my best cast yet, and it was partly down to a surprising find along the way. No, it’s not what I consider to be perfect, but I fixed the problem of the mould not filling all the way. Anyway, here’s the story of that find:

Into the spidery shed

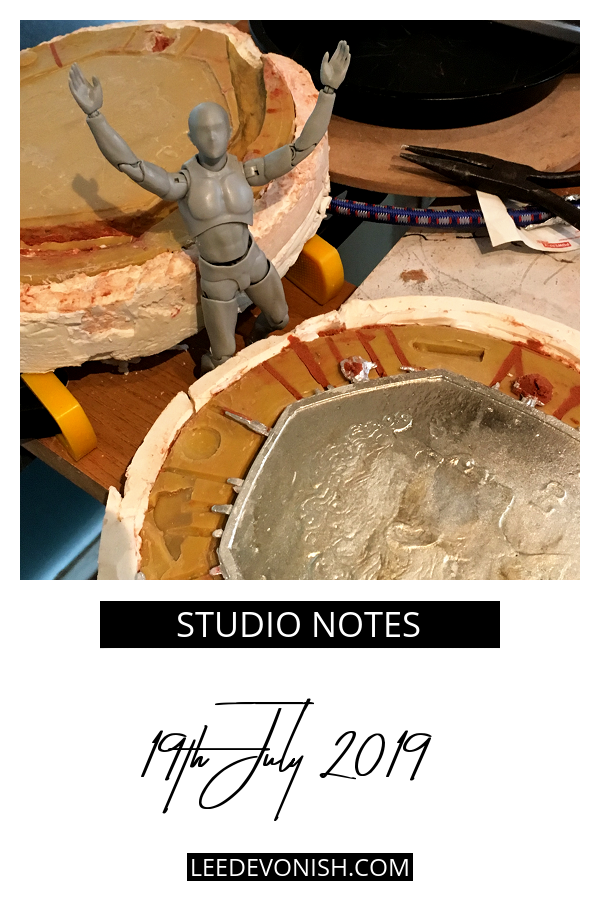
The springform cake tin was a great idea for keeping hold of a round mould, but RTV silicone doesn’t like to be cast on its side – it won’t vent steam like oil bonded sand will, so it just forms mega bubbles, even with an incline. It has to be vertical.

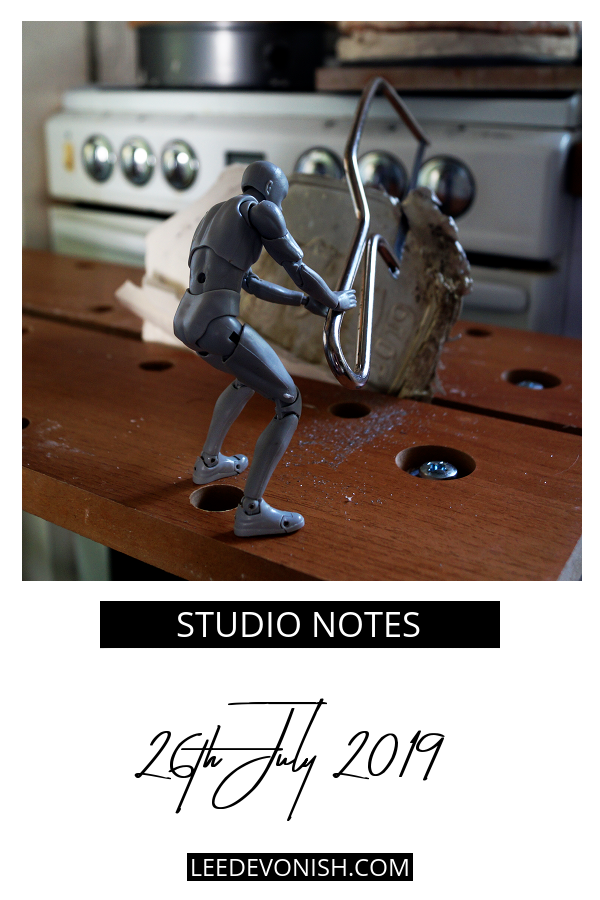
That meant that I had to clamp it in place vertically and apply pressure on the sides to keep the mould tightly in place, or else all my pewter would just dump out into the bottom of the cake tin.

I was trying to come up with some system for jerryrigging a clamp – maybe a car jack wedged into a box? – and got Ste on board to excavate a box from our spider-riddled shed. As the spider-spotting backup, I was peering into the dim wooden cavern when I spotted a box we hadn’t seen before.

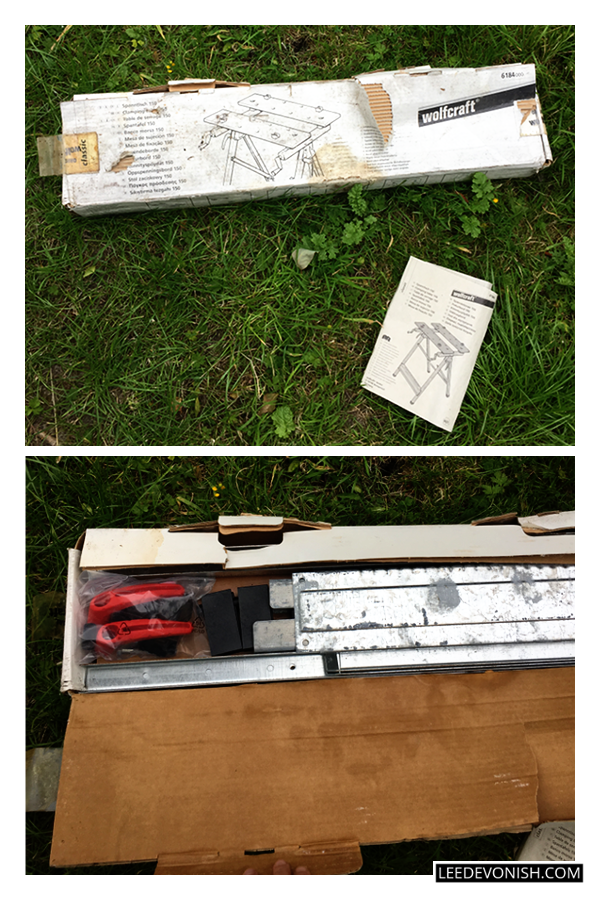
It was an unopened clamping table!

An unopened Wolfcraft 150 clamping table found in my shed.

The exact model isn’t made any more, but this is the closest version.

The previous owners had obviously abandoned it to the eight-legged shed denizens, and somehow I’d never seen it before.

Although the nuts, bolts and plastic pieces were still sealed in their plastic bags, there was a fair bit of corrosion and that dank shed smell. Still, I put it all together the same day. It needs a bit of oiling and messing around with to help it fold up, but set up, it’s just right for the job.

I can’t believe that I just happened to find the exact thing I needed! I couldn’t have done the casting without it.

Tips for pewter casting

I’ll have to write this up as a separate post, of course, but here are this week’s discoveries:

  • Fill from below. When you pour hot metal into a mould, you create turbulence in the flow of the metal – steam, bubbles, slag, all rolling around. You need to cut this out, and to do this, you need to fill your mould from the bottom up. This means having a separate pouring spout that feeds your mould from below.
  • Use a tapered sprue. This helps to reduce turbulence as well, controlling the flow of the metal.
  • Make your sprue big enough. The metal may freeze before filling the mould if you don’t.
  • Plan your sprue and gating system into the mould making process. I didn’t do this… I did rely on the fact that I could cut the silicone afterwards, which is less than ideal, and means that I’ve had to patch some bits with oil-bonded sand.
  • Wax acts as a flux, but don’t add too much. Pretty self-explanatory.

Now that I’ve achieved this week’s goal, I’m going to carry on with another job: helping my husband create some of his own moulds. I’m refining my DIY silicone mould-making technique and scoring major brownie points at the same time!

Last week

Next week

Studio Notes 19/07/19

0