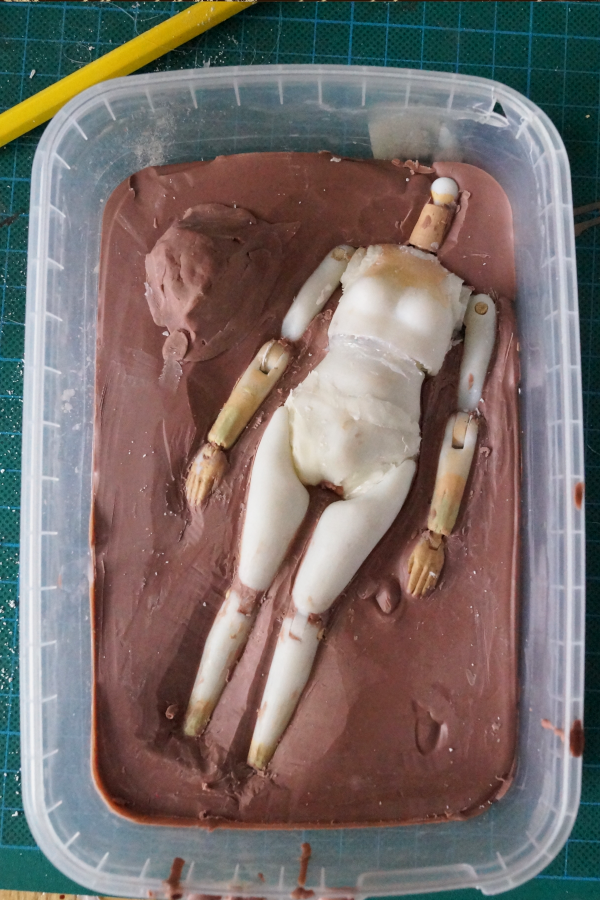
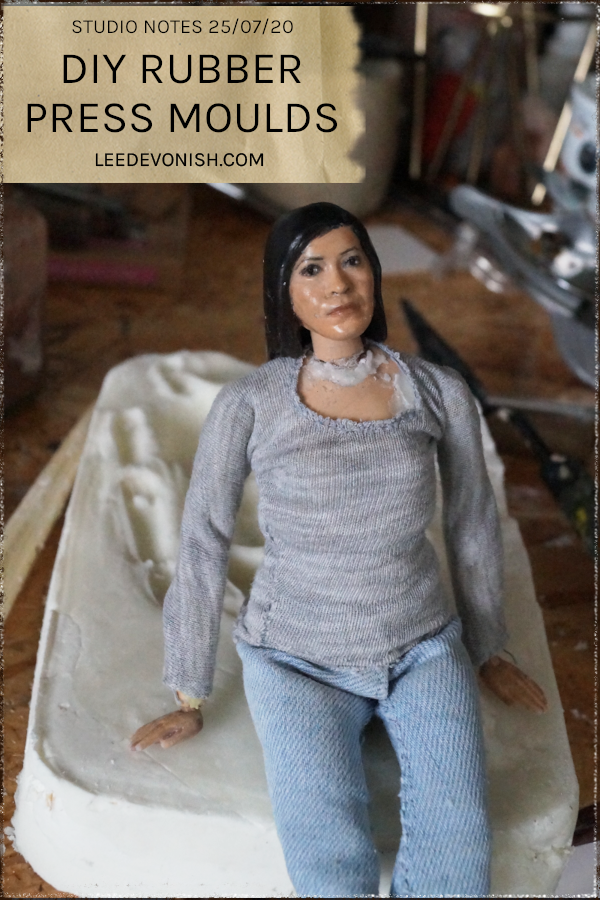
Studio Notes 25/07/20 - I took a little time out to make simple DIY rubber press moulds of my figure, ready for casting a new animation puppet.
Our bathroom renovation is taking up most of my time, and next week it’ll take even more, so I wanted to try something that wouldn’t take too much attention but would help move my stop motion project along – making DIY rubber press moulds of my figure.
I’ve mentioned DIY silicone moulds before, and this is no different: the recipe I use is around one part acetoxy cure silicone* (the kind that smells of vinegar) to one part cornstarch (called corn flour here in the UK)*.
I don’t tend to measure out the parts any more as I basically start with a floured surface, squeeze some silicone out onto it and cover with cornstarch, pressing down lightly until the silicone’s surface is covered enough to handle and then kneading more cornstarch in until it’s the consistency I want.
The reason I’ve decided to cast my figure this week is that after filming my Crafsman animation (see below), I wanted to create another body that was wire-based. The 3D printed ball and socket joints work brilliantly, but I need something much stronger and a combination of silicone skin with wire and ball joints is what I decided on. I’ve wanted to do this for a while, but needing to finish the bodies for my remaining cast of characters gave me the push.
This DIY silicone rubber will also be guaranteed to cure around the 3D printed figure, unlike some silicones that can be inhibited by the 3D resin.
The silicone’s proven to be good for building up the figures as well, and I’ve mixed in a bit of acrylic paint for colouring.
But that’s got to be all for now, as I’ve got a steampunk bathroom to prep, and that includes stripping chrome from perfectly good taps and valves, and learning how to solder copper pipes. All good stuff for future posts!
* denotes affiliate links
Leave a Response