Studio Notes 23/05/20 - Making a casting flask had to be high up on this week's jobs list, because you've got to melt metal while the sun shines.
Making a casting flask had to be high up on this week’s jobs list, because when the sun finally shines in Lancashire, you’ve got to melt some metal.
Aluminium casting is a family event for us. I can’t do it on my own, so Ste takes over the pouring while we get the moulds ready. Last week was the first time we did it this year, and we hastily buried some rough styrofoam pieces in a bucket of casting sand* and made some wobbly knives through the lost foam method.
That was really just to keep the teenager from the brink of boredom though, as I didn’t have anything ready to cast. My coin designs were still only on the tiny side, and I would have to do a two-part mould to remove the form I’d want to make, so we just went ahead with it for fun and to make ingots for future casting.
The next step for me was to 3D print my coin full-size, and I managed to fit two of my son’s arrowhead designs onto the print bed at the same time. It took 12 hours to print, because the coin was so large, even tilted.
With a couple of prints ready to go, we could fire up the furnace and start melting some aluminium!

Ste and I made the casting flask from some drawer sides that I’d kept from an old chest of drawers, and bought a bag of box latch clips* to keep them connected.
While the cans were melting, T and I starting the process of ramming the sand.
Halfway through it pretty much defeated us – the drawers were huge and could take more than our entire bag of sand, and between the sun and the roaring coal furnace next to us, we were about to melt ourselves.
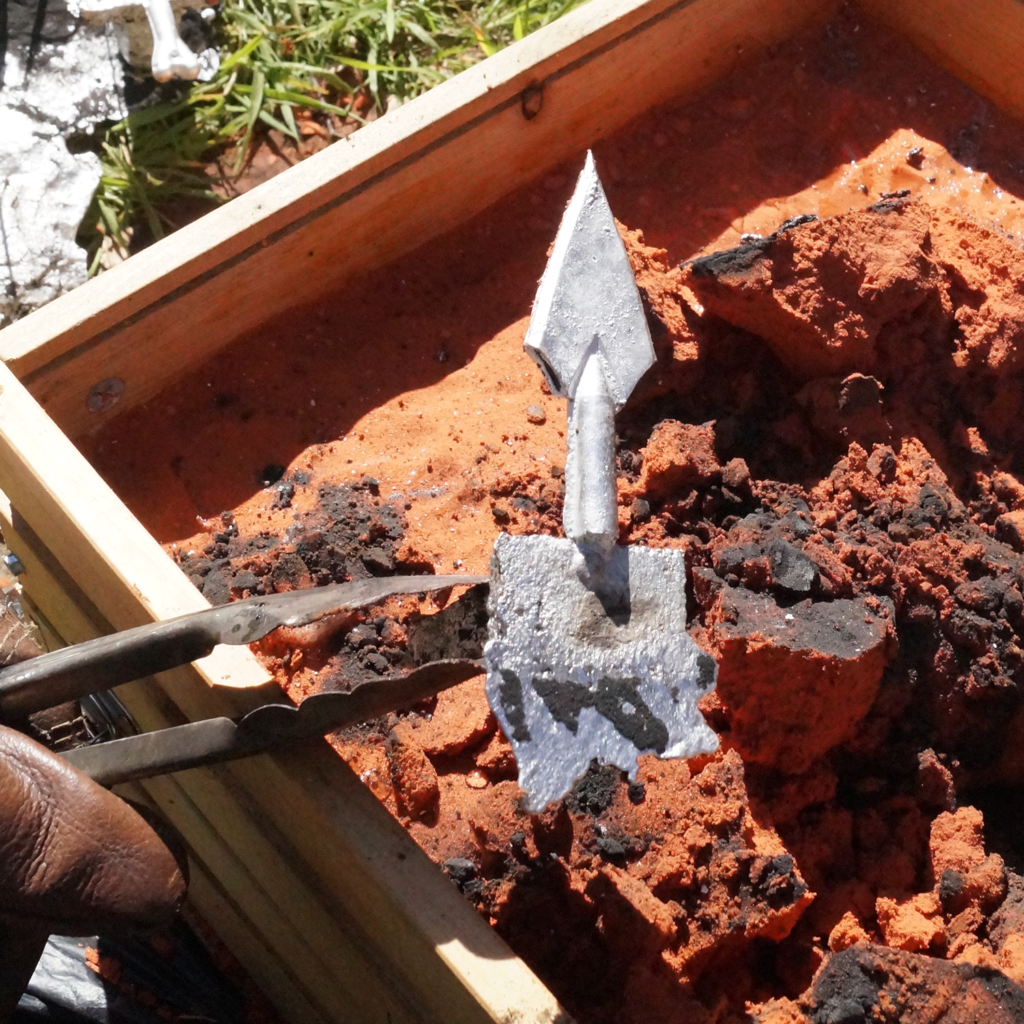
Using foam sprues instead of cutting out the sand saved time, but we still had to rush, and fortunately before the pour I realised that my coin moulding hadn’t worked. Still, we poured the metal into the arrowheads and had our best aluminium cast ever!
After that experience I decided to get everyone’s pieces ahead of time and ram the flasks in the studio beforehand, and to make the internal volume of the flask smaller. Later I decided I’d try to make a much smaller flask as well.
So now I have two wonky-looking casting flasks and I’ve been separating out our sand into clean, slightly icky and blech. This sand’s going to have to last for a long time, so the lost-foam experiments will have to use the nastier stuff while the important pieces will use the good sand in the cope and drag.

* denotes affiliate links


Leave a Response