Studio Notes – Acrylic & Charcoal On Canvas

This is a story of experiment and of failure. Oh well!

I don’t paint on canvas. I haven’t done in a long time. The texture of the weave just gets in my way and interrupts the fine detail that I’m trying to achieve. I prefer my surfaces to be smooth and to have texture develop only where I place it, unless I’m painting on a minimally textured watercolour paper – it’s usually the kind of surface that contributes to the feel of the work without sticking its nose in where it isn’t wanted. 

Another material I don’t use much is acrylic paint – it’s never tempted me across from oils or watercolour. However, I have used it in sculpture recently, because of its quick-drying nature and the chance to use it as a 3d material.

Experimenting and letting go

As I had a few pre-stretched canvases that had been given to me years ago, I thought I might as well have a go at using them for experimenting with different media as well as for filling space on my own walls at home. 

Drawing with charcoal on canvas came to mind as progression towards some monochrome paintings I’m thinking of doing.

Body 1 - Charcoal and graphite pencil drawing on canvas

It’s not the first time I’ve used primed canvas as a ground for drawing, as I’d already done a graphite piece.

The weave of the canvas seemed to be an inviting surface for charcoal drawing, so I started by scaling up a smaller sketch by gridding, and then losing patience and jumping straight in. Pushing charcoal and graphite around the canvas with my hands was fun enough, but I just wasn’t feeling happy with the resulting image.

Drawing with charcoal on canvas.

The problem was, once my family had seen it, they loved it. Fair enough – we’re allowed to like different things and different kinds of art; they enjoy stuff that looks like stuff, and that’s mostly what I do, but I need a few more layers that this piece just didn’t have. There just wasn’t enough tonal variety and not enough subtlety.

Just to see what would happen, I worked in some golden-yellow acrylic paint to frame my subject. It was better, but not convincing me that it was good. It had gone towards those ubiquitous superhero canvas pictures – a really dangerous spot to end up in.

Still, it ended up on the wall in our living room, gnawing at my insides.

I left it for a month and eventually tried to bring it back around, but couldn’t.  I just didn’t like it, and I had to start negotiating with the family to replace it with something else.

What was wrong with it?

  • The drawing was off.
  • The composition was poor.
  • The subject’s pose was wrong – not engaging enough.
  • The rendition of the form was too flat.

Basically, it was a rushed experiment and no more.

What it’s taught me is that it’s great to play around and do different things, and it can be very enlightening, but you don’t have to commit to everything you produce. If the work isn’t up to scratch, it’s not up to scratch, and it can exist as an opportunity to learn. I think that I will keep some things in mind, like drawing on canvas and incorporating controlled bursts of colour, but there will also have to be more of my usual, more careful process to make me happy enough to release something into the world.

The experience won’t go to waste – I’ve learned that I love these colours together as well as the nature of the marks.

I’ll keep this canvas and rework it to give back as a finished piece, with the slight trace of the original drawing adding to the story. Once I’m happy with it then I’ll share it here.


How Bloggers Fake Popularity (And How You Can Do It Too)

How bloggers fake popularity

(and how you can do it too – although you might not want to)

Are those influencers as influential as they seem?

Once you’ve been around the online publishing world for a while, you’ll realise that not everything is as it seems.

Brands want to work with popular bloggers, and bloggers want to work to pay their bills, so there’s bound to be a bit of fiddling behind the scenes.

If you’re just starting out, or have been plugging away at your blog for a while with little success, you might be wondering what everyone else is doing that you’re not. Well, here goes: you might already be doing some of these yourself, in which case, I’d love to hear your take on it.

Boosting popularity.

There are a couple of ways that bloggers give themselves the appearance of being popular:

  1. Buying followers
  2. Followbaiting
  3. Facebook reciprocation groups
  4. Instagram pods

1 – Buying followers.

Buying followers is the bottom of the barrel approach to boosting stats.

In my opinion, it’s dishonest. Why does anyone do it? Well, if you want to make a living from your blog, you’ll find that brands will have a set of requirements for the bloggers that they want to work with. They’ll have a minimum number of social media followers as well as a minimum DA (domain authority) requirement, but they don’t have a metric for measuring genuine quality of engagement.

That’s why many bloggers are tempted to buy fake followers on Instagram and Twitter, and fake likes on Facebook, in order to look more attractive to brands.

Is buying followers actually cheating?

Of course buying followers is cheating!

Interestingly though, when you do this you often end up cheating yourself – your fake followers won’t actually engage with your material, and this can actually damage your reach on some social media platforms.

Imagine if you keep putting posts out to 100 followers, but only get 1 person responding. Sucks, right? Now imagine that you keep putting posts out to 10,000 followers but still, only one person responds. Do you feel better, or worse?

If Facebook decides that 0.01% of people think your content is good, they probably won’t be pushing it out to more eyes. Backfired.

2 – Buying engagement.

Well, buying engagement is just about the same as buying followers, but it might not be as easy to spot.

On Fiverr, you can buy Instagram commentsblog commentsretweets… I won’t bother carrying on, as you’ve got the picture.

I’ve never done this myself, as I can’t imagine that the return on investment would be good for me. Actually, more importantly, I wouldn’t want to wade through the fake engagement to get to the real stuff from my real followers, which I want to respond to. You know, to actually engage with.

3 – Followbaiting, or follow-unfollow

If you’ve been on Twitter or Instagram for any time at all, you’ve seen it: someone with 25,000 followers chooses to follow little old you, with your 50 followers made up mostly of your mates and your mum, who you forced to join Instagram for the follow and has no idea how to actually use it.

Wow, you think, they like my stuff! You follow them back, happy to make the connection.

Then in a day, they’ve unfollowed you – but you probably don’t know this, because there’s no notification for when someone unfollows. They then repeat, stealthily picking up reciprocating followers and dropping them.

Now, this shiftiness is going on all the time, but don’t go around accusing people of doing this just because they have a few more followers than they are following. Be cool. There’s a middle ground to find.

You can’t possibly be expected to follow everyone on every social media platform forever, but you can decide not to be a jerk. Don’t follow-unfollow. Use an app – there are lots of options out there – to keep an eye on the folks who do this, and just drop them like a hot rock when they do it to you.

4 – Facebook reciprocation groups

There must be thousands of Facebook blogger support groups, all providing some way or other to boost your blog stats.

The most regimented (and useful) ones are strictly for providing reciprocal services for your blog. For example, you’ll have threads dedicated to:

  • Retweeting
  • Instagram likes
  • Instagram comments
  • Facebook page likes
  • Stumbleupon
  • Pinterest
  • Blog visits
  • Blog comments
  • Blog link clicking
  • Google +
  • YouTube likes

Plus, every variation you can think of.

Wondering how come that other blogger has had so many shares for that boring post? Now you know. How did they get so many comments for it? Read them and see if they appear half-hearted or forced, or if they’re coming from the same group of bloggers each time. Now you know.

You could spend a lifetime working away at reciprocal threads, but are they worth it? Yes and no – you may not find a loyal group of fans in the people who are taking part in these threads, but you will probably boost your stats. You’ll still need to find real readers who aren’t in it for what they can get out of it as well.

I won’t condemn these groups as I was a member of several when first starting out (although I don’t participate any more), but it pays to point out that this blogging thing is a business, and you can’t judge a book by its cover.

5 – Instagram Pods

Instagram pods exist to provide guaranteed likes and comments for pod members.

If you join a pod, you’re expected to like and comment within a certain time frame of a member’s post going live, in order to provide the most benefit and boost their post.

This works in the same way as some of the Facebook group threads, but notifications are sent through messages in the Instagram app. There’s some discussion over whether Instagram is about to pull the plug on pods, and start penalising influencers who use this tactic.

I dabbled in pods before but they really weren’t for me. I found the Facebook reciprocation groups hard as you’re expected to share posts you really might not like; it’s even harder for Instagram pictures that you’re expected to like and comment on, but that you secretly hate.

Still, join the Instagram Mafia if you like… you can always leave!

Sounds like hard work, right?

That’s because it is. There are plenty of good reasons not to start a blog and get yourself into all this madness. Still, you’re here because you’re already in it, right?

If you’re just about to start and are still weighing up your options, check out this post on how to name your blog without sounding like a fool.

​Now, I’d love to hear your thoughts on my observations. Am I too harsh? Give me an earful!


Studio Notes: block printing & casting ingots

I finally made prints from the block I carved, but I haven’t yet shown them as a finished edition for sale. So this is a bit of a quick preview!

Edit – find the prints here.

Block printing for the first time in the studio

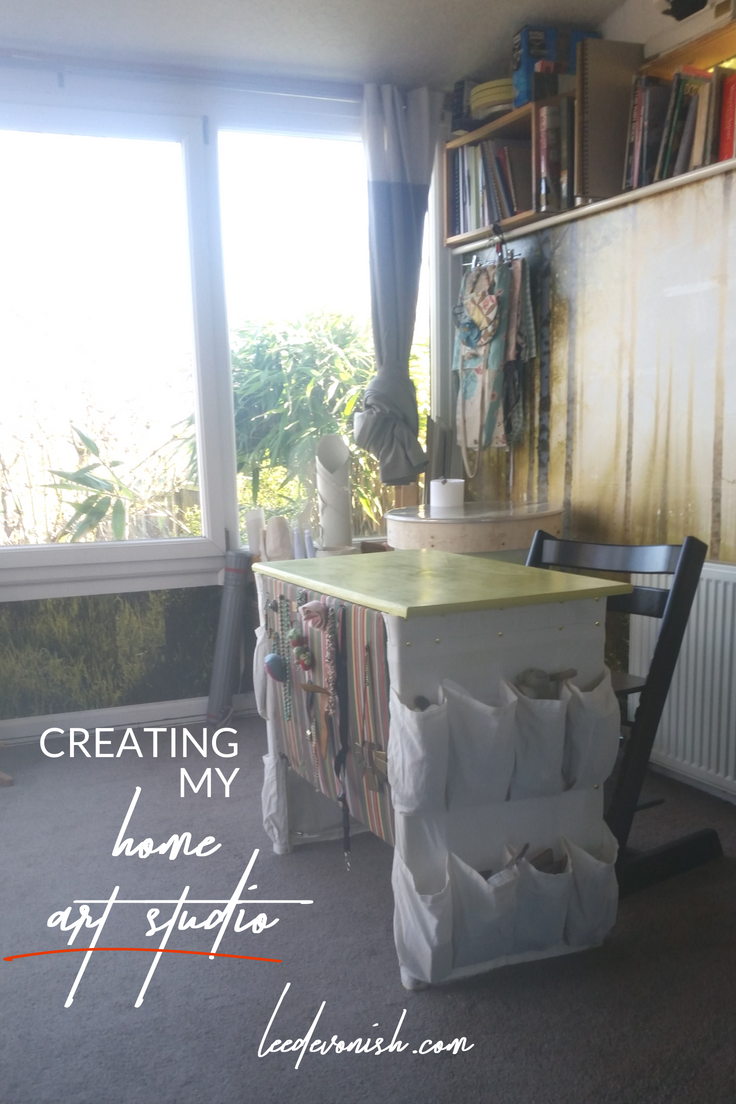
A friend of mine was getting rid of a desk, so I pinched it to give me a separate surface that would be perfect for cracking on with the printing. It was great, but I still covered all of the available surface and ran out of room. I just can’t work any smaller…

Hand rubbing with a baren

At first I really struggled to get a satisfactory print with my plastic baren, so I substituted the back of a stainless steel measuring cup. It worked fine, but what I didn’t expect was getting hot fingers from holding the inside of the cup as I rubbed it over the block!

Using a measuring cup as a baren.

As there was no room for stacking wet prints, I used some old skirt hangers that I’d been saving just for this purpose, along with some doubled-up space-saving hanger thingies.

Alternative drying rack
My version of a space-saving print drying rack.

Casting aluminium ingots

We got the furnace fired up again to melt more cans and make more ingots in readiness for casting our finished projects.

In all honesty, it was a bit of a pain not jumping straight into casting the end products, but I didn’t even have a finished prototype of my coin sculpture, so there was no point in rushing it.

Our first aluminium ingot
Our first aluminium ingot – we cast 5 during the second melt.

I sacrificed a donut-shaped muffin tin for the cause. It was worth it as I never seemed to get anything out of there in one piece anyway, and the ingots come out as cute mini metal rings!

Coming soon…

I’ve got a coin prototype that I’m almost happy with and some new coin prints to add to the store.  In between these projects I did a bit of graphite and charcoal drawing on canvas and played around with combining it with acrylic colour… so yeah, lots to share next time!


Rise Of The Bots: Why Your Auto DMs On Twitter Aren’t Fooling Anyone

Rise of the bots: why your auto dms on Twitter aren’t fooling anyone

If you’ve spent any time on Twitter, you’ll probably have come across the automated Direct Message, or auto DM.

They’re supposed to be a tool to drive engagement and make new followers feel welcomed. Well, I’ll cut this post significantly shorter than it could be by getting to the point: they’re annoying and no-one likes them.

Some of the most annoying are the ones that essentially go: “hey, thanks for following me on Twitter! Now go follow me here, there and everywhere else, and now go read my blog or buy this thing”. Cheeky or what?

But you’ve been told you should be doing it? Wha? Who should you believe?

A confession: I’ve done auto DMs myself

Yep, I myself have set up auto DMs on Twitter in the past. Why? I read some advice somewhere online that made me think it was a good idea.

Where did I get that advice from? Probably a company that provides auto DM services. Makes sense, right?

Why did I stop? I got very, very little engagement back from those messages, and I would guess it’s because I just came across like every other bod who uses bots.

I’ve even read that they’re not all bad, as they provide an opportunity to start a conversation with someone who might not yet be following you back. But wait – that person’s sent an automated message because they don’t want to start a conversation themselves. They’re probably too busy, or most likely, they don’t check their DMs because they’re also swamped with auto DMs as well.

Adding a “mistake” to look more human? Don’t bother.

week* not qeek, oops - one of the worst auto DMs on Twitter.
Not so convincing after you’ve seen three or four people make the same “mistake”.

There must be some diabolical mind behind that automated message service that, right at the end, purposefully misspells “week” as “qeek”. Then, instantly, it sends a follow up message that says “week*, not qeek, oops“.

This might get you, but not after you’ve followed the second person who makes the identical “mistake” at the end of their message. After the third person makes that identical mistake… well, it’s suddenly more sad than funny.

What to do instead of auto DMs

Lots of people will tell you to simply be a human and engage with people on Twitter to build your following.

Well, they’re right. However…

The fact is that most of us are busy, and becoming increasingly more busy hammering away at every social media strategy we can to give our blogs and businesses a fighting chance in this competitive online space. We’re stressed. We can’t do it all. So we look for easy options.

What do I suggest?

How about taking a bit of time to check your feed and retweet something that catches your eye? Or comment? Or even just like someone else’s tweet?

Oh, and don’t bother starting a DM by apologising for sending it even though you know they’re annoying. If you already know it… just… stop.

Automating social media without being totally fake

The fact is, you can’t be online all of the time, and I’ve even taken an extended break from promoting my work on Twitter because I just wanted the headspace back.

I recommend RecurPost for automating some aspects of social media (including Twitter, as we’ve been discussing). It’s easy to use and has a free starter plan, and leaves no icky feeling whatsoever!

Further reading:

Why Do So Many Blogs Look The Same?

How Bloggers Fake Popularity (And How You Can Do It Too)

How To Name Your Blog Without Sounding Like A Fool

Why You Probably Shouldn’t Start A Blog

The Psychology Of Blog Post Titles: How Being Mean Gets You Readers


Studio Notes: Building A Bucket Foundry

Studio Notes: building a bucket foundry

This week in the studio we started a long-awaited project: building a charcoal-fired backyard foundry in a bucket. Now, most of my projects carry on over several weeks, if not longer, but this project is definitely not a one-week wonder.

I think there will be several more weeks of updates as we refine and add to it, but this week we made a start of buying and scavenging all of the pieces, putting them all together and testing it out.

For the fuel, we used regular lumpwood charcoal, bought from the pound store for £1 per bag, of course.

The galvanised steel bucket and old wastepaper bin we used to form the cast.

The bucket

We picked up a galvanised steel bucket (like this one) and small plastic paint kettle from The Range in order to cast our refractory cement and form the body of the forge.

The refractory cement we used came in a 25kg bag, and we got it from a local foundry supplies merchant. (I know, what are the chances of having one in my neighbourhood, right?) They also sold us a huge bag of oil bonded sand and a graphite clay crucible.

The crucible

The crucible itself cost £30… we were happy to get a decent one and not attempt to DIY it from some salvaged steel, as we plan to do it properly (as properly as can be done in a bucket) and don’t like the idea of a crucible failing.

Studio Notes Silicone Moulding & Woodcuts

The lid

We made a lid for the foundry by pouring some of the cement into a circular frame and embedding some scavenged handles into it. A bit of extra cement went into a plastic food container and made a handy slab that we used to cover the lid entirely.

The central hole was made by placing a plastic cup onto the board before pouring the cement, but it crumpled under the weight and left a wibbly outline. It took a fair bit to fill the bucket, but there’s still plenty more left over for more projects – maybe a small kiln?

Studio Notes: Building a bucket foundry.
Drilling the air supply port after casting was a bit of a nightmare.

Powering the furnace with a hair dryer

We were told (by YouTube) to connect up a hair dryer via a pipe and steel tubing to blow air into the furnace. The problem was, the hair dryer got too hot when taped to the pipe, even with holes cut into the tape.

Blowing air directly into the steel pipe worked, but it didn’t get very hot. It was only when we abandoned the pipe altogether and blew the hair dryer directly into the air port that we got the foundry hot enough to bring the crucible up to temperature.

First firing – tempering the crucible

Firing up the foundry for the first time was exciting, but we knew we weren’t going to start melting any aluminium straight away. We had to temper the crucible first – bring it up to glowing red hot and let it cool down again.

The heating process took a lot longer than we wanted it to, because, basically, we had to figure it out as we went along. The air supply issue was critical to the foundry heating adequately, and when we got the right amount of air blowing in thanks to the hair dryer being up close, it really took off.

Cooling down took all day though, and I’m not kidding – even into the night, the foundry was hot! The handle was cool enough to carry it indoors though. That residual heat came in handy for lunch though – I managed to cook an egg on the top of it and even cooked hamburgers in a flash, before our separate barbecue could even get up to temperature.

It looks as though metal melting days will be barbecue days as well! Next step will be to start melting our scrap aluminium and casting into ingots.


0