Studio Notes 15/11/19 - I've been working on improving my art workspace by building an oriented strand board worktop in the studio.
Last week it was clear that I had to do something else to make my studio work for me the way I needed it to.
It’s a great space, and I couldn’t have carried out my latest projects without it… but it’s not living up to its potential. I need more from it. So I finally pulled my finger out and started making the studio I need.
A secondhand space
Every piece of furniture in my studio is something that’s had a previous life elsewhere. I’ve got:
- a vintage formica kitchen table,
- a chipboard desk from a friend,
- a desk that used to be a kitchen sideboard until I chopped its legs down,
- a wooden ladder,
- a plywood cabinet thingy,
- a chopped-down shelf part of a slat wardrobe,
- a drum kit in bits,
- a clamping table I found in my shed,
- a bookshelf arrangement made from old drawers,
- and a hybrid storage table made from one third of a bass drum and a demilune table that got knocked over and knackered.
That’s ust the big pieces of furniture; not counting the three easels, shelves, boxes and hooks that go along with everything else.
It’s charming in its way, but I need something fit for my specific purposes, not just something that’ll do for now.
Building an oriented strand board desk
Because I haven’t got all the cash to splash, my options were limited. When I first moved to this house I had planned to make or buy a huge work desk, but there were other things to do.
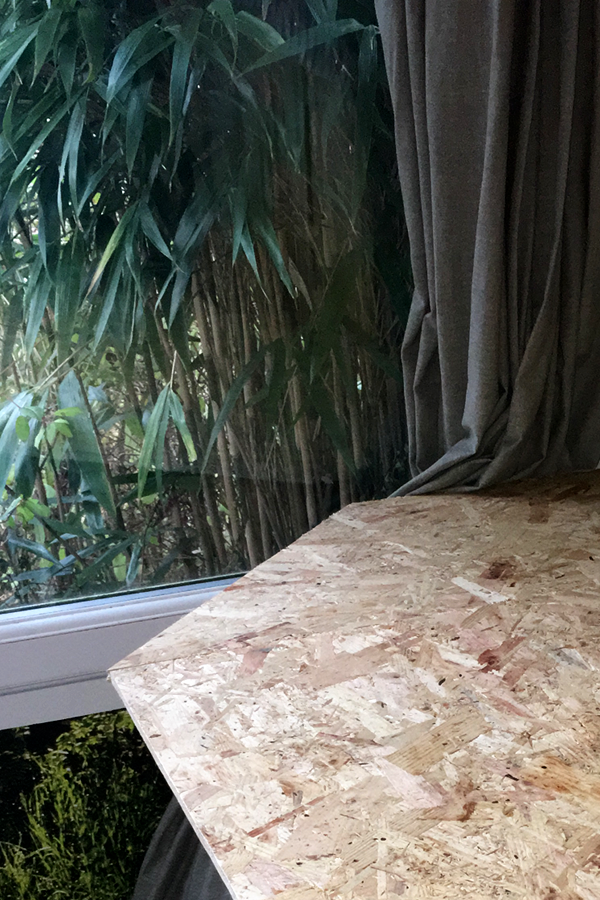
Instead of putting it off, I decided to jump in and buy a sheet of chipboard, or oriented strand board (OSB), to unify my three work surfaces.

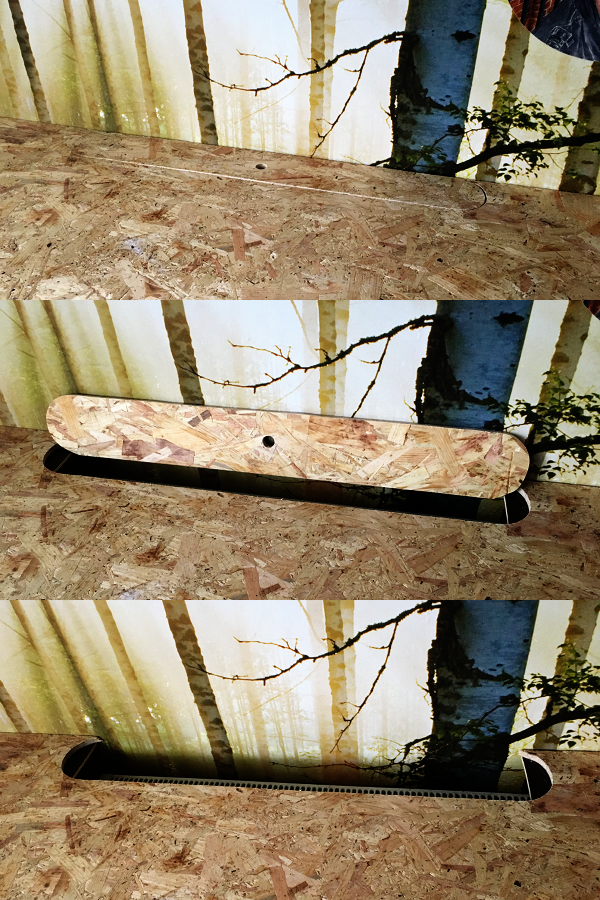
I cut the board to size with a jigsaw, and cut out a removable piece at the back to allow for warm air to circulate when the radiator’s on.
The radiator cover has a finger-sized hole to allow it to be pulled out easily, and in the summer it can sit in place, minimising the risk of pencils or pens rolling off the edge.
Why OSB? I considered using plywood, but I just liked the choppy look of the wood chips, particularly with a black edge, which is what I have in mind.

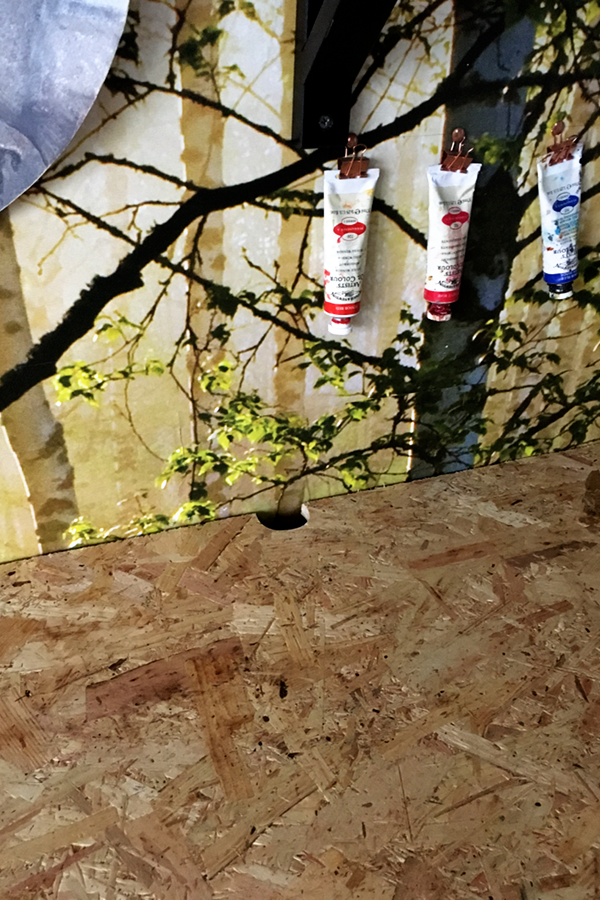
I also cut two semi-circular holes in the back to allow plugs to run down the back, out of the way. The plan is for all of my important machines, including my sewing machine and Scan N Cut, to have homes on the desk, but with plenty of work space in front.

The major work is done, but the best is yet to come
The design and cutting was done in a day, and the leftover board was used to cover two of my rickety “storage units” on the other side of the room.
Next up is varnishing the board and finishing the edges, which seems like the most fun part; I can’t wait to see the whole thing come together and move on to tarting it up!

Leave a Response