Studio Notes: building a bucket foundry
This week in the studio we started a long-awaited project: building a charcoal-fired backyard foundry in a bucket. Now, most of my projects carry on over several weeks, if not longer, but this project is definitely not a one-week wonder.
I think there will be several more weeks of updates as we refine and add to it, but this week we made a start of buying and scavenging all of the pieces, putting them all together and testing it out.
For the fuel, we used regular lumpwood charcoal, bought from the pound store for £1 per bag, of course.
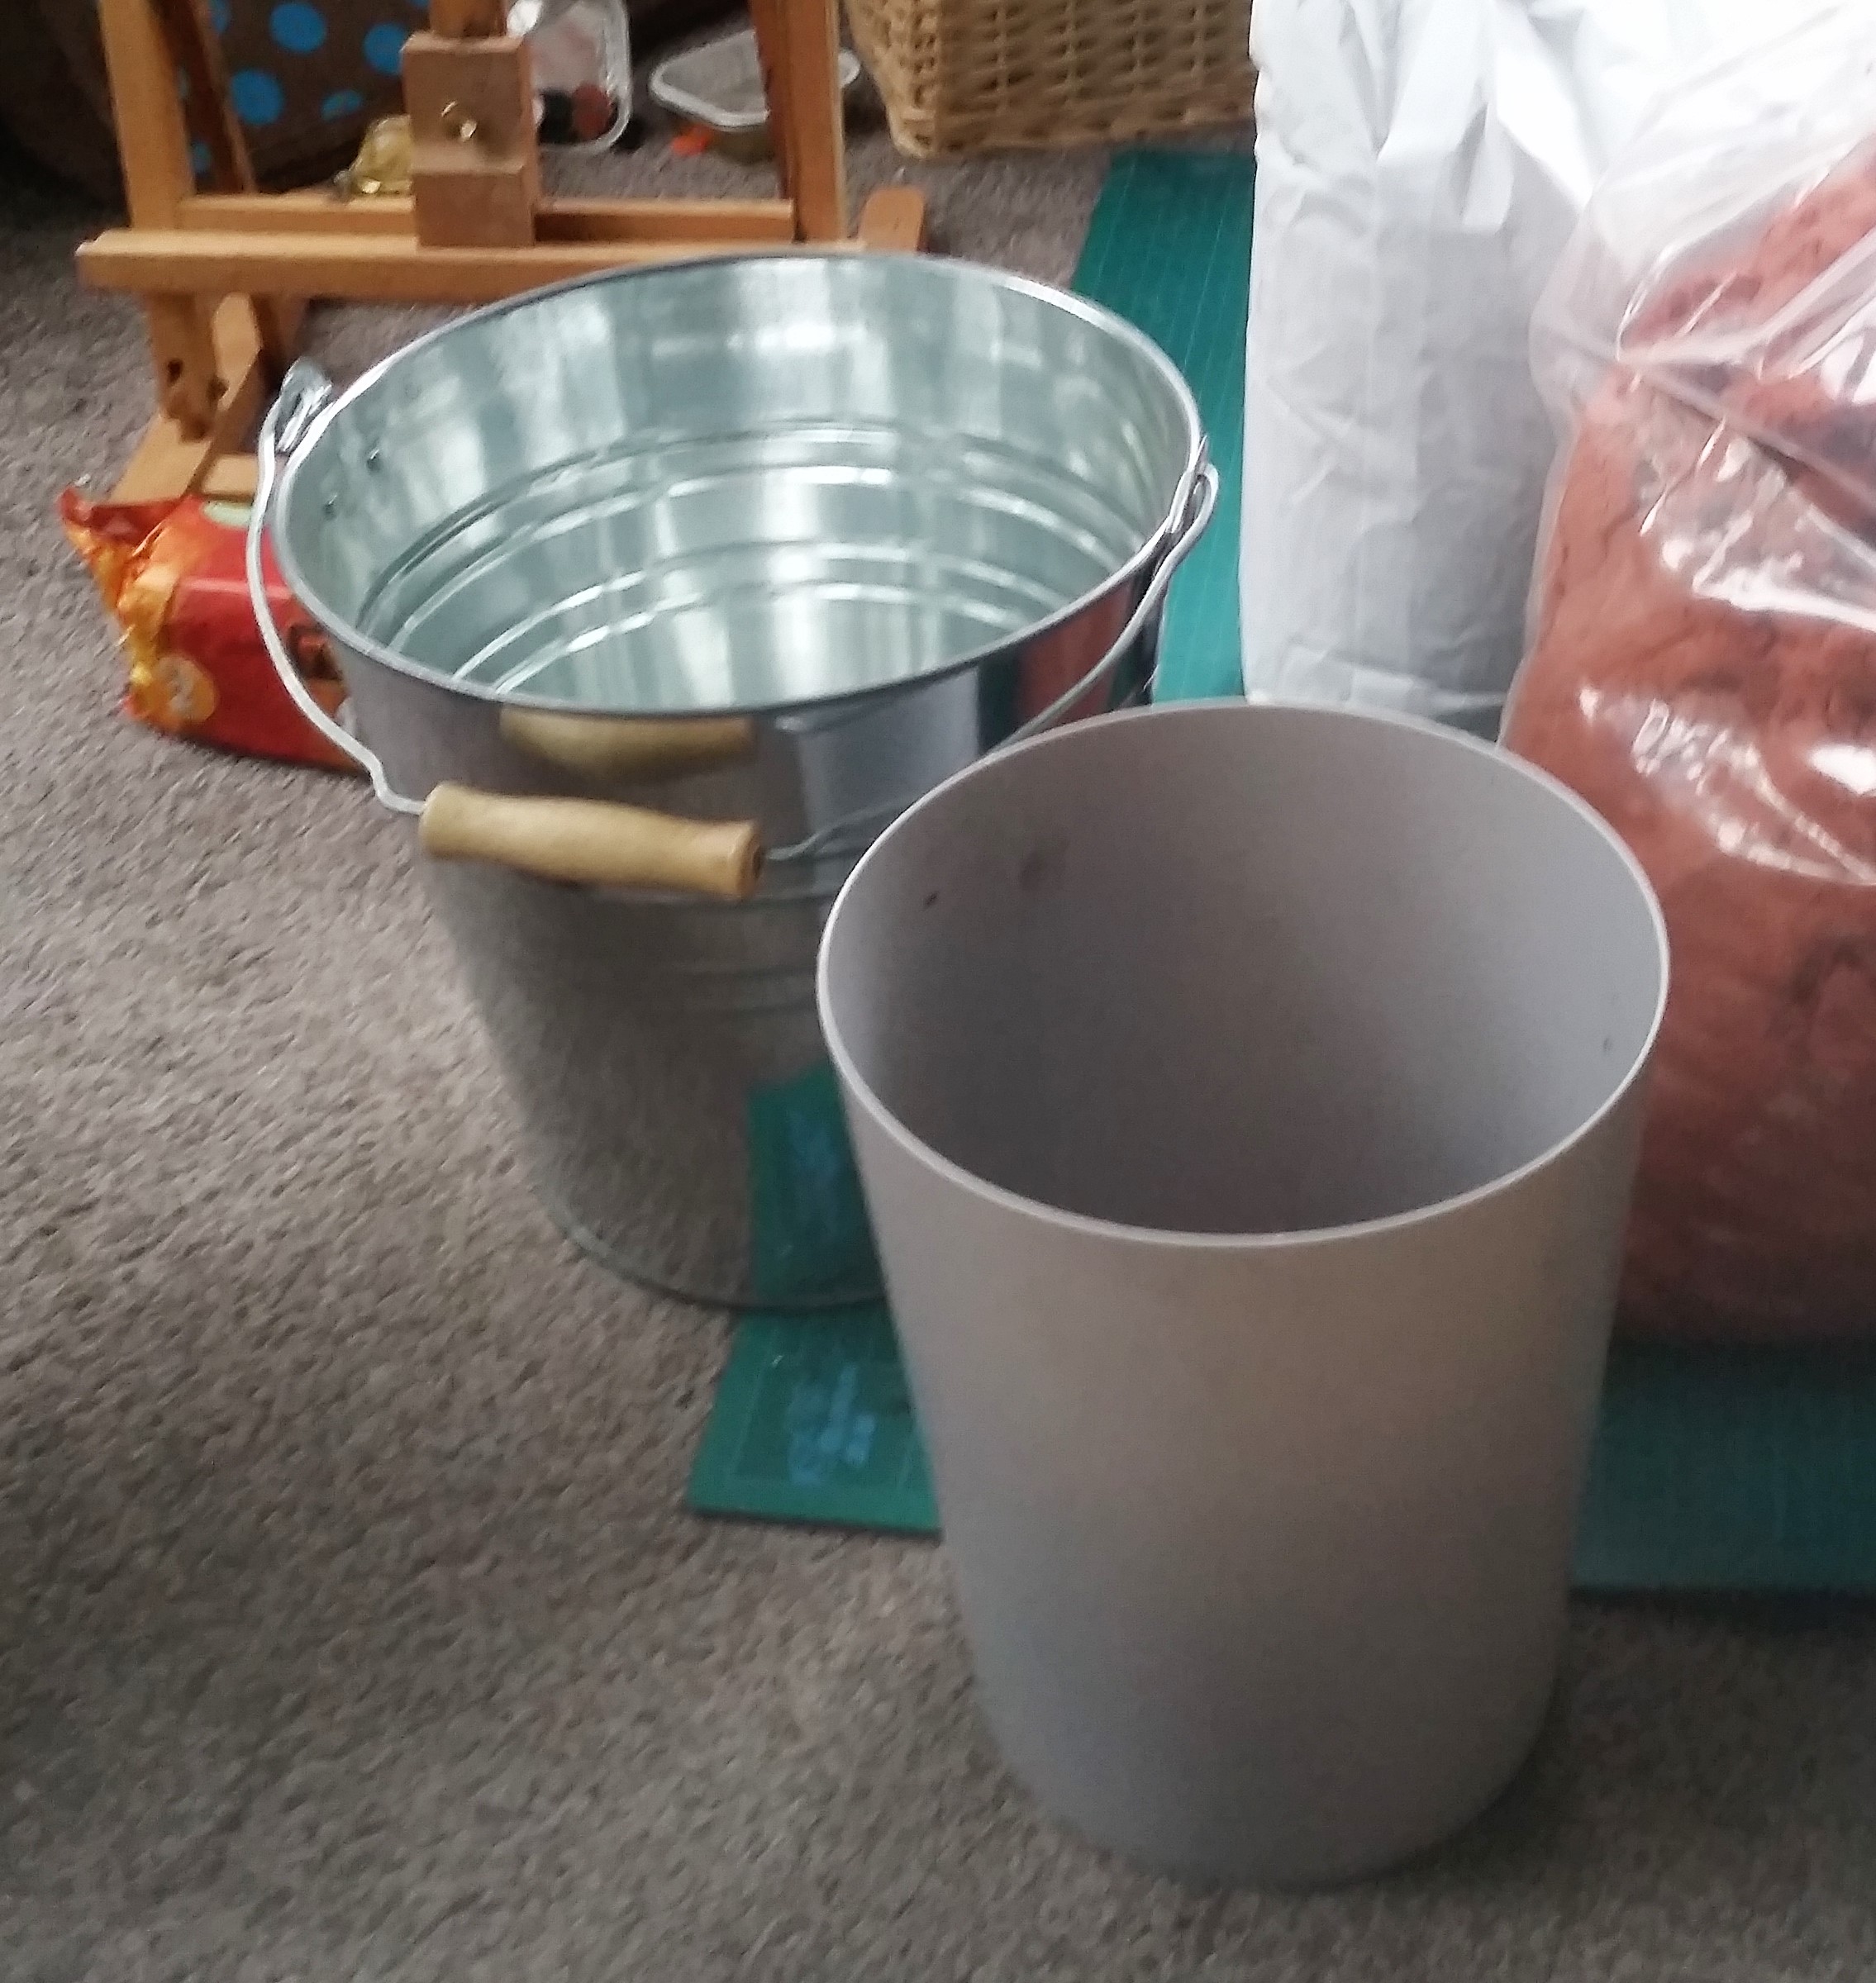
The bucket
We picked up a galvanised steel bucket (like this one) and small plastic paint kettle from The Range in order to cast our refractory cement and form the body of the forge.
The refractory cement we used came in a 25kg bag, and we got it from a local foundry supplies merchant. (I know, what are the chances of having one in my neighbourhood, right?) They also sold us a huge bag of oil bonded sand and a graphite clay crucible.
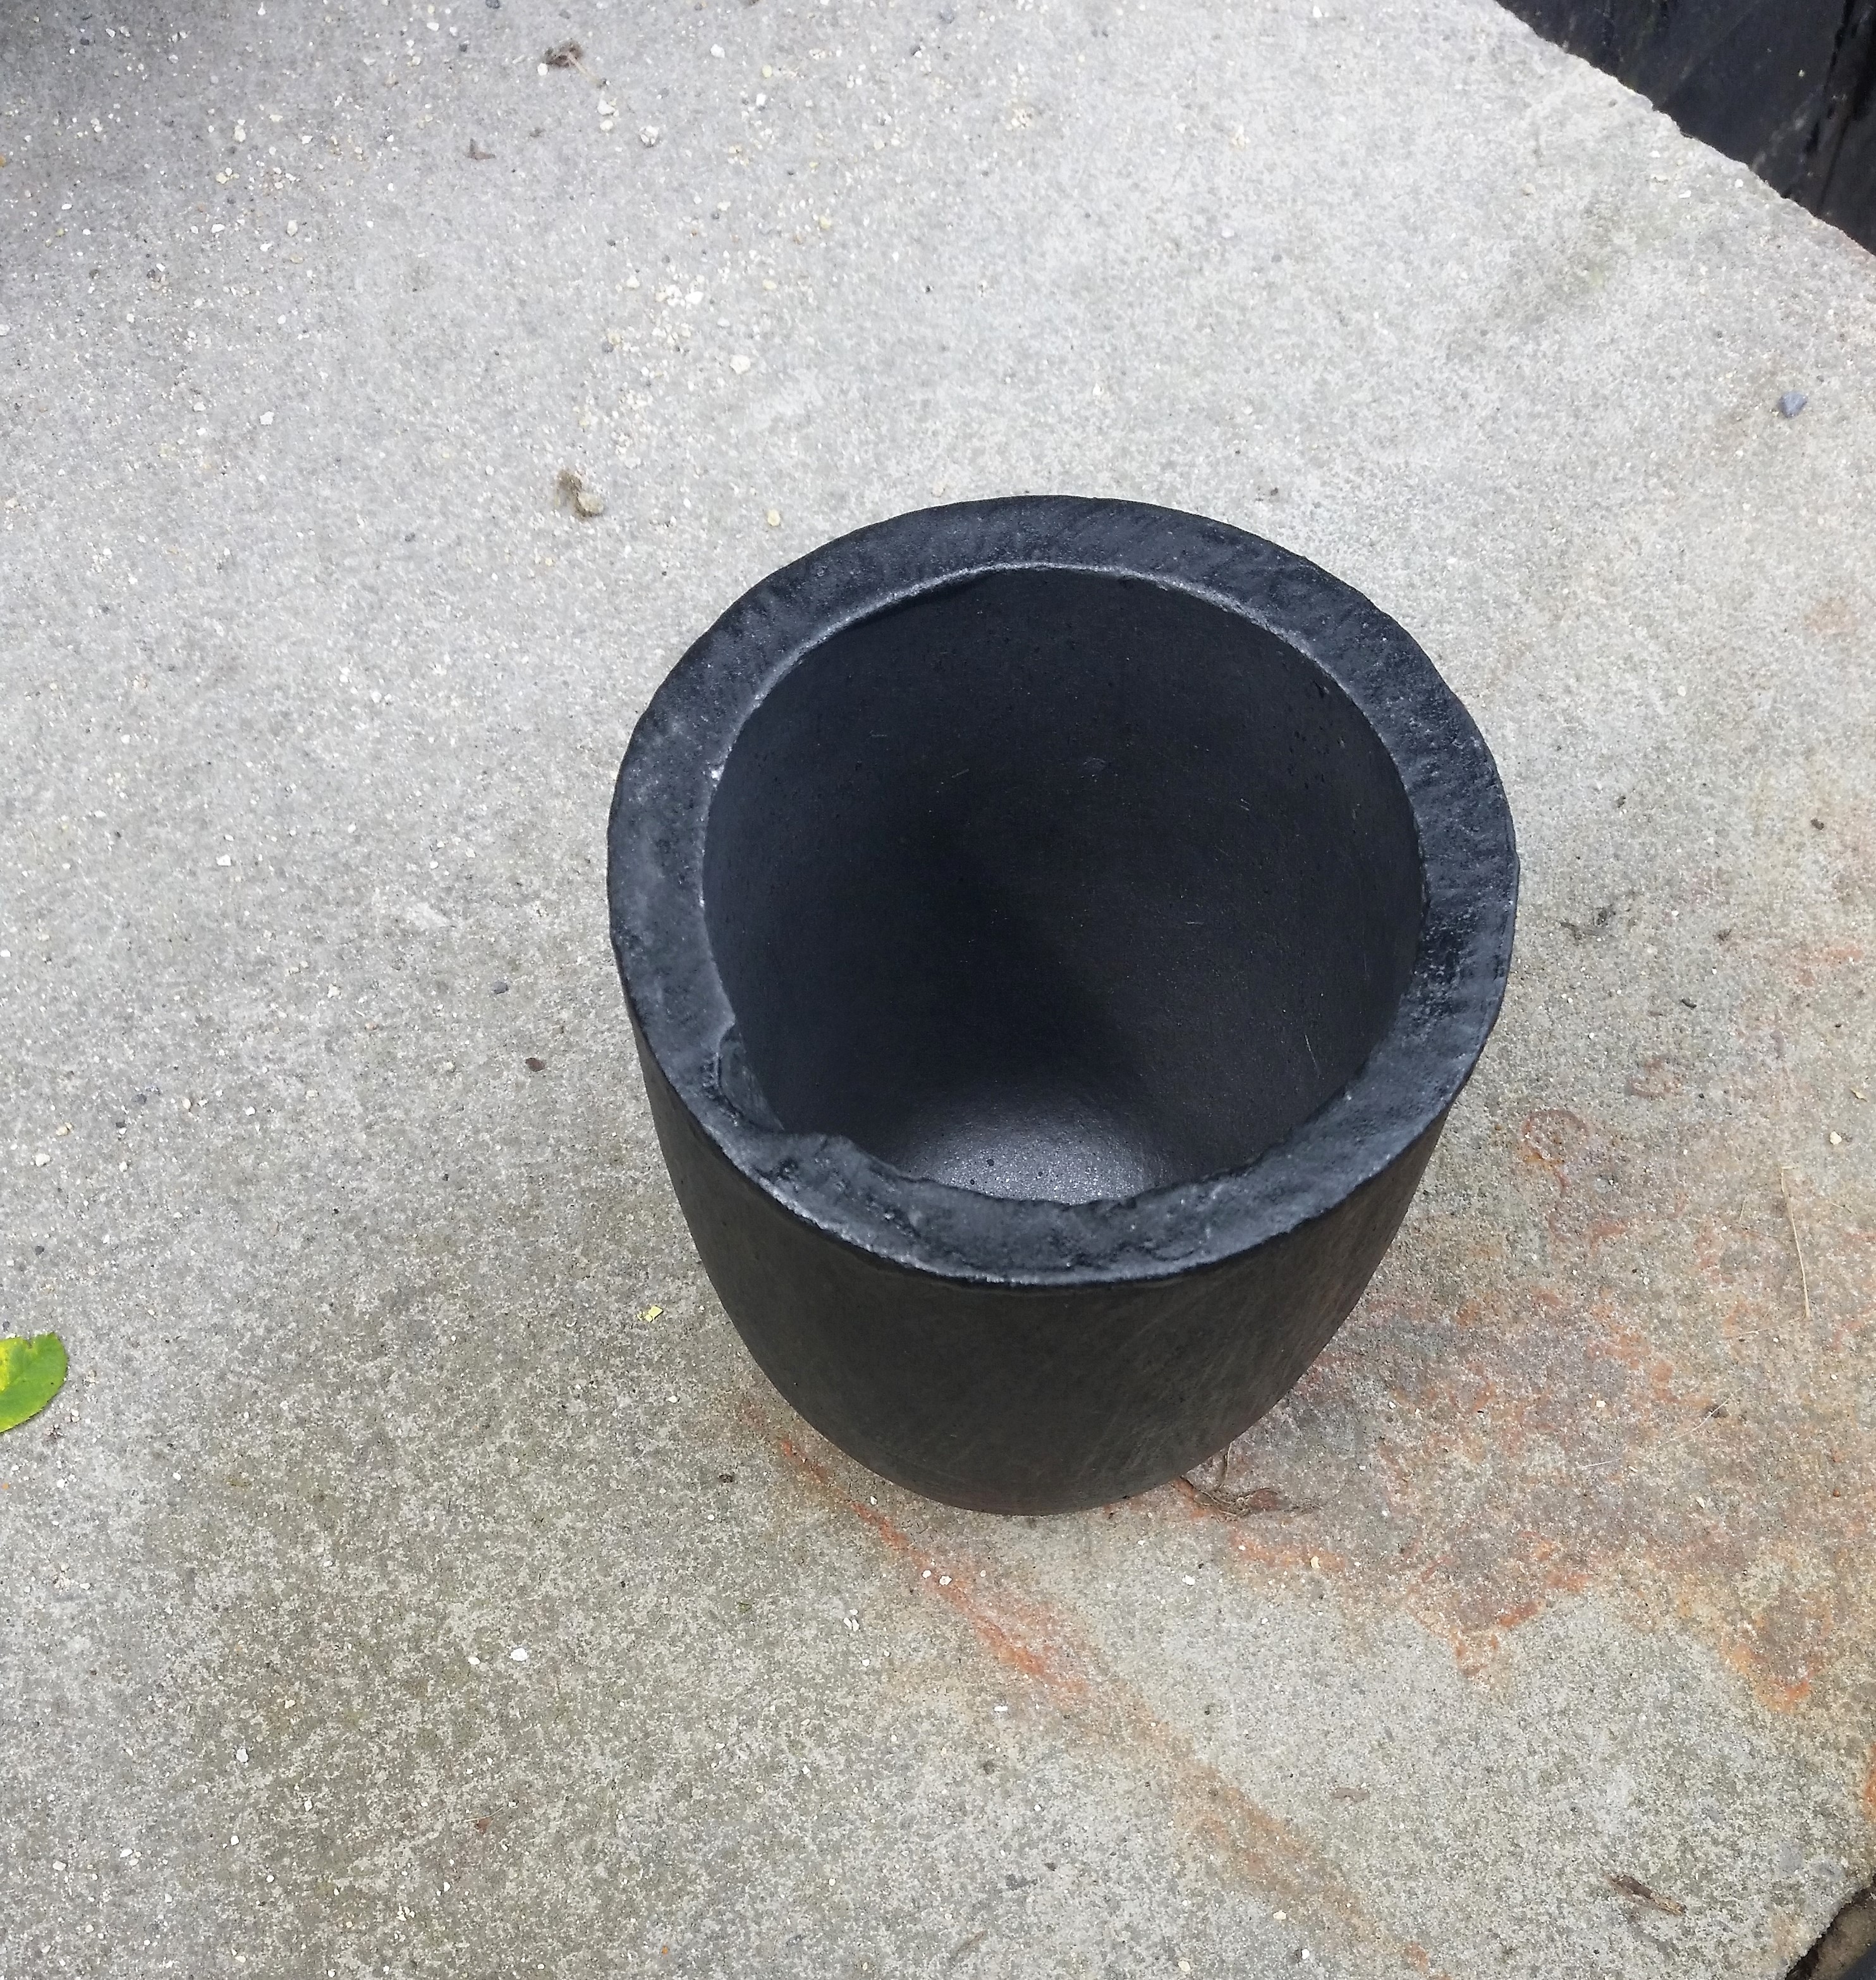
The crucible
The crucible itself cost £30… we were happy to get a decent one and not attempt to DIY it from some salvaged steel, as we plan to do it properly (as properly as can be done in a bucket) and don’t like the idea of a crucible failing.
The lid
We made a lid for the foundry by pouring some of the cement into a circular frame and embedding some scavenged handles into it. A bit of extra cement went into a plastic food container and made a handy slab that we used to cover the lid entirely.
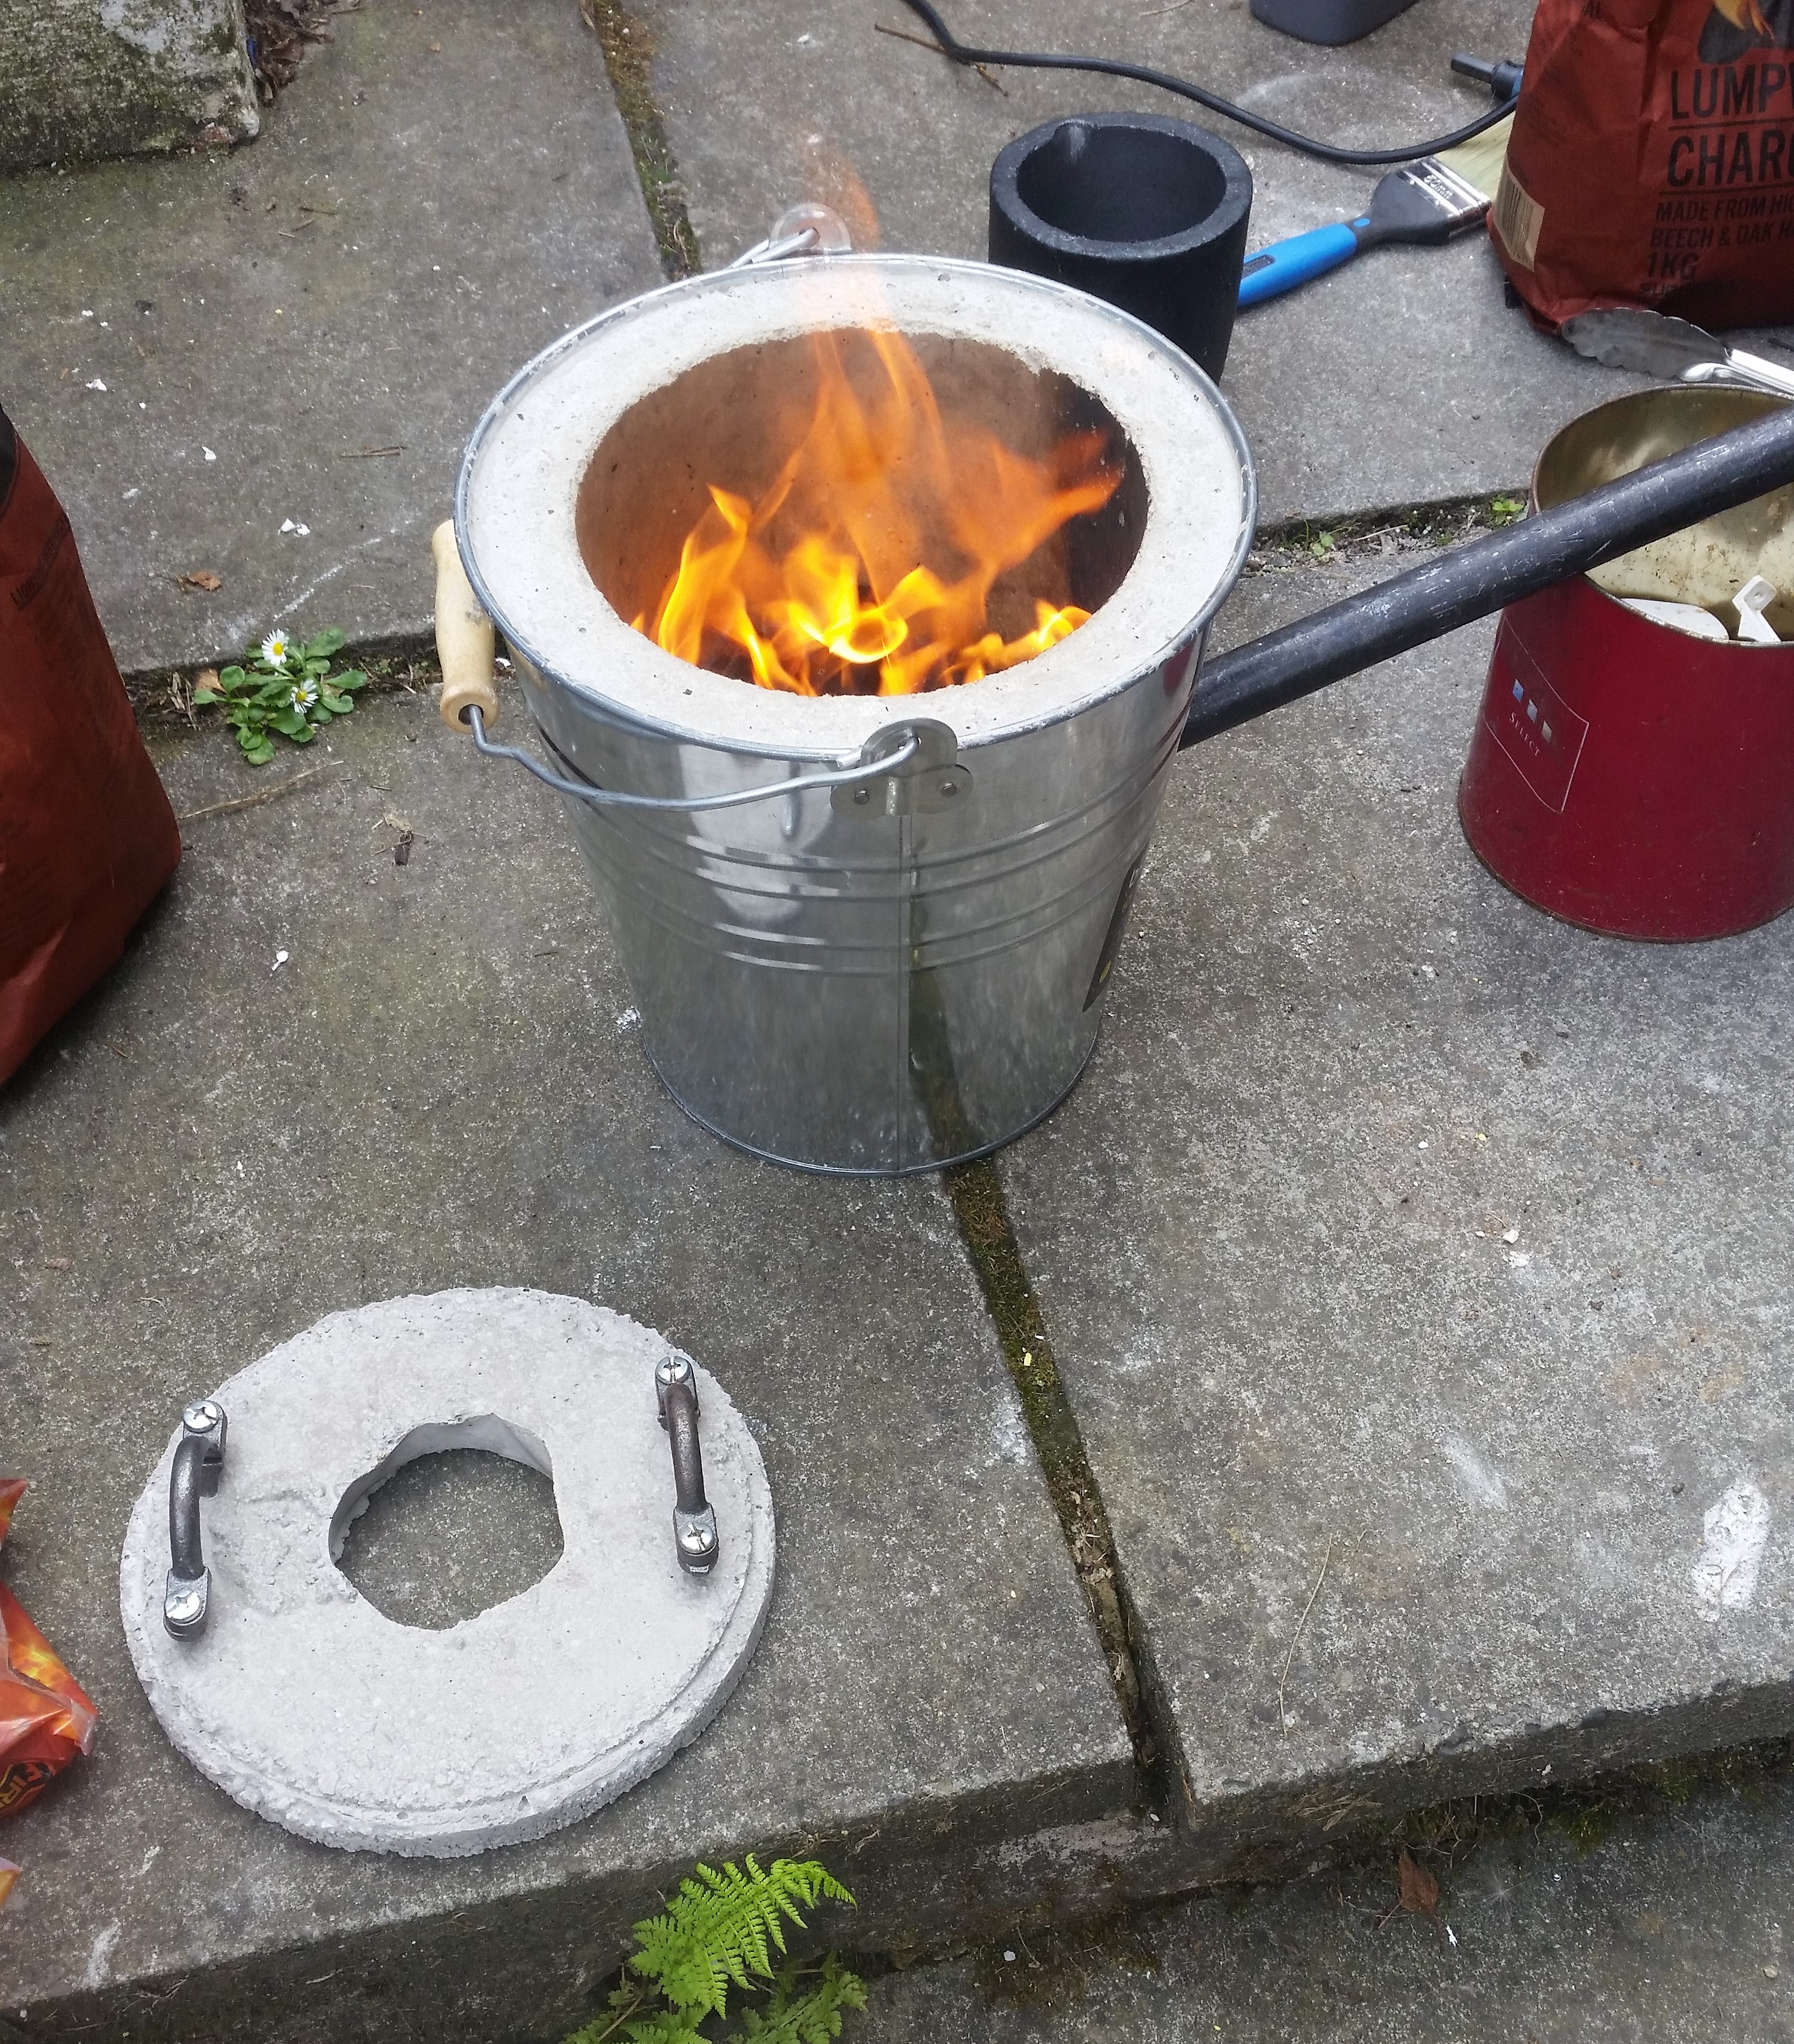
The central hole was made by placing a plastic cup onto the board before pouring the cement, but it crumpled under the weight and left a wibbly outline. It took a fair bit to fill the bucket, but there’s still plenty more left over for more projects – maybe a small kiln?
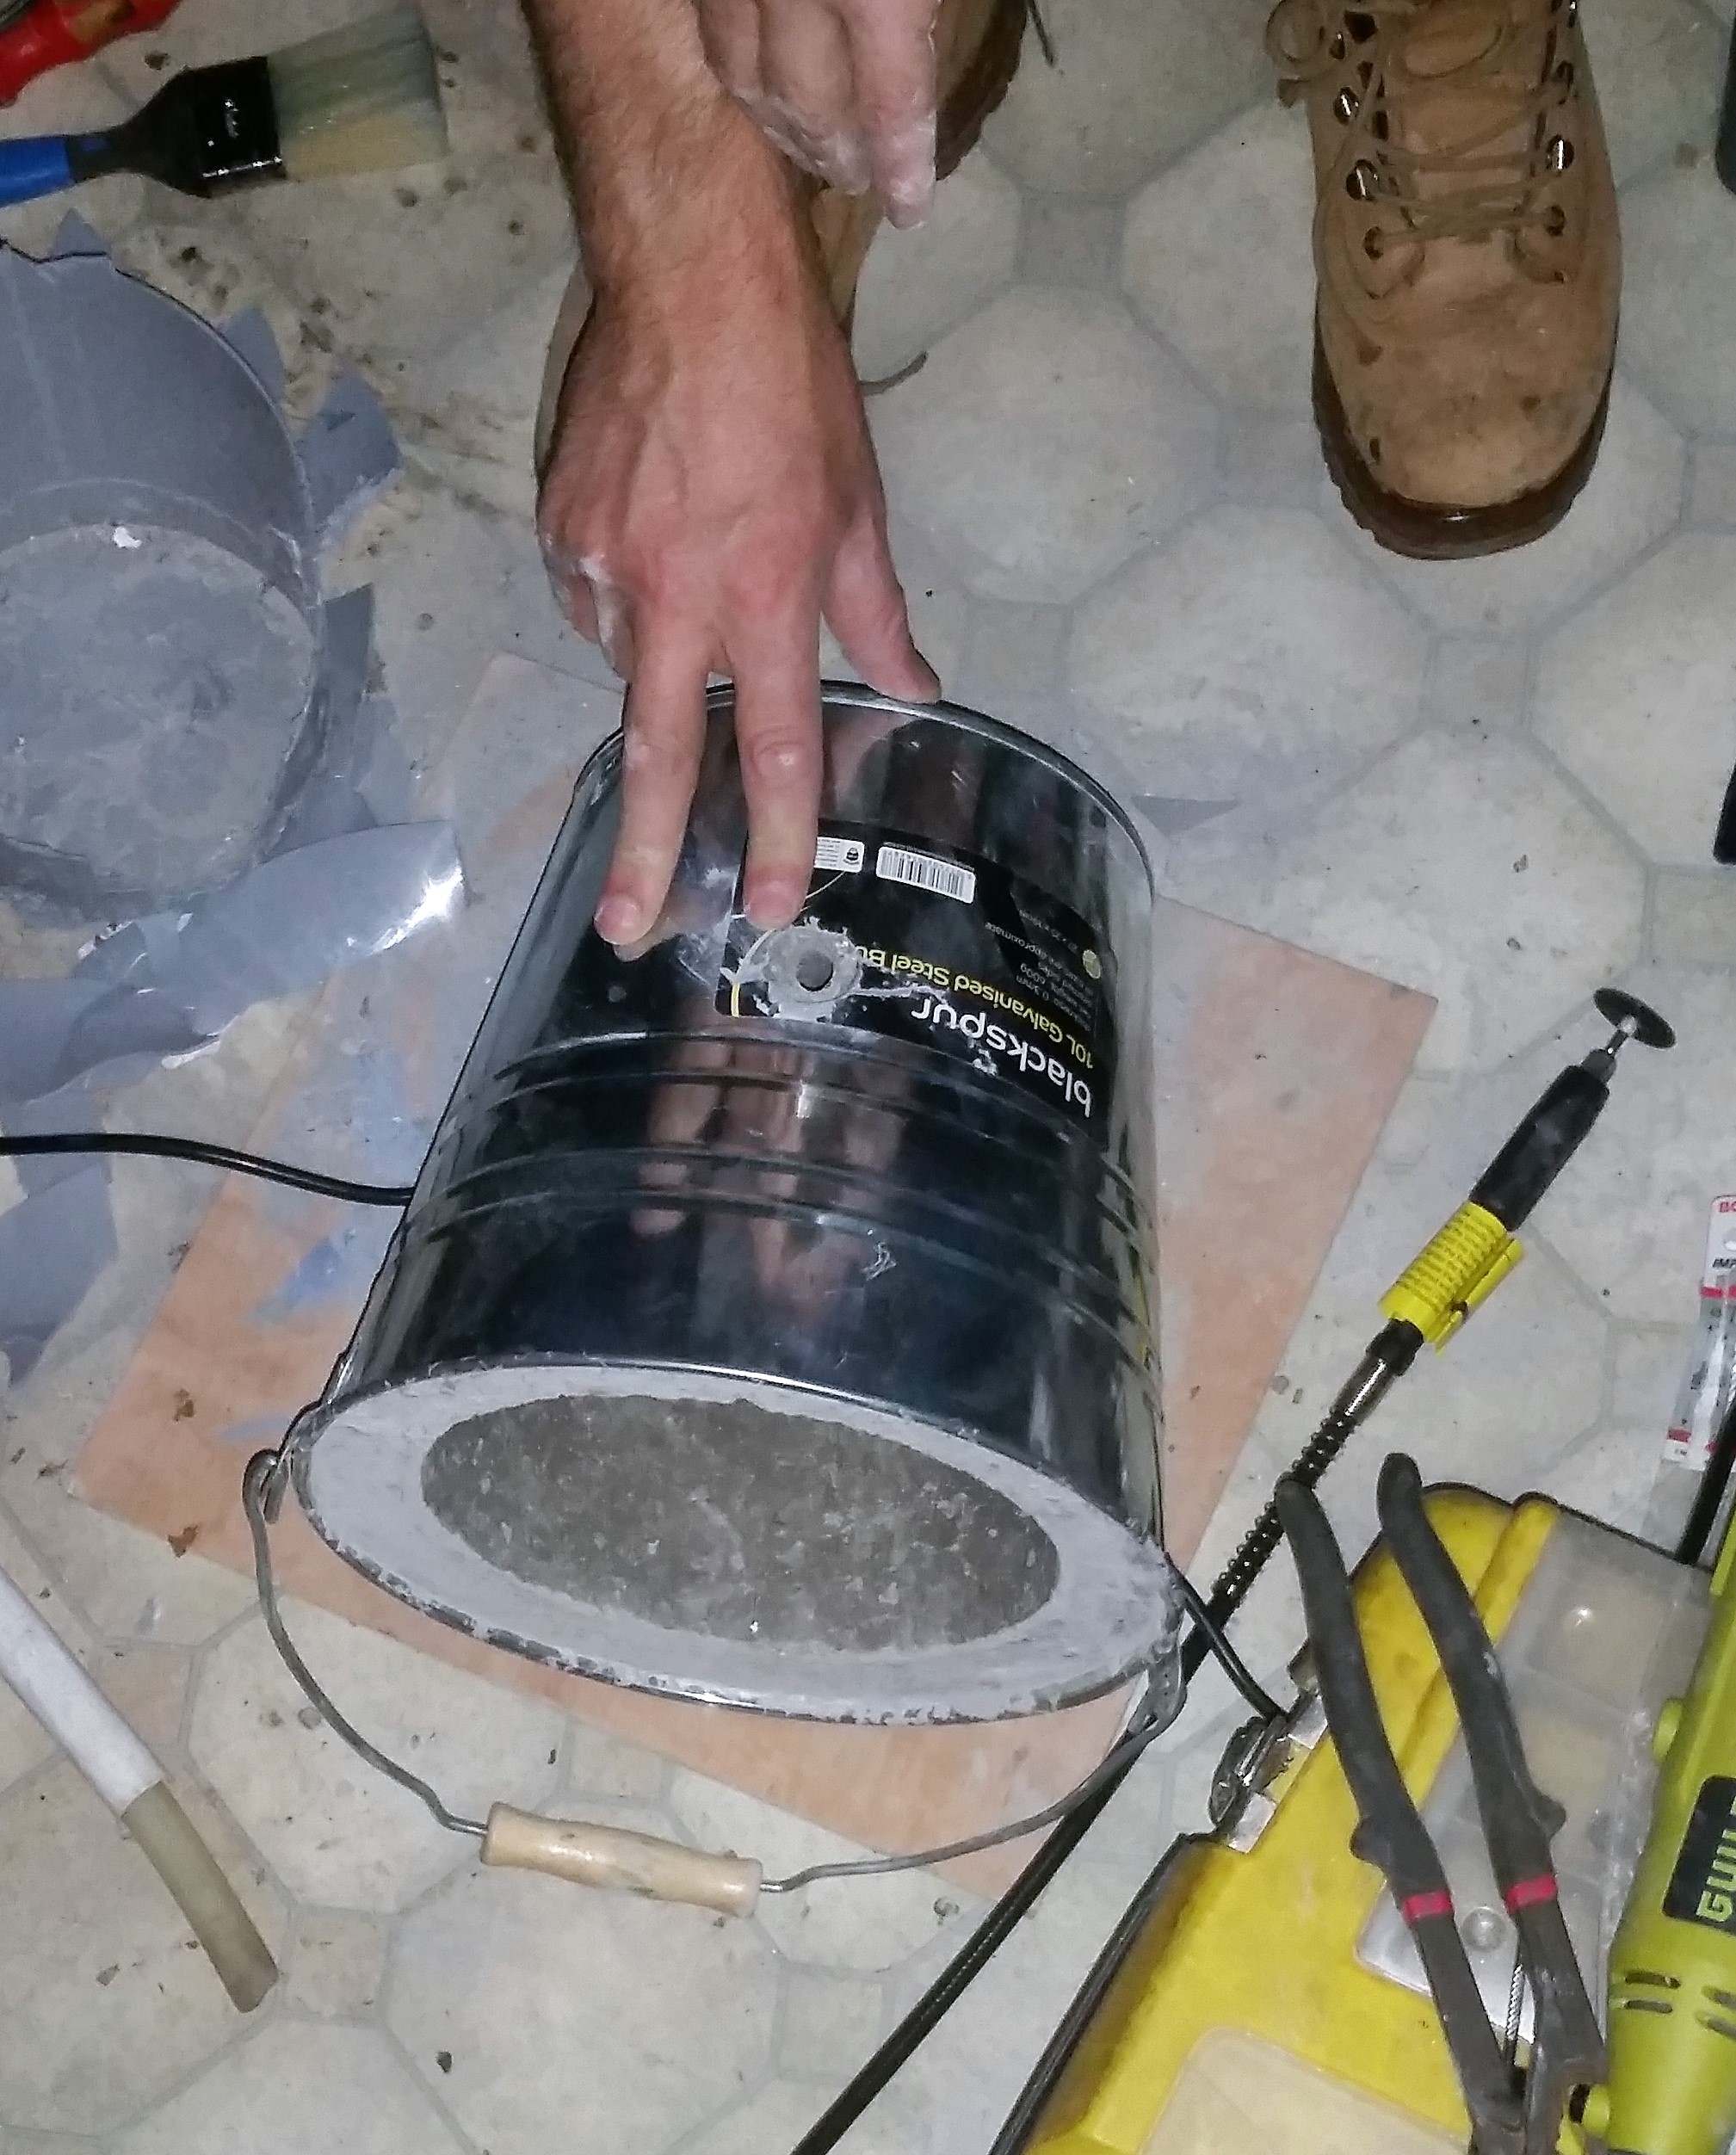
Powering the furnace with a hair dryer
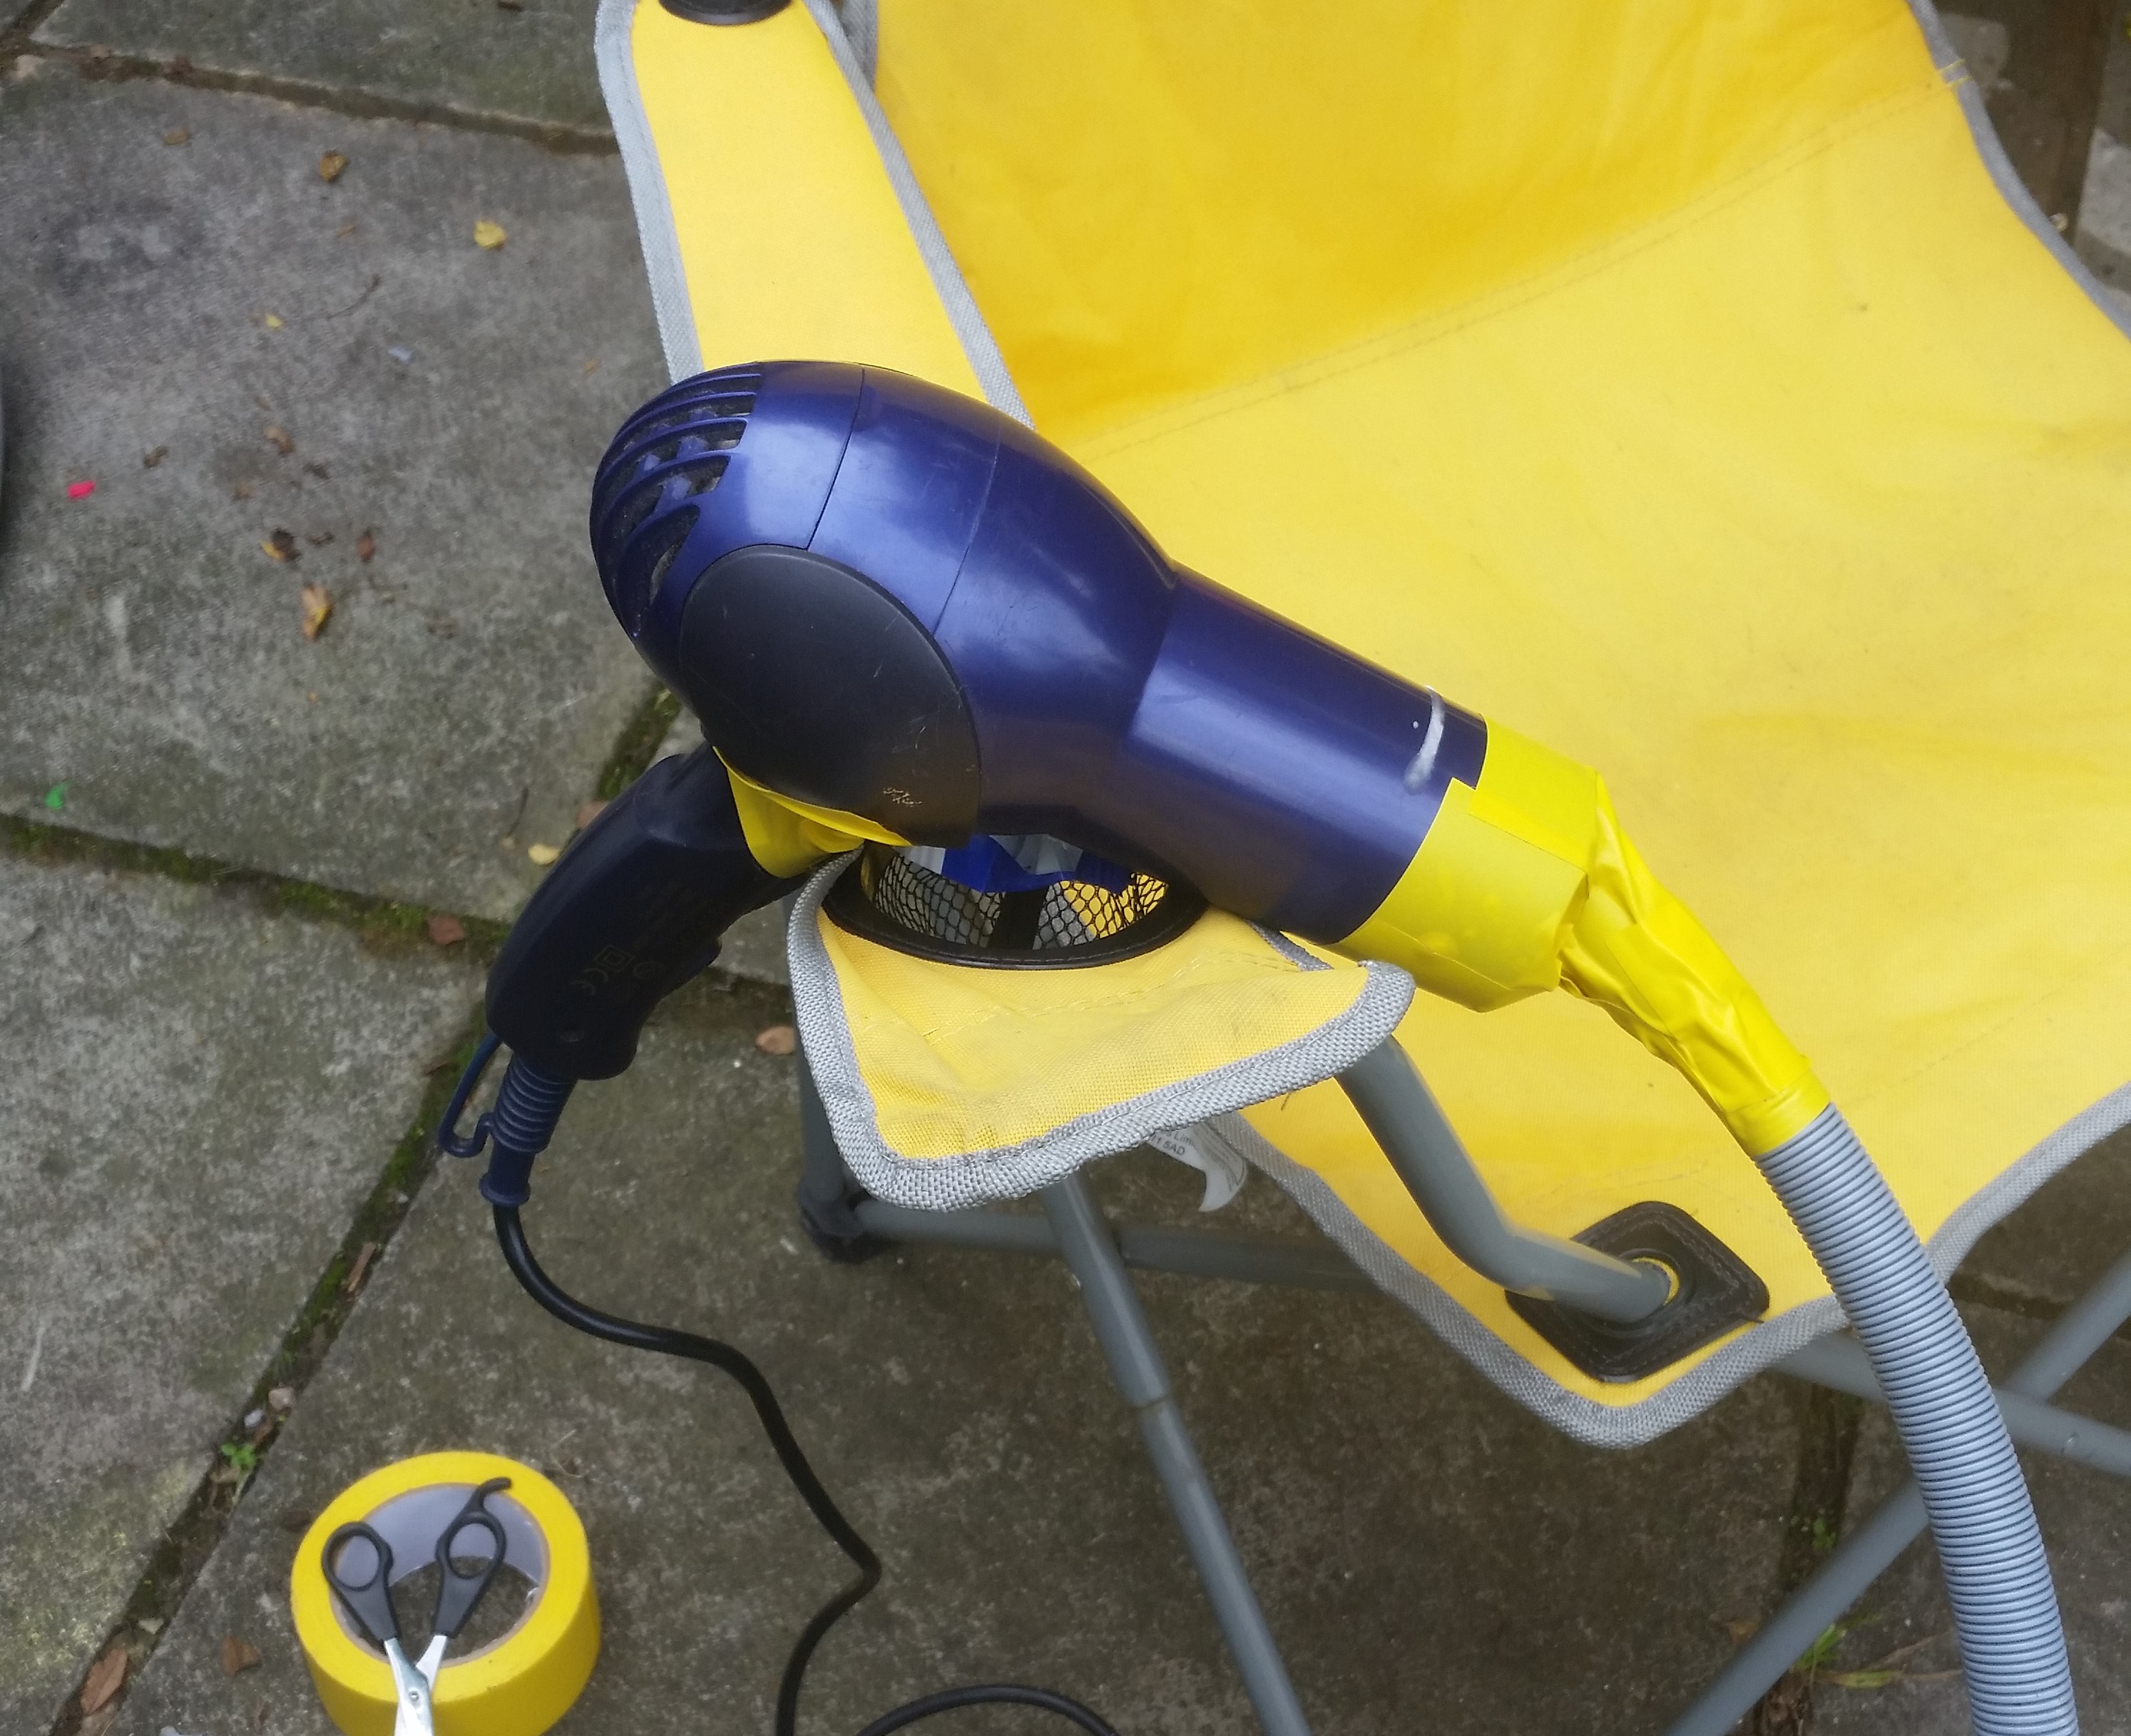
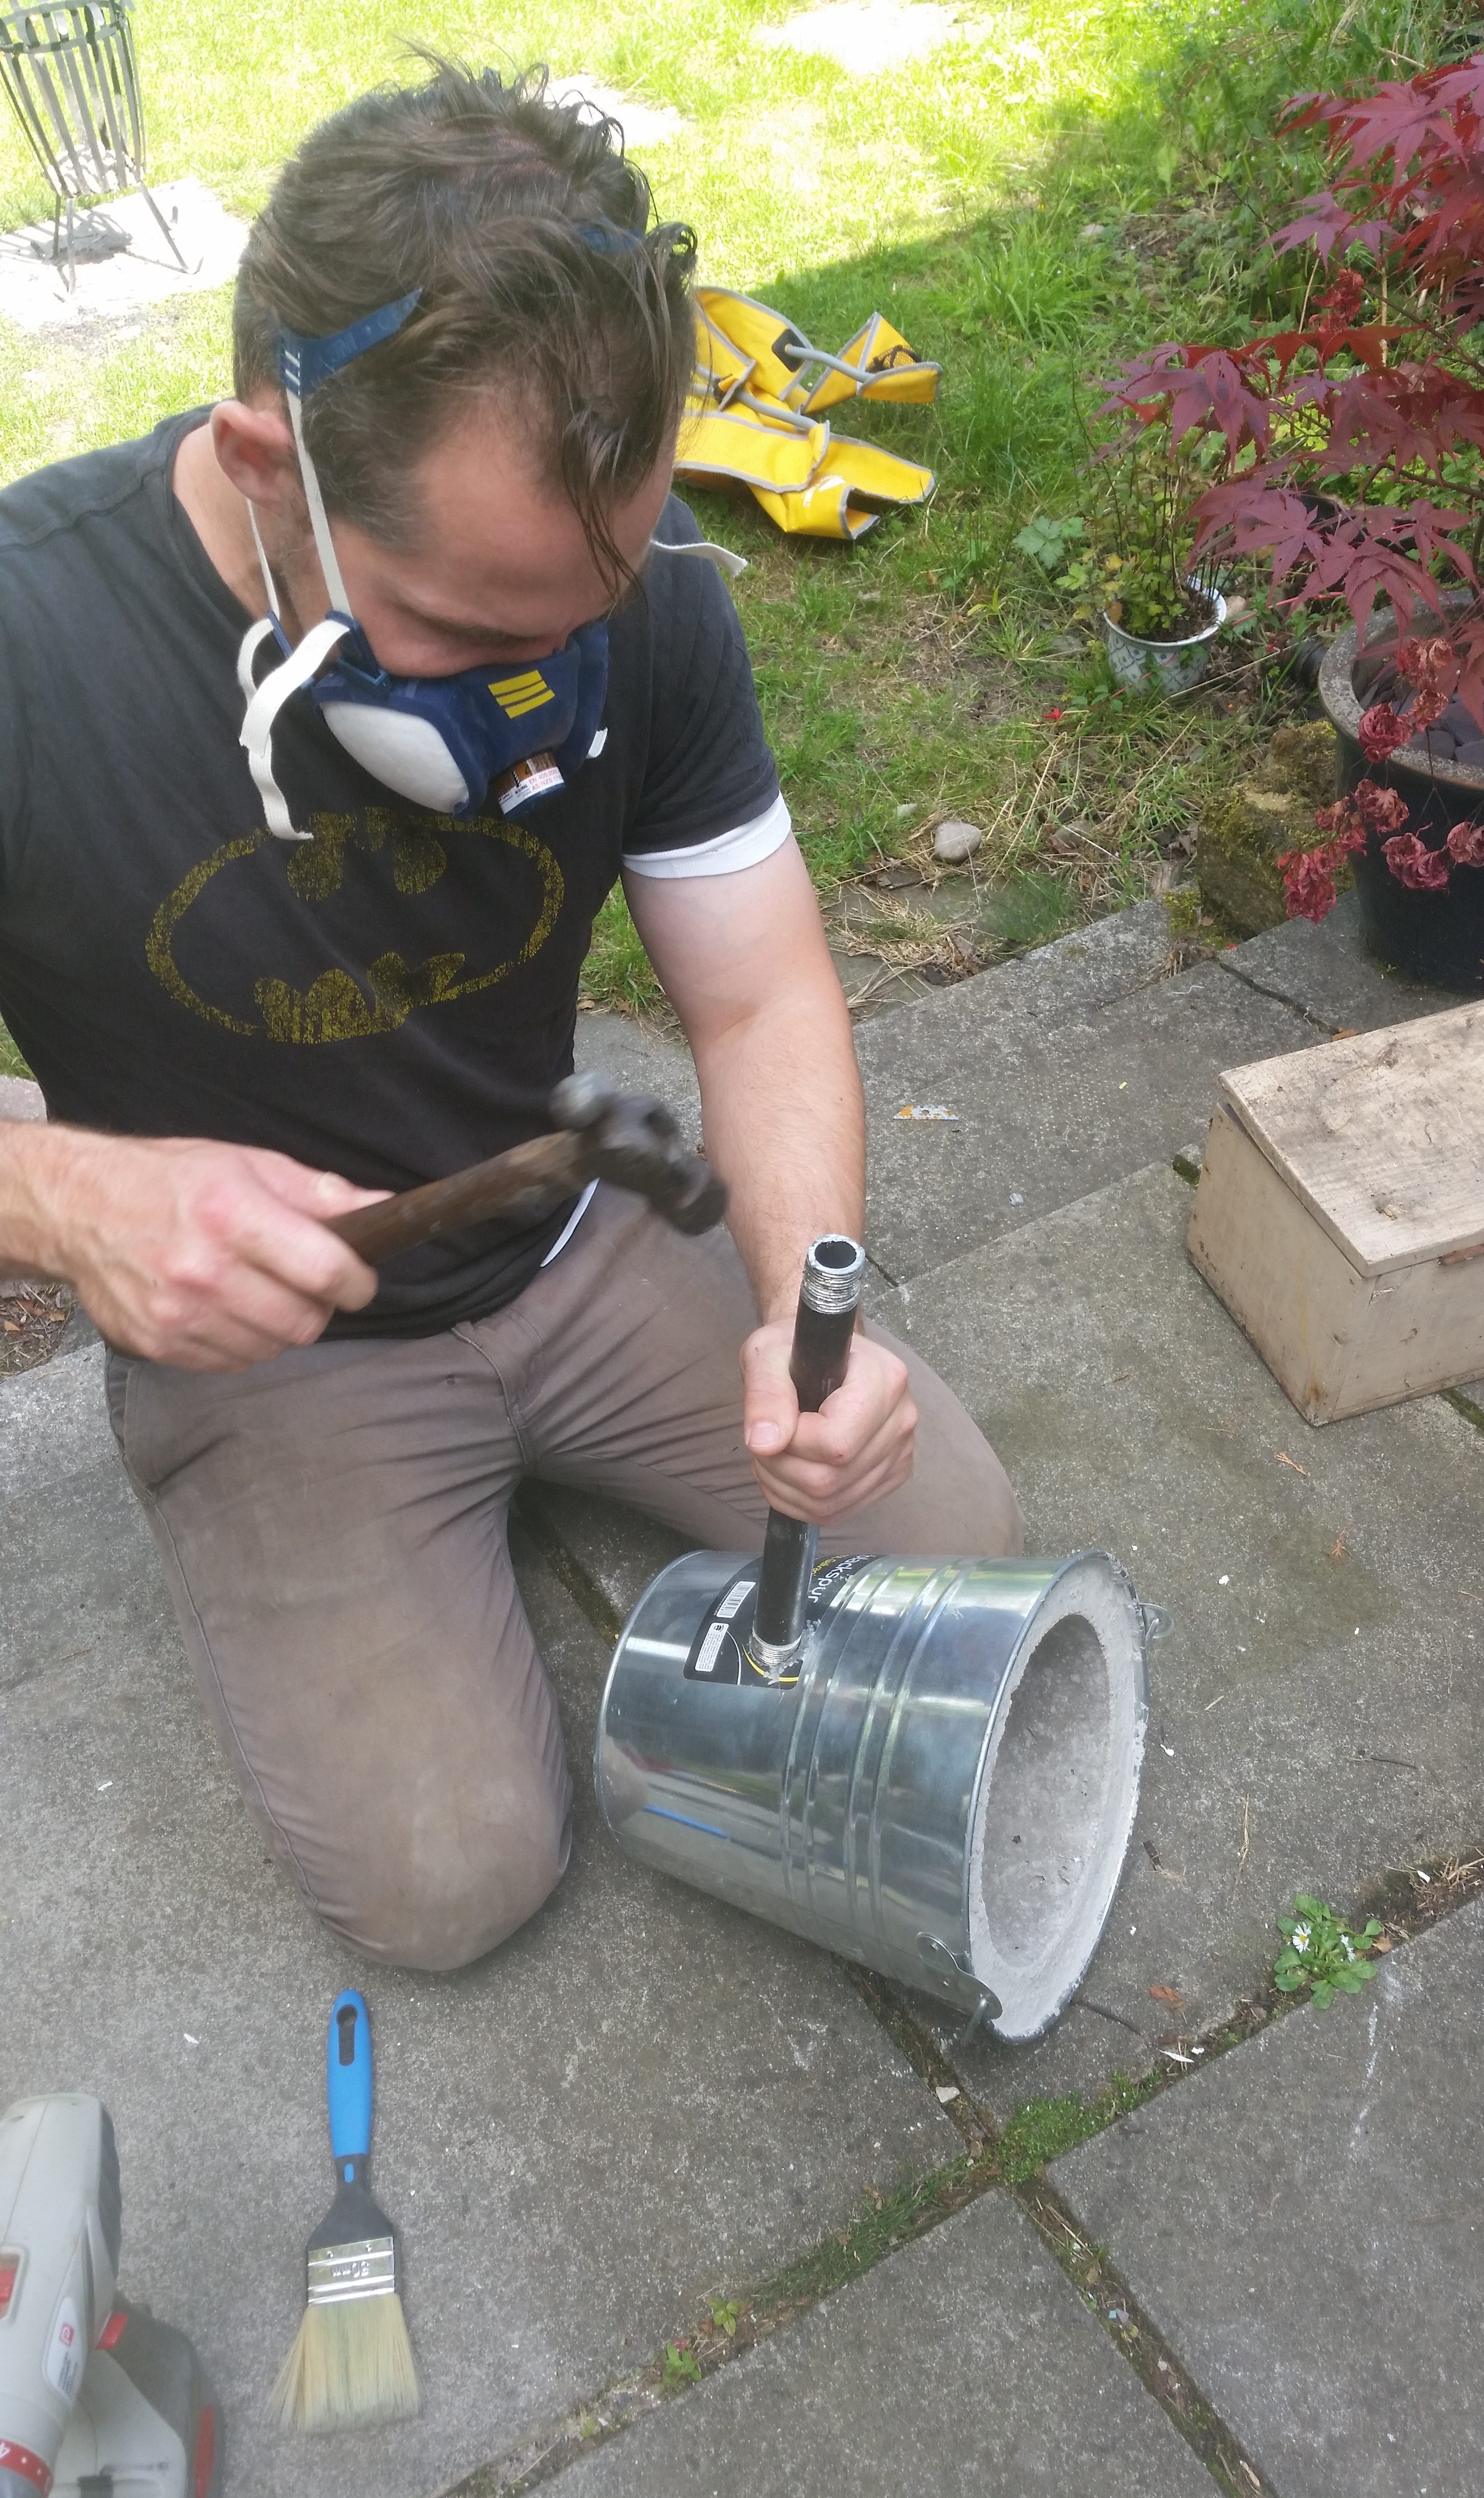
We were told (by YouTube) to connect up a hair dryer via a pipe and steel tubing to blow air into the furnace. The problem was, the hair dryer got too hot when taped to the pipe, even with holes cut into the tape.
Blowing air directly into the steel pipe worked, but it didn’t get very hot. It was only when we abandoned the pipe altogether and blew the hair dryer directly into the air port that we got the foundry hot enough to bring the crucible up to temperature.
First firing – tempering the crucible
Firing up the foundry for the first time was exciting, but we knew we weren’t going to start melting any aluminium straight away. We had to temper the crucible first – bring it up to glowing red hot and let it cool down again.
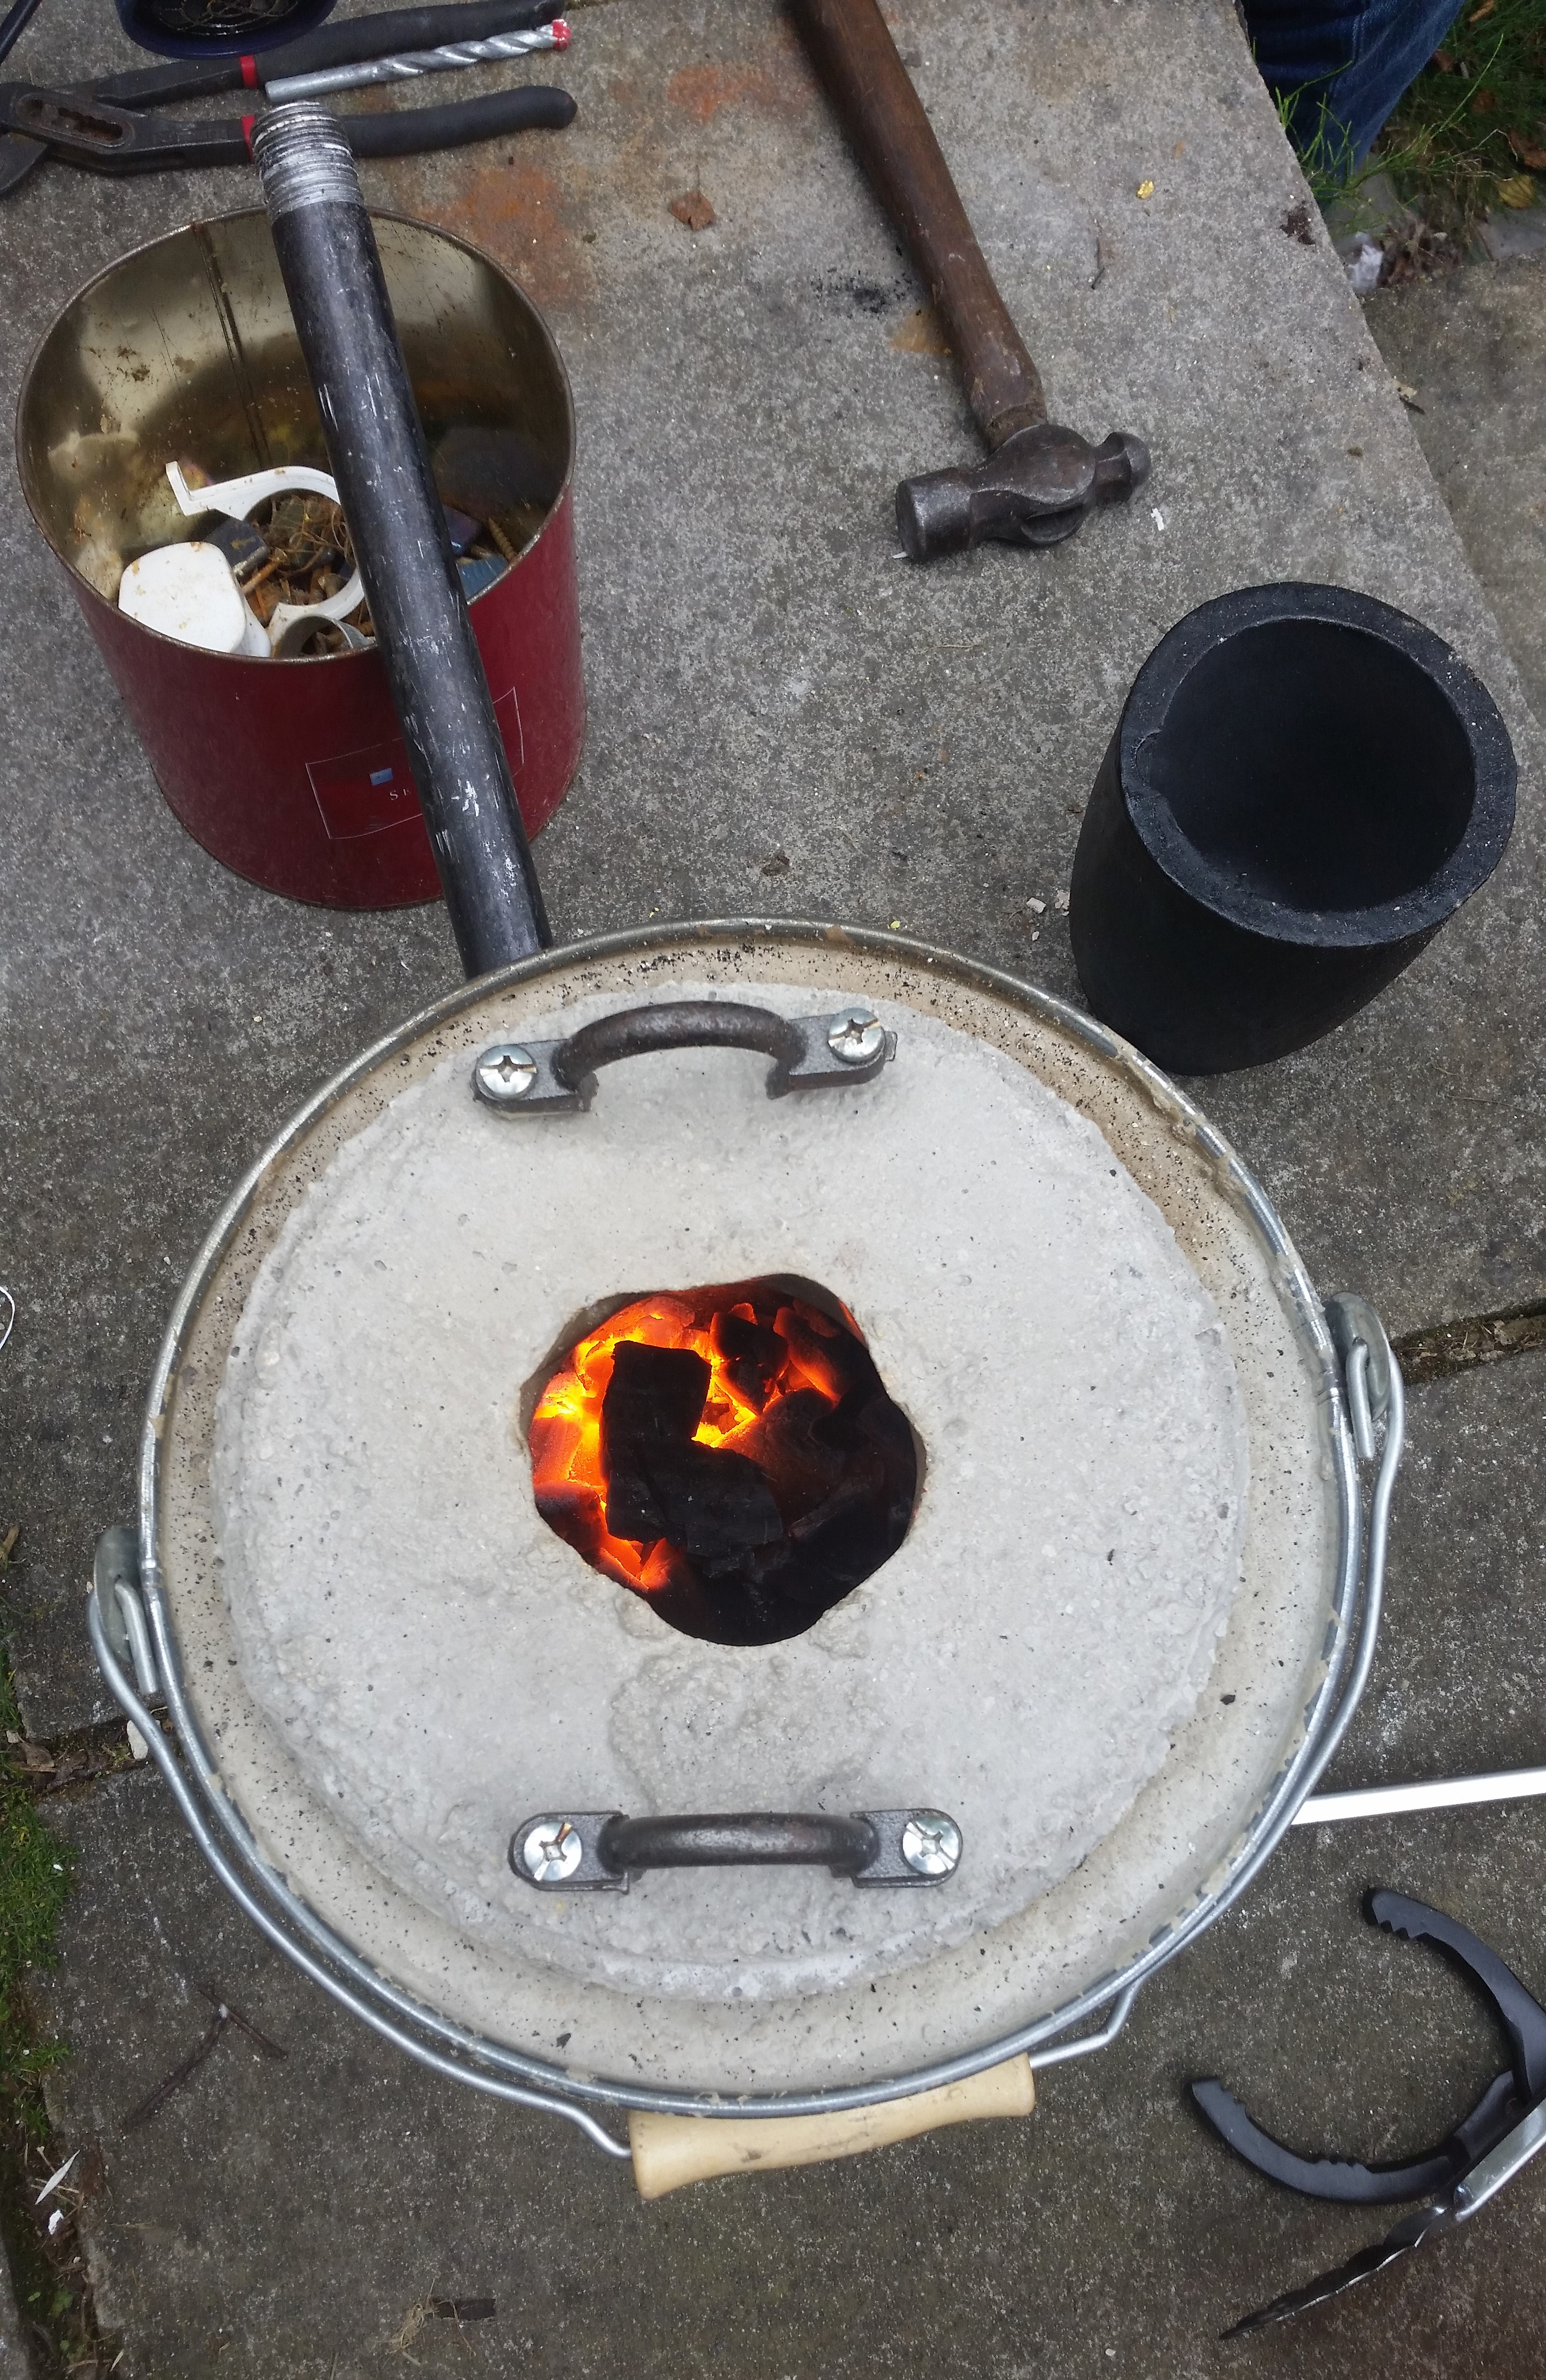
The heating process took a lot longer than we wanted it to, because, basically, we had to figure it out as we went along. The air supply issue was critical to the foundry heating adequately, and when we got the right amount of air blowing in thanks to the hair dryer being up close, it really took off.
Cooling down took all day though, and I’m not kidding – even into the night, the foundry was hot! The handle was cool enough to carry it indoors though. That residual heat came in handy for lunch though – I managed to cook an egg on the top of it and even cooked hamburgers in a flash, before our separate barbecue could even get up to temperature.
It looks as though metal melting days will be barbecue days as well! Next step will be to start melting our scrap aluminium and casting into ingots.
Leave a Response