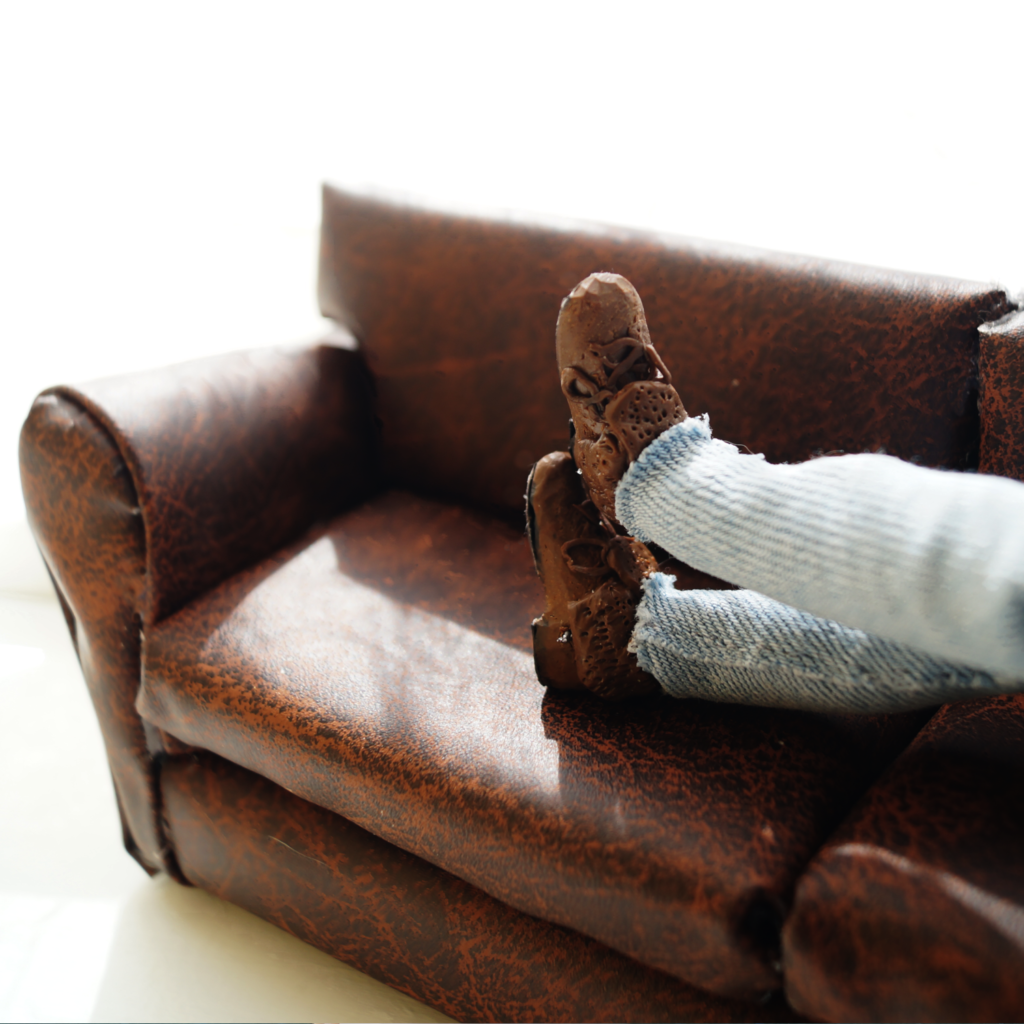
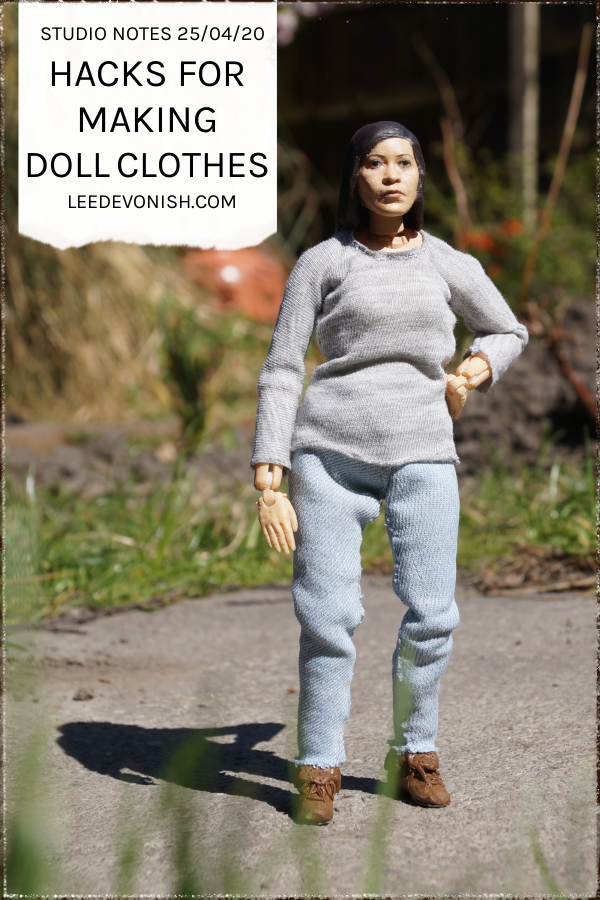
To complete my articulated figure's look, I needed to turn up some new hacks for making doll clothes that would look convincing at less than 1:6 scale.
To complete my articulated figure’s look, I really needed to make some new clothes for her. My first attempts back in December were ok, but I needed to turn up some new hacks for making doll clothes that would look convincing.
The first thing I learned was that, if you look for hacks for making doll clothes on YouTube, you’ll end up inundated with super-saturated thumbnails for low-quality videos featuring a variety of no-sew options pumped out by content farms and targeted at kids.
What I was really after was helpful tips for reducing bulk when sewing miniature garments – from 1:6 scale and smaller – but I decided to just draw on what experience I already had and write up my own list here for anyone who might need them.
Main goals in creating miniature clothes – reducing bulk in seams and cutting accurate shapes
I actually wrote about this very thing with my first attempt at tiny clothes –
Making a set of tiny clothes was probably the most entertaining, unexpected thing about this entire process. Getting the proportions right with clothes is tough, since they add a lot of bulk at the seams, so I’ll probably go back and make some more with as few flat top-stitched seams as possible.
Studio Notes 06-12-19/
This time I was determined to make real progress with getting the clothes to fit, and I think it’s my best shot yet. I still have a bit of refinement to do, as I don’t think it’s quite perfect, but we need to start some animation tests. Here are my tips:
1: Use freezer paper to back your fabric before cutting
Freezer paper* makes a good, temporary backing material to allow you to accurately cut your patterns, especially where the pieces are tiny. The adhesive stops the fabric from fraying until it’s time to sew.
After you peel the paper off, you’ve got a template for another pattern.
2: Lightly apply PVA glue to fabric edges to stop them from fraying
When the fabric’s on the freezer paper, you can run a tiny bead of PVA glue – ideally Aleene’s Tacky Glue* to the edges to prevent fraying. Not too much, or you’ll end up with visible marks on the fabric.
If you’re careful, you can apply enough glue to the wrong side of the fabric edges to stop fraying and possibly get away without having to sew a seam at all.
3: Use lapped seams where you can
Instead of using a standard seam, try a lapped seam wherever you can get away with one. Sealing the edges with glue makes this possible to do with a greater variety of fabrics. The first and second set I made were created from my own pair of jeans and t-shirt, and it only felt right to carry on the same way.
4: Use as few seams as possible
This may really go against the grain for experienced dressmakers, but I’ve found that cutting patterns to integrate pieces that would normally need to be separated works well for reducing bulk and speeding things up.
So for example, my jeans are made from one piece of denim that wrap around the legs, requiring only inner thigh seams and seams for the fly. Full-sized jeans would come in four pieces. The t-shirt’s made of one piece of cotton, whereas a full sized t-shirt would need four pieces.
The downside of this is that the grain of the material will inevitably run the wrong way somewhere, but I’ve found that it’s really only visible on the arms of the shirt.

Maybe a portrait of the week is a redundant concept now – I’ve found myself so much more busy with my models that separating out my attention doesn’t make sense any more, and they’re all portraits anyway.
Some great news that I can’t really put anywhere else – I’ve just gotten access to Adobe Creative Cloud software for free thanks to my workplace, so this week has seen me getting to grips with Photoshop and bracing myself to attempt working with AfterEffects. I’m so excited to see what this will mean for my animation!

* denotes affiliate links
Leave a Response