Studio Notes 01/02/20 - 3D printing myself using an Anycubic Photon and Blender shows how technology can fit into a low-tech art practice.
I genuinely could not have imagined 3D printing myself just a few months ago, but it’s just proven how technology can fit into a low-tech art practice.
It was always going to lead to printing a mini me.
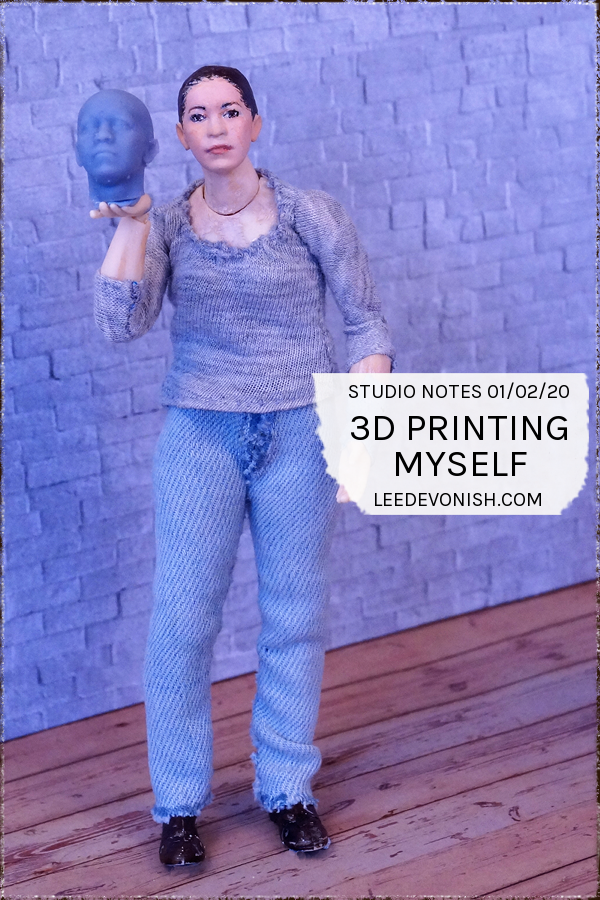
Since January 2019 I’ve been messing around with a 1:12 scale figure, standing in for me at a point in time when I couldn’t even stand up.
By the end of the year I’d decided to try kitbashing a figure to make a more fitting avatar, something to stand in for me more obviously, and that led to learning to make a ball jointed figure based on the modified one. But all of the handmade, low-fi making had its major downsides: the lack of precision and the amount of time it took.
As much as I’d like to big up my technical skills, I just don’t do my best work on a microscopic level. Besides that, I don’t have unlimited time to pour into making the kind of precise joints that I want – tiny joints like for wrists and ankles. So when I realised that the time was drawing near to buy the 3D printer we’d been planning to get for months, it made sense to hold off on buying resin for casting my handmade sculptures.
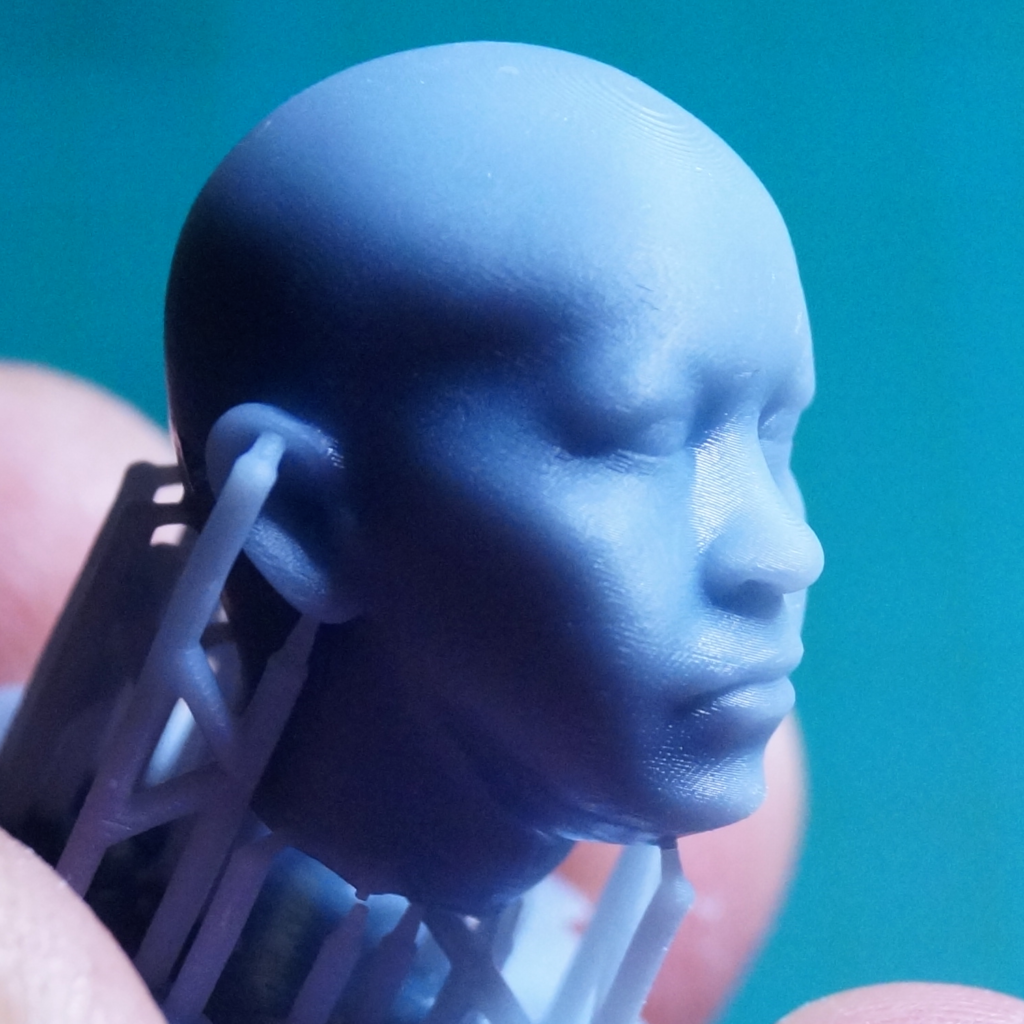
Although the 3D printer (an Anycubic Photon)* arrived a few weeks ago, it has taken me a couple of weeks to learn how to use 3D modelling software well enough to modify figure files I’ve found online and to create my own files.
Facebuilder is a fantastic photogrammetry shortcut
My original plan was to use Meshmixer to do the photogrammetry of all of our heads and then tidy up the resulting mesh in Blender. Mind you, I didn’t know how either of these programs worked when I came up with this plan. What kicked my plan into motion was finding out about Facebuilder.
Facebuilder by Keentools is a program that lets you use photographs of a face from different angles to manipulate a standard 3D head mesh into a custom portrait.
I was hopping to try it out the minute I found out about it, and although my first attempt was a dismal failure, I managed to improve significantly with just a bit of practice.
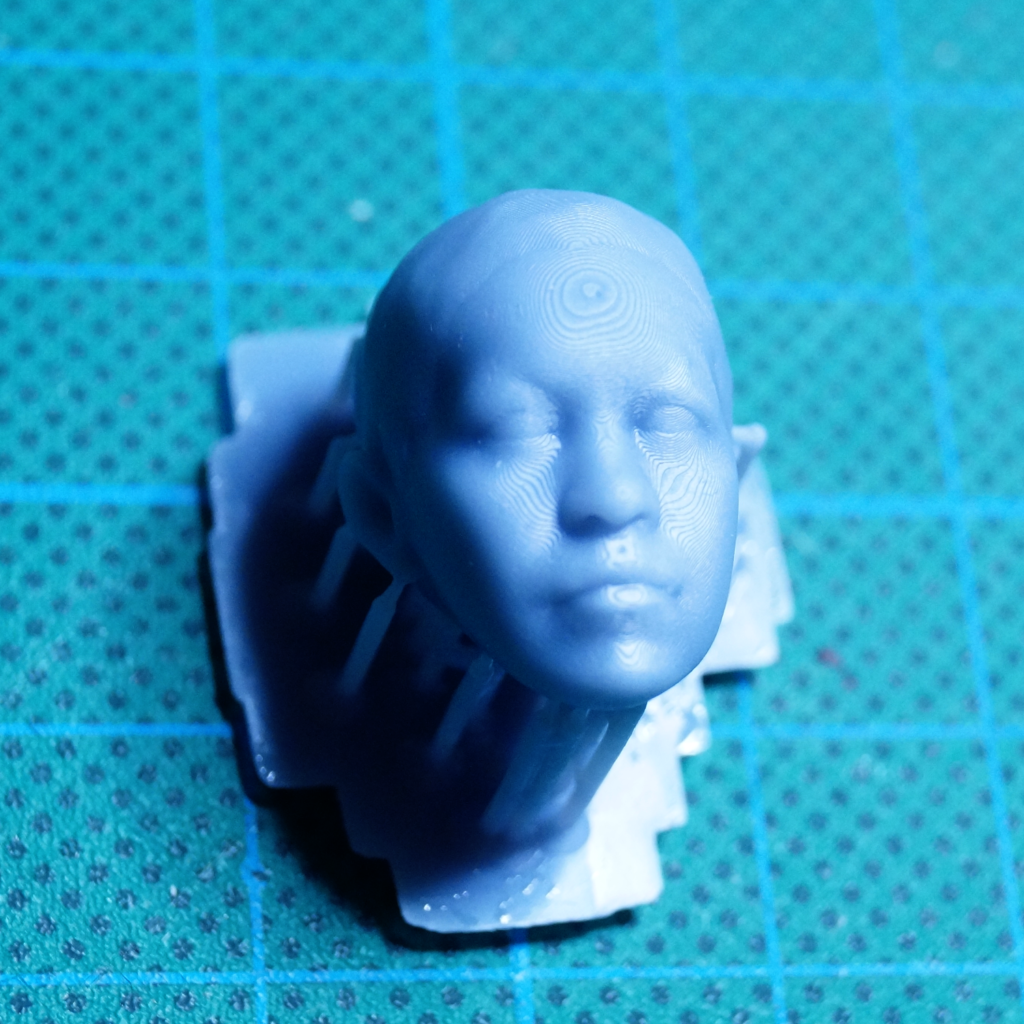
So in three days I managed to go from a vague idea to photoscanning myself and creating a tiny version of my head.
Learning to use Blender has been a challenge, but there are so many advantages to being able to drill holes and join pieces virtually without the physical work required in real life, and once the work’s been done to perfect a part, you can print as many as you like. That part will make all of the difference with animation and I’m looking forward to figuring out how to manipulate meshes to create different expressions.
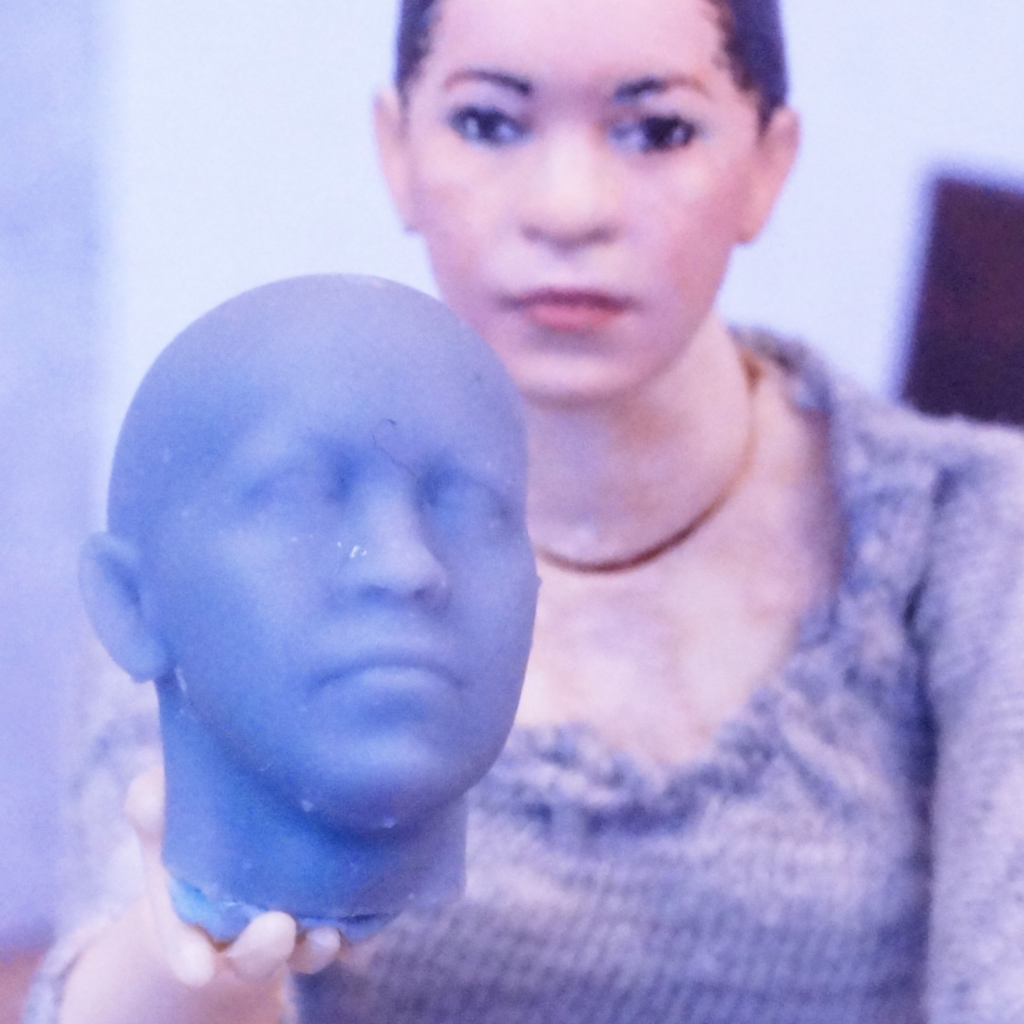
The thing about creating a 3D printed self portrait in this way is that, even when you churn something out based on what a computer says, there will still be a lot of detail that can’t be replicated, and you may end up trusting the digital version too much. I can see that it’s made my eyelids too puffy!
On top of that, it’s amazing how much colour and details like facial hair do to manipulate a likeness.
I’m still working on the painting part, but for now I’m amazed at what I managed to do in a week.
Of course my weekly portrait is my photoscanned head!
* denotes affiliate links
Leave a Response