Studio Notes 19/07/19 - a vertical casting breakthrough thanks to a surprising discovery in the garden shed, and a few tips for successful pewter casting.
This has to be a bit hurried, as I’m so, so tired…
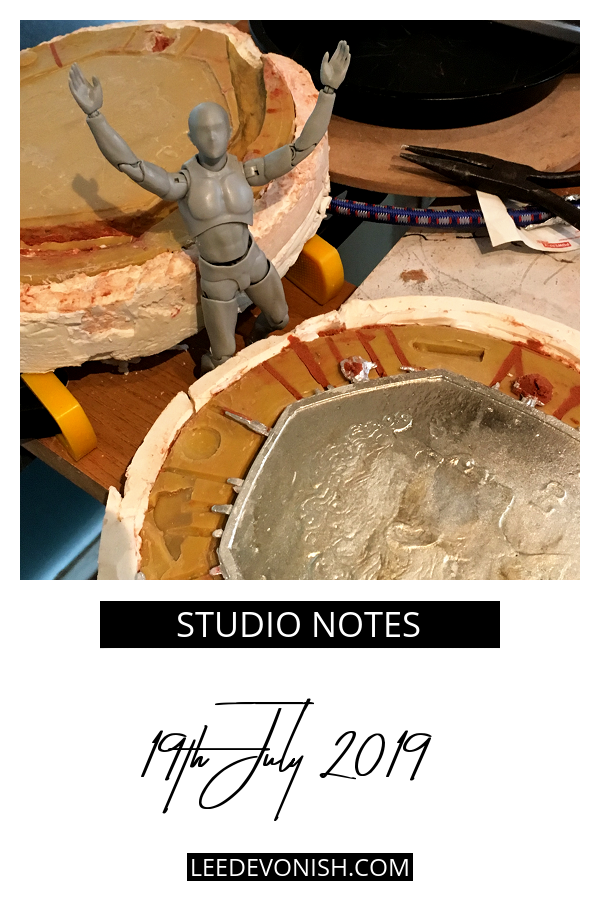
After a week of experiments, I’ve produced my best cast yet, and it was partly down to a surprising find along the way. No, it’s not what I consider to be perfect, but I fixed the problem of the mould not filling all the way. Anyway, here’s the story of that find:
Into the spidery shed
The springform cake tin was a great idea for keeping hold of a round mould, but RTV silicone doesn’t like to be cast on its side – it won’t vent steam like oil bonded sand will, so it just forms mega bubbles, even with an incline. It has to be vertical.
That meant that I had to clamp it in place vertically and apply pressure on the sides to keep the mould tightly in place, or else all my pewter would just dump out into the bottom of the cake tin.
I was trying to come up with some system for jerryrigging a clamp – maybe a car jack wedged into a box? – and got Ste on board to excavate a box from our spider-riddled shed. As the spider-spotting backup, I was peering into the dim wooden cavern when I spotted a box we hadn’t seen before.
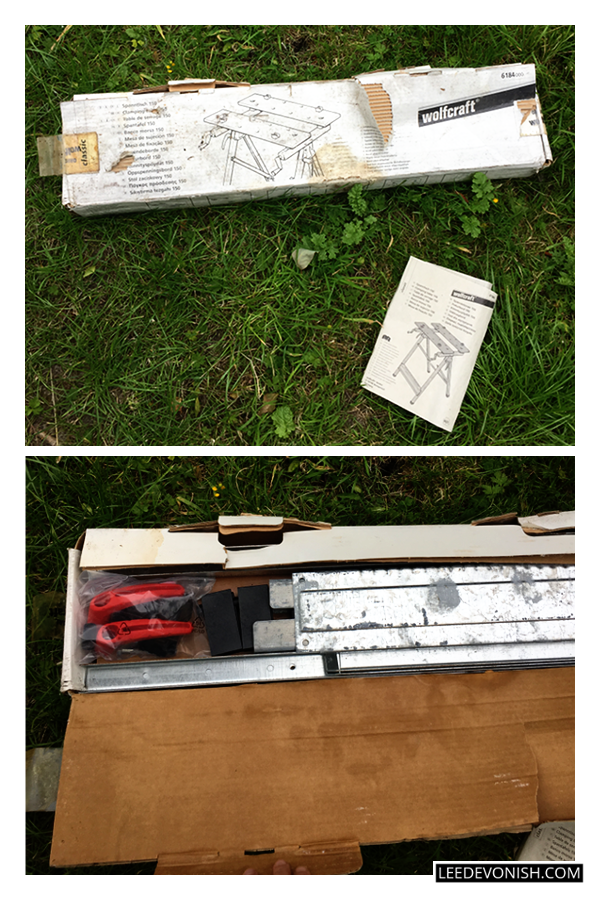
It was an unopened clamping table!

The exact model isn’t made any more, but this is the closest version.
The previous owners had obviously abandoned it to the eight-legged shed denizens, and somehow I’d never seen it before.
Although the nuts, bolts and plastic pieces were still sealed in their plastic bags, there was a fair bit of corrosion and that dank shed smell. Still, I put it all together the same day. It needs a bit of oiling and messing around with to help it fold up, but set up, it’s just right for the job.
I can’t believe that I just happened to find the exact thing I needed! I couldn’t have done the casting without it.
Tips for pewter casting
I’ll have to write this up as a separate post, of course, but here are this week’s discoveries:
- Fill from below. When you pour hot metal into a mould, you create turbulence in the flow of the metal – steam, bubbles, slag, all rolling around. You need to cut this out, and to do this, you need to fill your mould from the bottom up. This means having a separate pouring spout that feeds your mould from below.
- Use a tapered sprue. This helps to reduce turbulence as well, controlling the flow of the metal.
- Make your sprue big enough. The metal may freeze before filling the mould if you don’t.
- Plan your sprue and gating system into the mould making process. I didn’t do this… I did rely on the fact that I could cut the silicone afterwards, which is less than ideal, and means that I’ve had to patch some bits with oil-bonded sand.
- Wax acts as a flux, but don’t add too much. Pretty self-explanatory.
Now that I’ve achieved this week’s goal, I’m going to carry on with another job: helping my husband create some of his own moulds. I’m refining my DIY silicone mould-making technique and scoring major brownie points at the same time!

Leave a Response