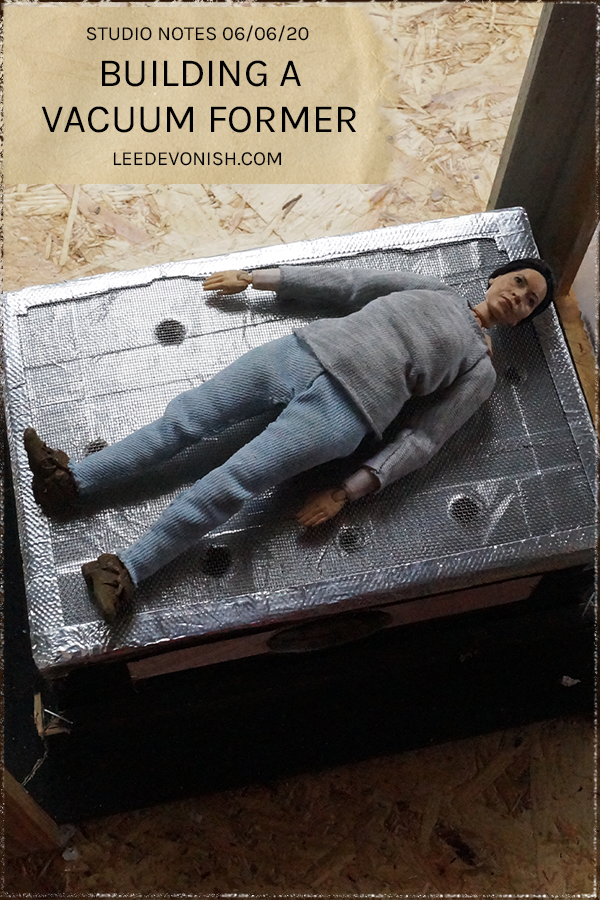
Studio Notes 06/06/20 - Building a vacuum former. This week I was obsessed with building a tiny (and ugly) vacuum former to recycle milk bottles.
This week I was obsessed with building a tiny vacuum former to recycle milk bottles. Reader, I made it – possibly the world’s ugliest DIY vacuum former.
I blame YouTube. Even at the start of the project, I knew that I didn’t exactly need a vacuum former, but I desperately wanted one. How desperately? Definitely not desperately enough to buy one, that’s for sure.
Wanting to make my own vacuum former came from a few major impulses:
- wanting to recycle plastic
- wanting to spend as little as possible
- wanting to have another way to cast objects
- wanting to make something cool that I’d seen on YouTube
The entire thing cost me £1, and the foil roasting trays I spent that on didn’t even end up being used. I already had a lot of wooden moulding that I’d bought years ago for framing, some aluminium tape* that I’d bought a while ago, and some hardboard rescued from an old storage box.
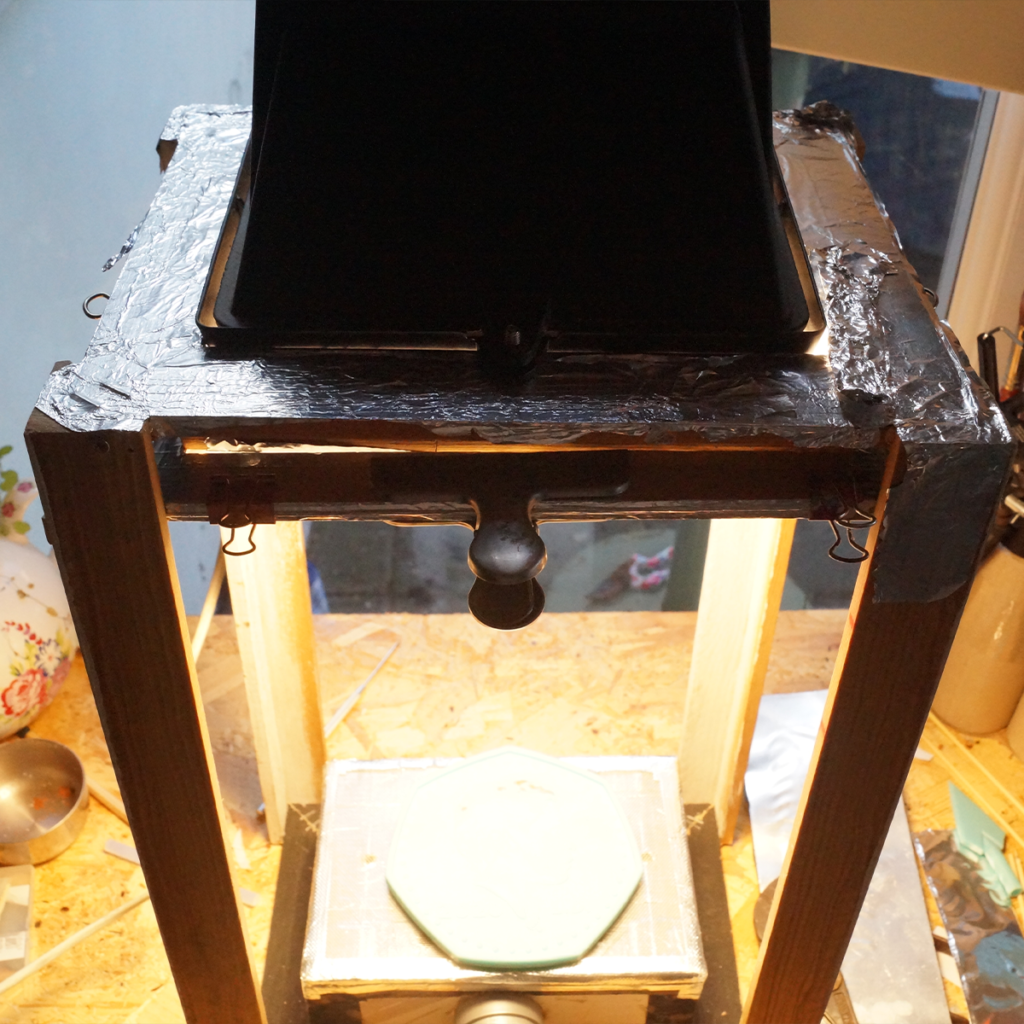
The heat source – or the main heat source, I should say, is a lamp I bought for exposing photo emulsion. The thing is, the lamp does that job, but it also burns with the heat of a thousand suns and can destroy a thousand retinas, so after a bit of back-and-forth I decided to use it as a heat source. I had planned on using my heat gun, but after a lot of working out how to mount it in such a way as to work hands-free and avoid scorching the plastic in one spot, I abandoned it and now just use it for spot heating.
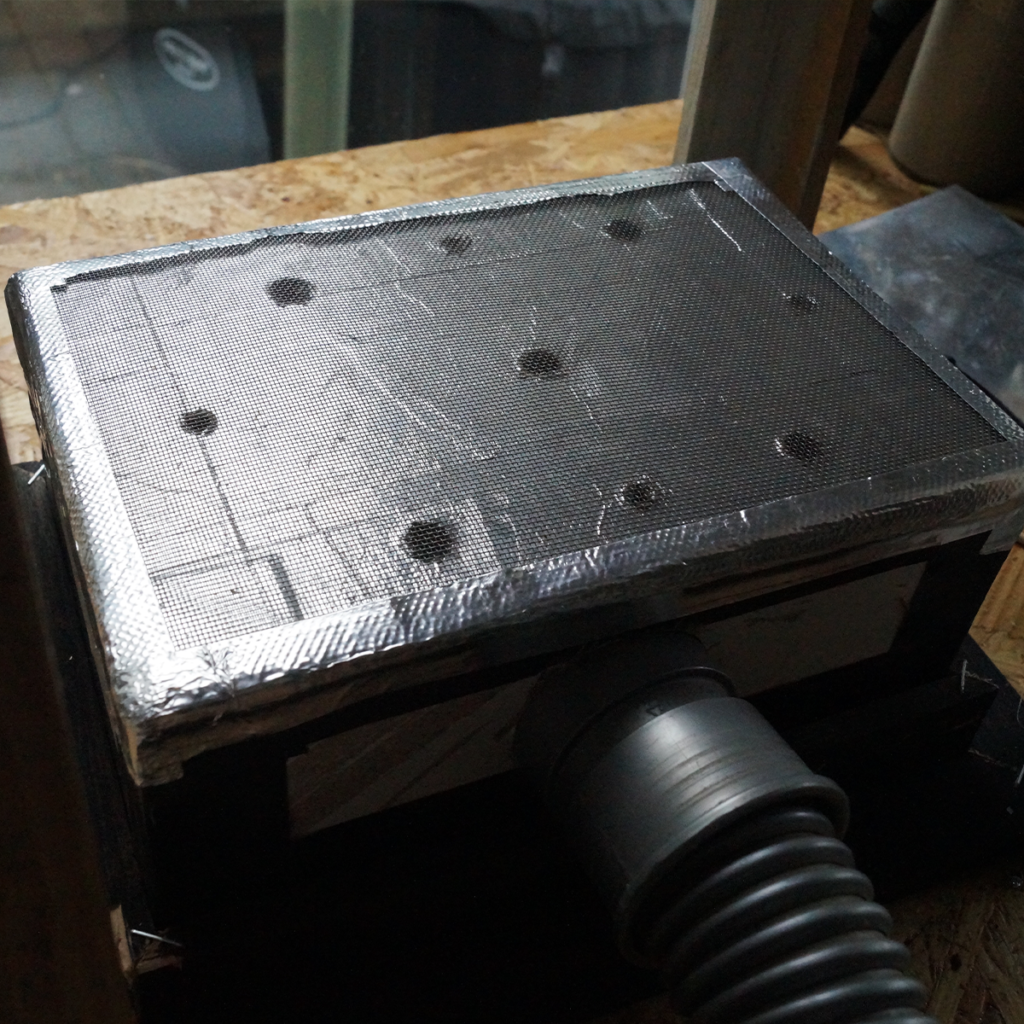
I woke up one morning mid-week with the idea of sacrificing an old mesh stovetop splatter-guard that hadn’t been out of the cupboard since the move, and once that was stuck on, the suction across the entire surface was greatly improved, and I declared it finished.
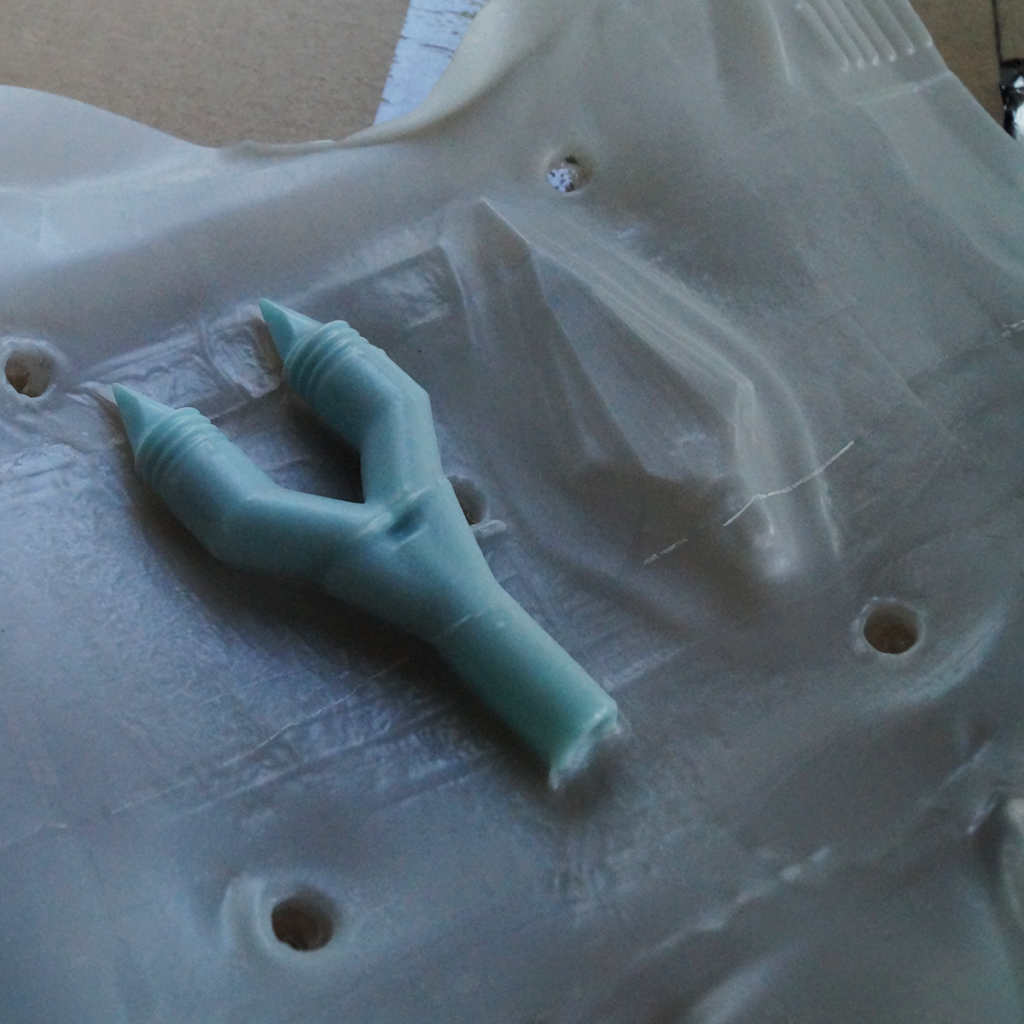
It certainly occurred to me that I didn’t really have anything suitable for vacuum forming besides my coin, and guess what – I made the vacuum former too small for it. I do have a fix for that coming up though.
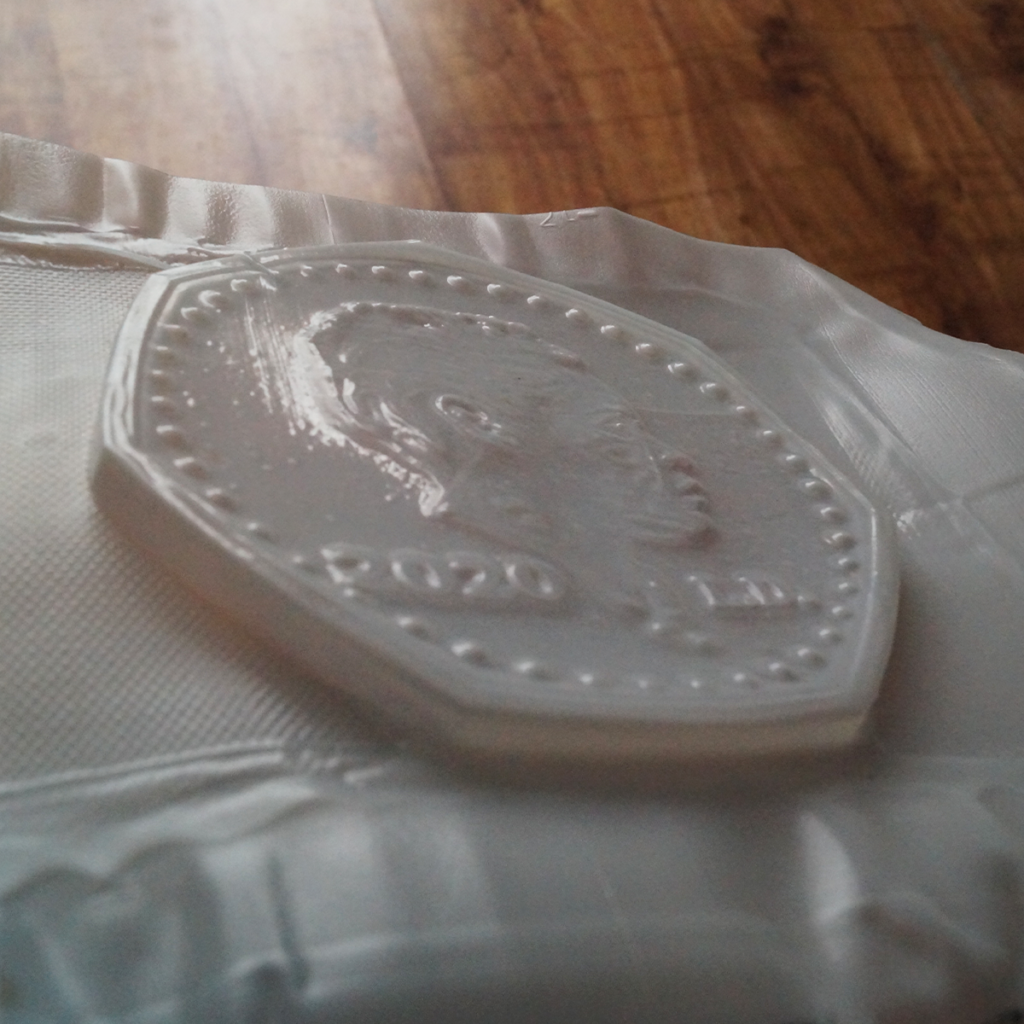
Materials I’ve been testing with my mini vacuum former
I’m focusing on HDPE from milk bottles, as we tend to have lots of them and I dislike having so much plastic going to waste. The main point of building this little monstrosity is to reuse waste materials and save money, so I’m not bothering with buying the right kind of plastic.
I’m also testing out EVA foam because of that extremely tempting YouTube video, and I’ve had pretty interesting results so far. Besides that, I’ve been trialling some mysterious plastic sheets that I’ve had knocking around for years, but I don’t know what they’re made of, so can’t say that they’re exactly safe!
Weird questions about vacuum forming that I couldn’t find out about anywhere else
Should you put the plastic onto the former and then turn on the vacuum?
I found that it worked best when the vacuum was running at the point of contact, so I’ve been turning it on before pulling the plastic down. Still, I think I’ll be doing a few more practise runs to make sure of my workflow.
How hot should you get the milk bottle HDPE?
In my tests I heated it to the point where it went clear and sagged, and also tried heating it to just under this point to see which worked better. The parts where the plastic had been clear worked so much better and picked up much more detail, so I’ll be sticking to my guideline of heating until it goes clear.
How many times can you re-use a sheet of milk bottle HDPE?
I managed to get some form of results from a sheet after reusing it about three times, but it never totally lost the form of the coin. I’ve been keeping the waste sheets to shred and re-use for plastic bricks.
Even though I don’t have lots of things ready to go for vacuum forming, at least I’ve scratched the itch to make this thing. It’s been a very interesting diversion!
* denotes affiliate links
Leave a Response