Here’s a cardboard box storage system tutorial that’s so simple it doesn’t really need instructions: the pictures will show you everything you need to know.
I’ve whizzed up a cereal box paper tray and an asymmetrical shelf or box that looks great either sitting flat on your desk, mounted on a wall or hanging off the side of your desk.
The materials used were:
- 4 small rectangular cardboard boxes for the desk shelves
- 3 cereal boxes for the paper tray
- Offcuts from a roll of Graham & Brown Star Wars wallpaper
- Hot glue gun & glue sticks
- PVA glue
- Clothespegs or bulldog clips for clamping
Why use cardboard boxes for storage?
Not only are cardboard box storage systems really effective recycling solutions, they’re practical for short-term uses, like kids’ furniture, or in situations where there isn’t enough money for store-bought furnishings.
If you make them well, keep them dry and treat them well, cardboard furnishings can last for a long time (and they only get stronger with every re-covering, so you can change the look pretty easily!).
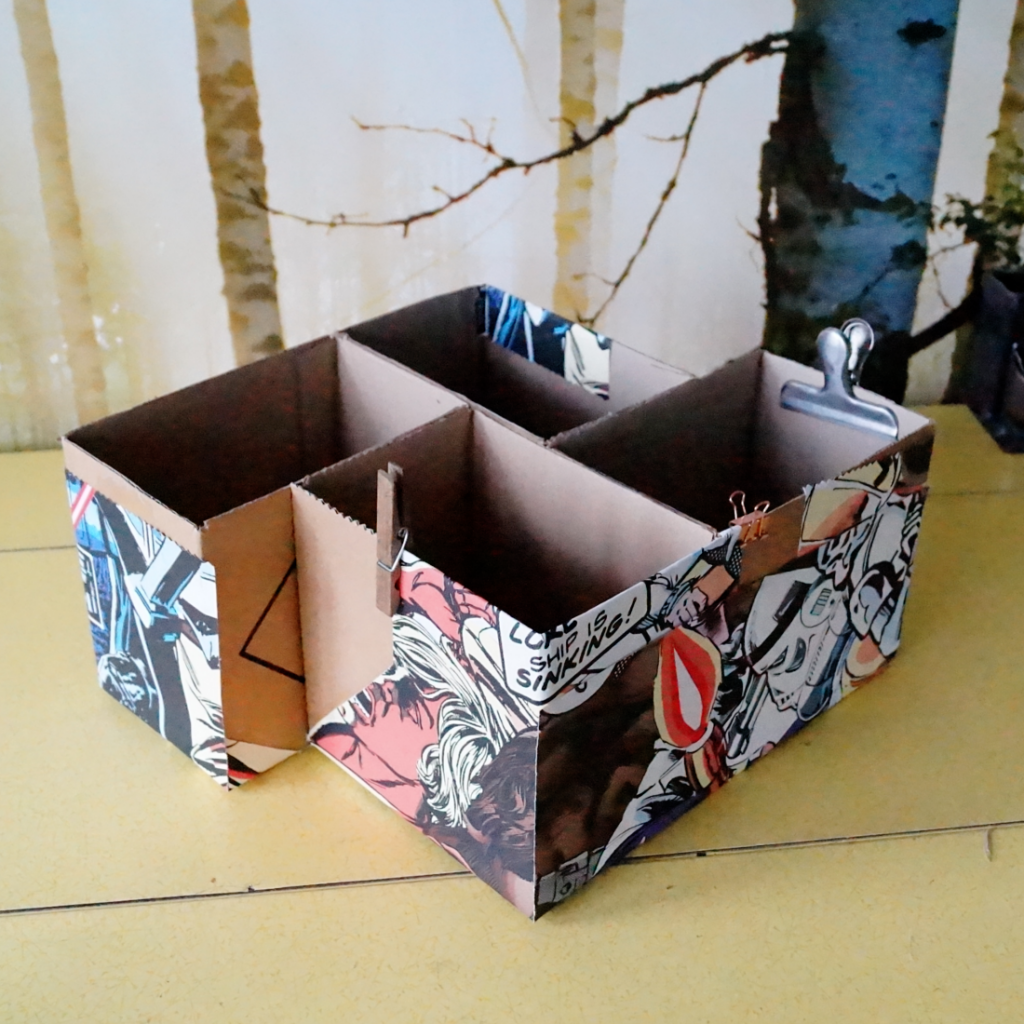
1. Cardboard paper tray / file storage
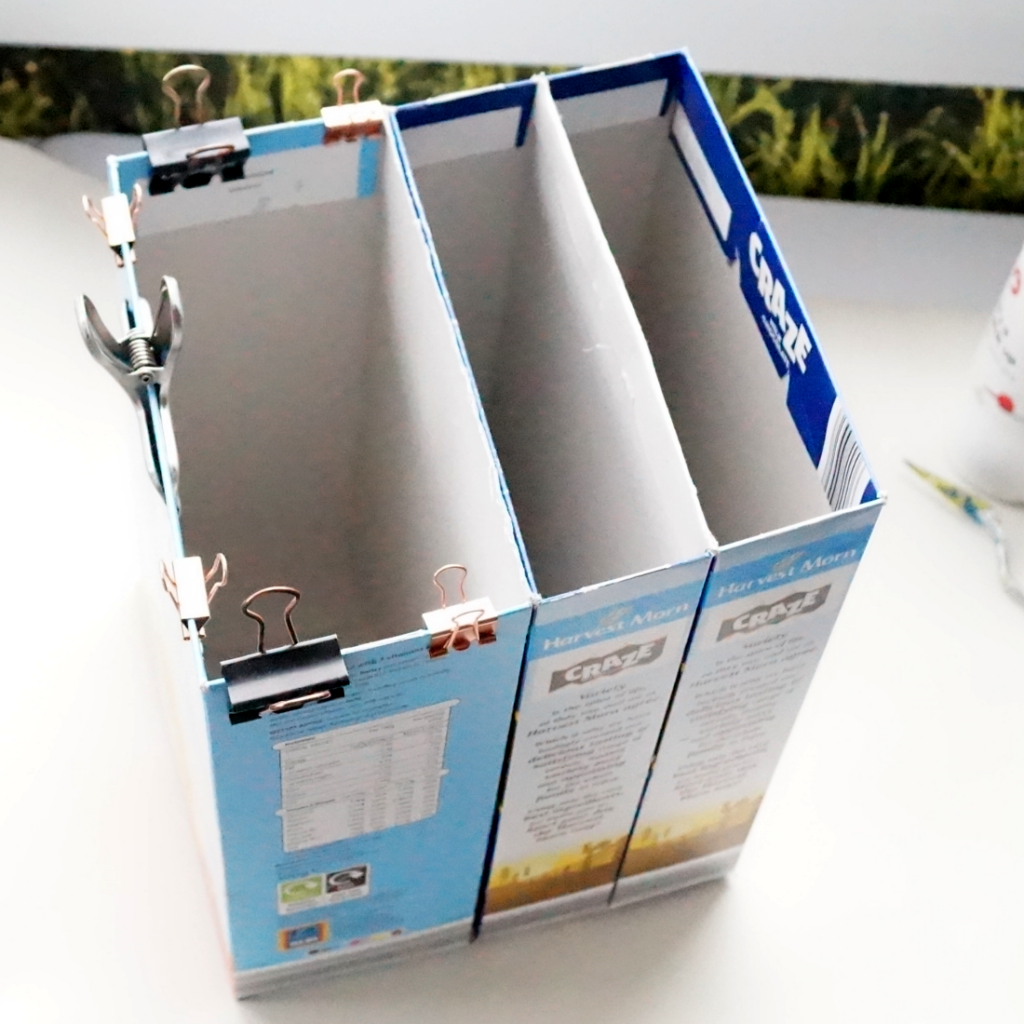
The paper tray used up three cereal boxes from Aldi. Cereal box cardboard is very lightweight, and so when it comes to any kind of furniture, you’ve got to be reasonable with what you expect it to stand up to and what it’ll be used for.
Hot glue is great for attaching the boxes without causing warping or buckling.

You can secure the boxes by folding one of the tabs over the other box (being sure to cut the matching tab off so it isn’t too bulky) and glue the outer tabs to the inside of the boxes with PVA glue.
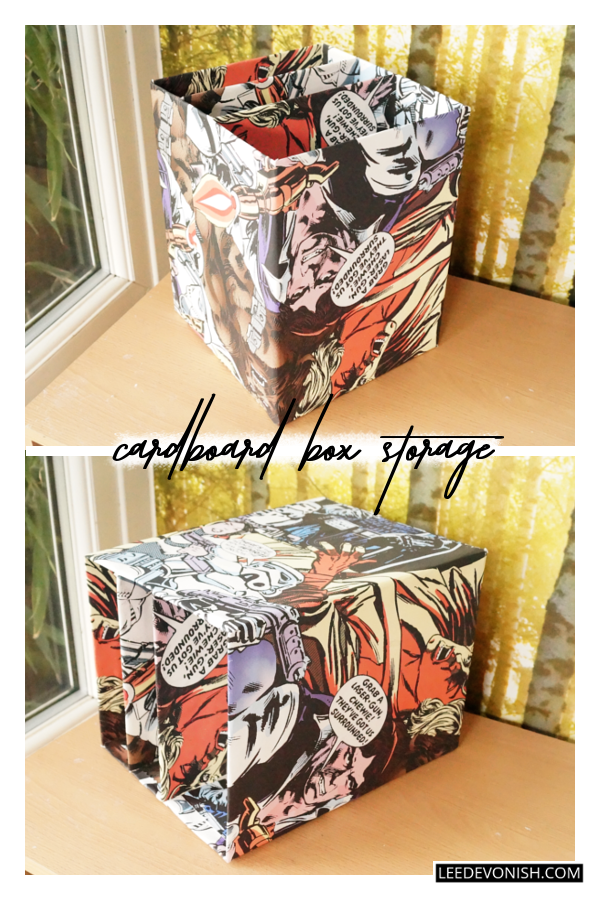
Cut two pieces of wallpaper to cover two opposite sides of your tray and paste them on with PVA. Make sure the pieces are long enough to fold over the open edge and into the box, and wrap an inch around the sides.
Place the glued boxes in the centre of your wallpaper sheet, making sure there’s enough paper to cover the two unpapered sides with some to spare for folding into the box opening.
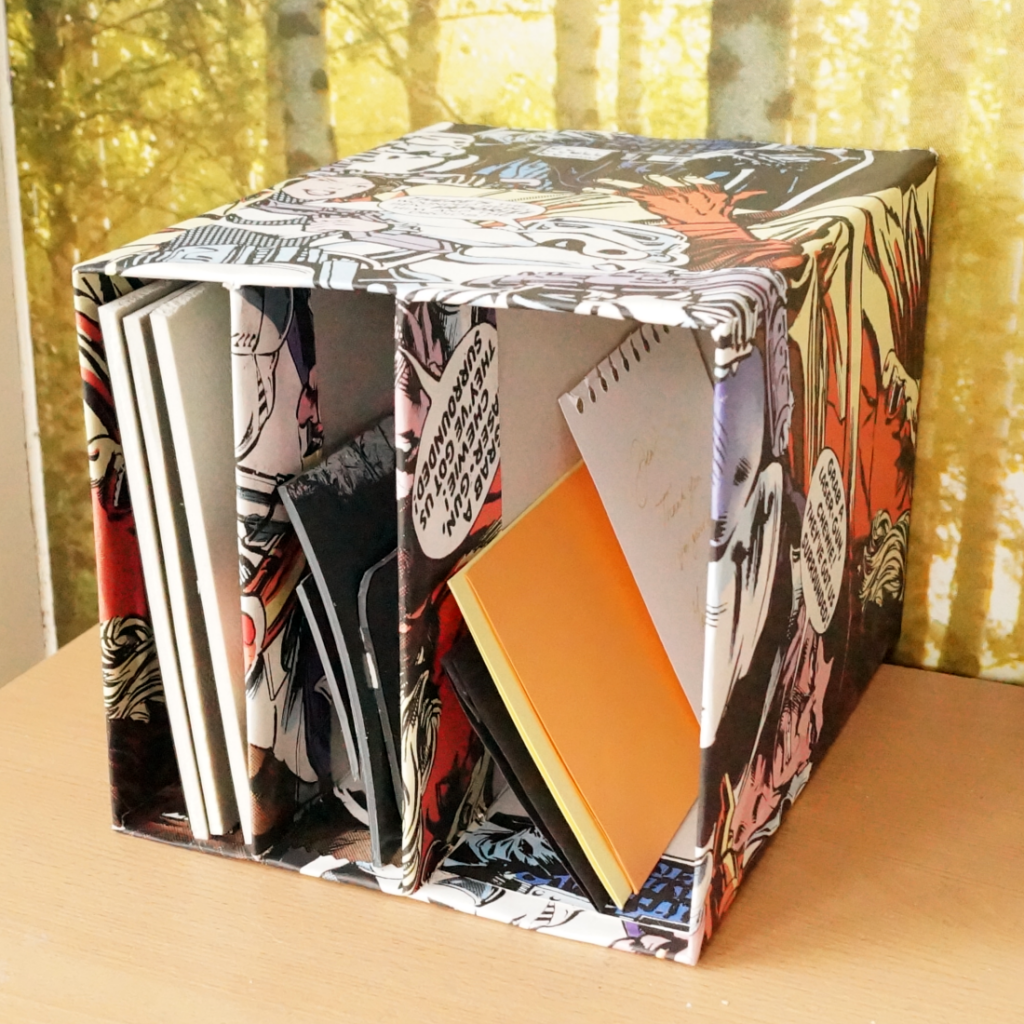
Glue a strip of paper over the internal dividers to neaten them up.
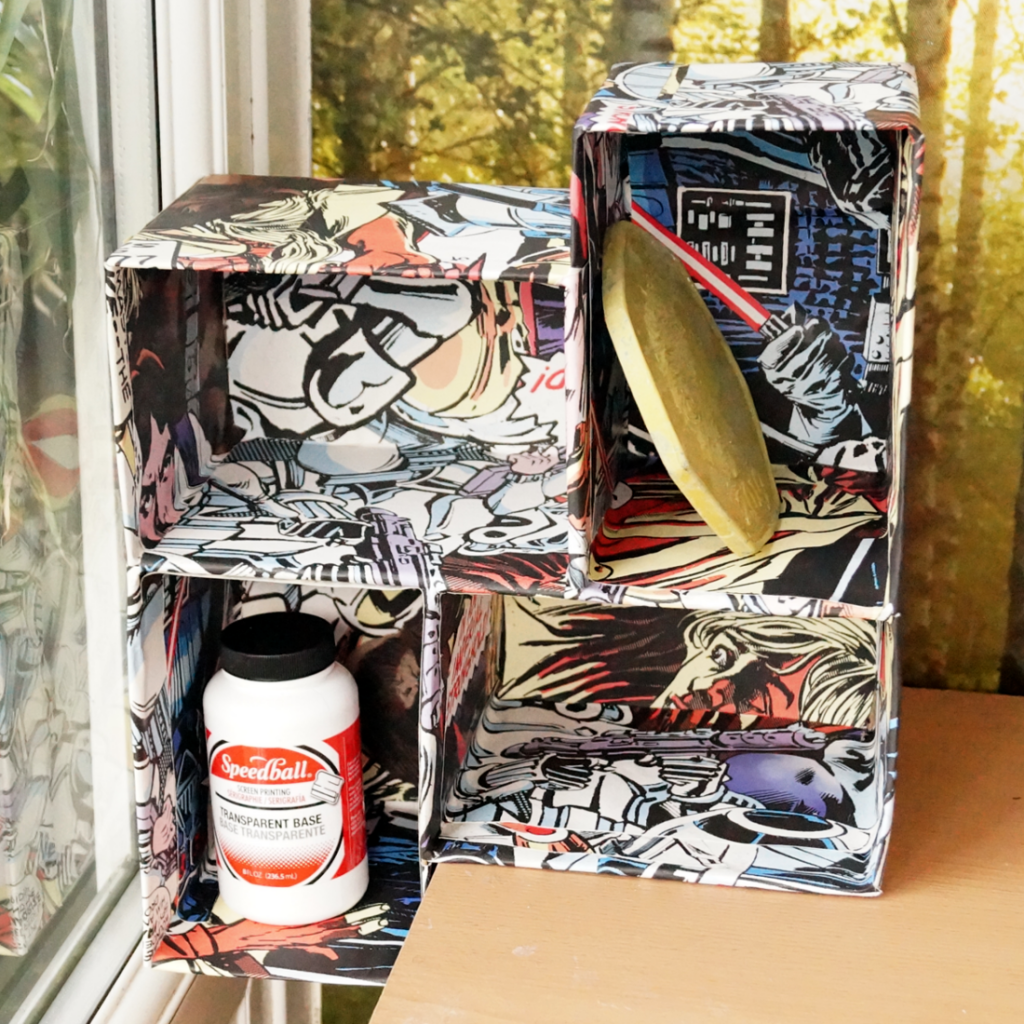
Asymmetrical cardboard shelf / desk tidy
I’ve been wondering what to call this pattern – it’s not quite Greek key, but I can’t think of the formal design name. Still, it’s an interesting arrangement for four rectangular boxes.
You can use any size of box for this design as long as they’re rectangular and the same size. I used boxes that originally held 6 cans of spray paint, and they were pretty beaten up before I started, so nothing was square.
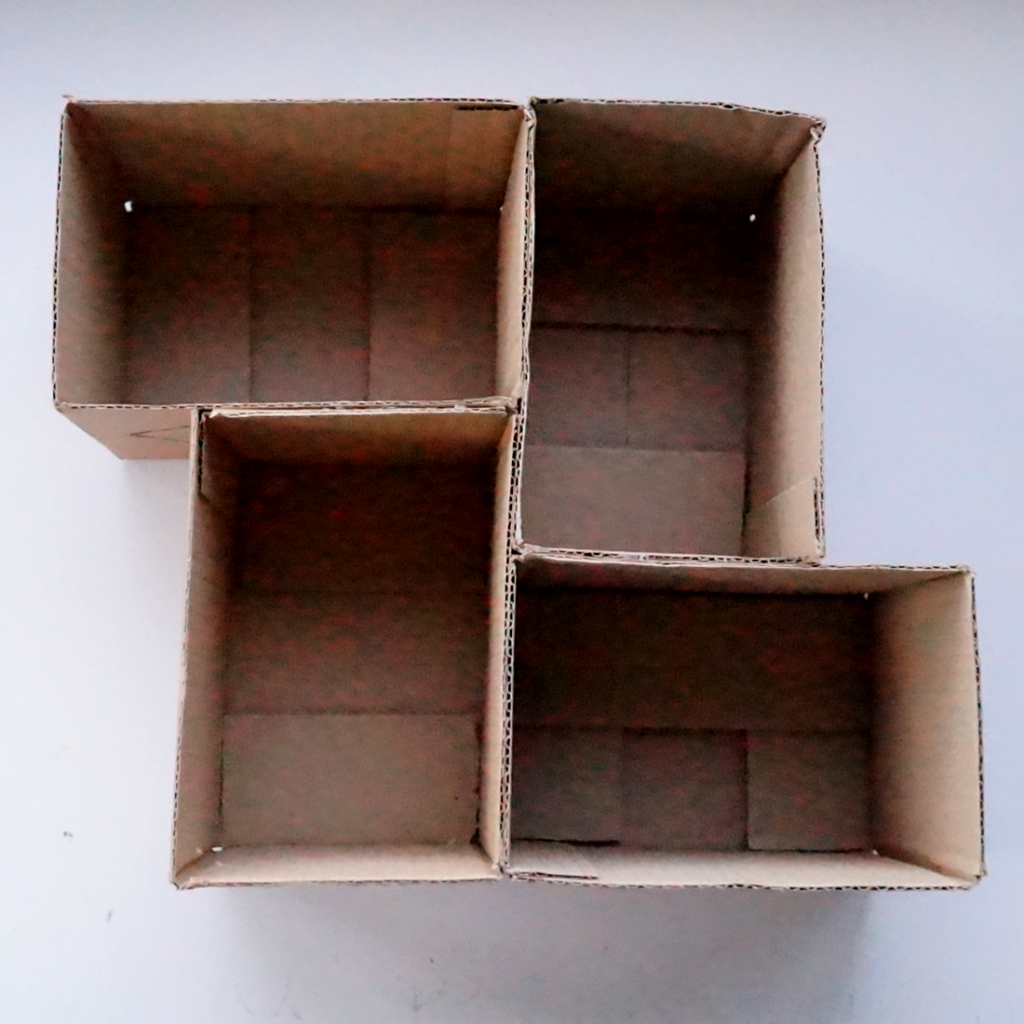
I trimmed the flaps from the box tops with a sharp knife before starting, and glued the boxes together as shown above.

I started gluing the wallpaper to the box from the bottom and folded the paper up the sides, clamping it to the box with clothespegs as it dried.
With the base and most of the sides covered, I used scraps to fill in the unpapered gaps.
Because the paper was so busy, I was pretty haphazard about matching the pattern inside – personally I didn’t care about that because of not being able to see it once it’s filled. If you were going to make this as a gift, I’d suggest working out where your pattern overlaps and matching it up at least at the “front” of your shelf. It’ll never line up everywhere, so don’t worry about that.
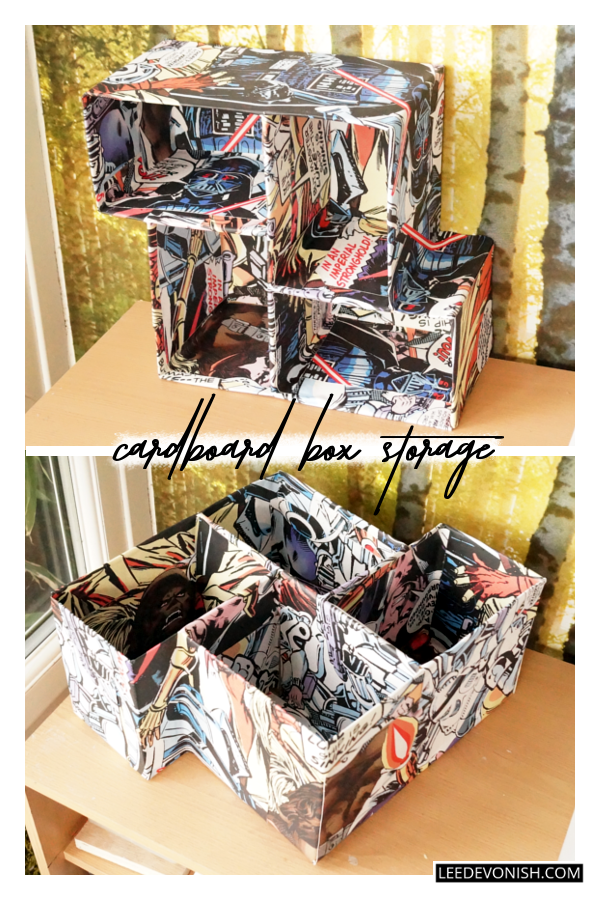
I particularly like this weird shape for hanging off the side of desks, and it’s got potential to get very big if you can find enough boxes to keep adding to it.
Not a bad way to use materials that would normally end up in the bin, right?

July 28, 2024 at 1:31 pm ·
Great idea! Thanks for sharing.